When your support team is handling phone calls through Zendesk Talk, there'll be times when demand exceeds capacity. Maybe it's a product launch day, a service outage, or simply peak hours. Whatever the cause, you need a plan for when callers outnumber available agents.
Queue overflow and timeout settings help you define exactly what happens when calls can't be answered immediately, whether that means routing them to an external number, sending them to voicemail, or setting maximum wait time limits. Getting these configurations right can mean the difference between frustrated customers hanging up and calls being handled through an alternative channel.

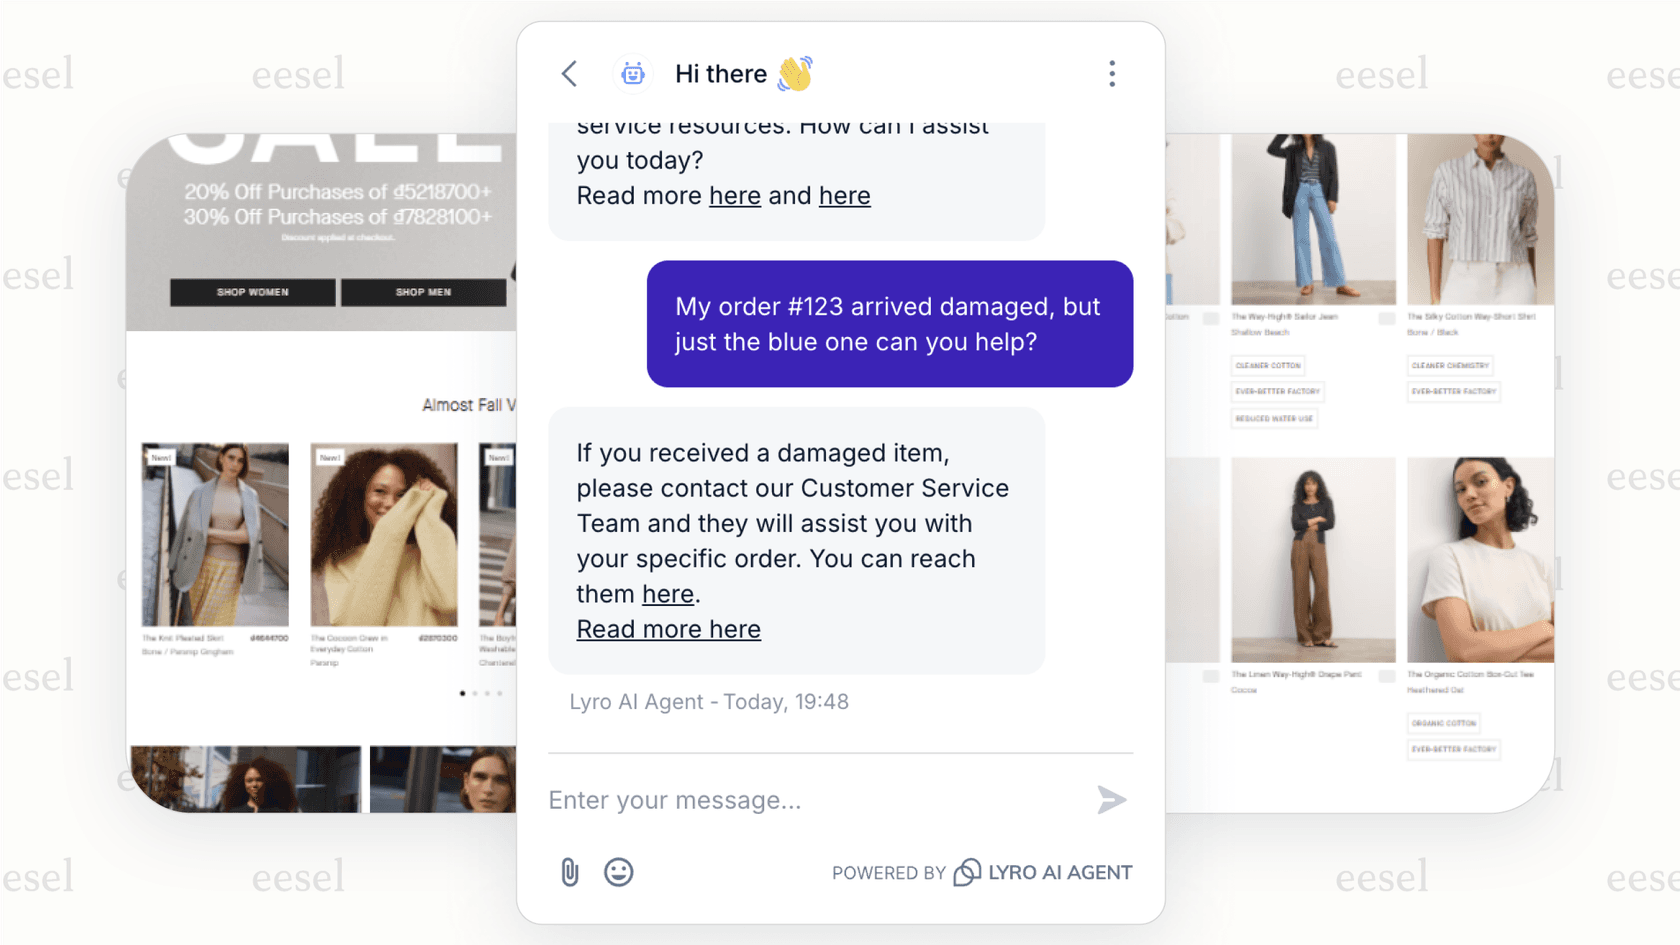
If you're looking to reduce the pressure on your phone queues altogether, tools like eesel AI can help deflect common questions before they become calls. But first, let's make sure your Talk overflow settings are configured correctly.
What are queue overflow and timeout in Zendesk Talk?
An overflow call is any call that cannot be taken by an available agent or answered by voicemail. Think of it as a safety valve for your phone system. When your queue reaches capacity or wait times get too long, overflow settings activate to route those calls somewhere else.
Maximum queue wait time sets a hard limit on how long a caller can hold before the system takes action. You can configure this anywhere from 1 to 20 minutes (or up to 60 minutes if you're on an Enterprise plan). Once a caller hits this limit, they're sent to voicemail (if enabled) or disconnected.
Maximum queue size controls how many calls can wait in line at once. Your options range from 0 to 15 on most plans, with Professional and Enterprise customers able to set this as high as 1,500. Setting this to 0 prevents callback requests entirely in the Web Widget.
These two settings work together to manage caller expectations and protect your queue from becoming unmanageable. The wait time limit ensures no one holds forever, while the queue size prevents your system from being overwhelmed during volume spikes.
Understanding overflow call triggers
Before you start configuring settings, it helps to understand exactly when overflow gets triggered. According to Zendesk's documentation, overflow occurs when any of the following happen:
- All agents are offline
- All agents decline an incoming call
- All agents miss an incoming call
- The maximum queue wait time is exceeded
- The maximum queue size is reached
Note that overflow is different from voicemail. Overflow happens when voicemail is turned off and calls can't be answered. If voicemail is enabled, callers reach a recording rather than being routed to an overflow number.
So when should you use overflow versus other routing options? Overflow numbers work well when you have an external answering service, an on-call agent with a mobile phone, or a secondary support team that can handle excess volume. If you simply want callers to leave a message, voicemail is the simpler option. For complex routing based on skills or language, you'll want to look at omnichannel routing instead.
Configuring maximum queue wait time for Zendesk Talk queue overflow and timeout
The maximum queue wait time is one of the most important settings for managing caller expectations. Here's how to set it up.
Step 1: Access Talk settings
Navigate to Admin Center, then click Channels in the sidebar. Select Talk and email > Talk to access your voice channel settings.
Step 2: Find the Settings tab
On the Talk configuration page, click the Settings tab. This is where you'll find the global queue settings that apply to all your phone lines.
Step 3: Set your maximum queue wait time
Look for the Maximum queue wait time dropdown. You can select anywhere from 1 to 20 minutes on most plans. Enterprise customers have the option to extend this up to 60 minutes. Choose a time that balances customer patience with your typical call resolution times.

Important exception to know: Maximum queue wait time is ignored after a call is transferred. When a call gets transferred to another agent or group, the timer resets and the caller can remain on hold beyond your configured limit. This is a common source of confusion, as noted in Zendesk's support article on the topic.
Also keep in mind that maximum queue wait time takes precedence over the Call offering time limit setting. If your call offering time is 30 seconds but your queue wait time is 5 minutes, callers could theoretically wait much longer than 30 seconds if agents keep missing or declining calls.
Setting up overflow numbers
Overflow numbers give you a way to route unanswered calls to an external destination. This could be an answering service, a manager's mobile phone, or even another Zendesk Talk number.
Prerequisites:
Before you start, note that overflow only works when voicemail is turned off. If voicemail is enabled, callers will reach your voicemail greeting instead of being routed to an overflow number.
For phone lines without business hours
Step 1: Open line settings
In Admin Center, go to Channels > Talk and email > Talk, then click the Lines tab. Select the phone line you want to configure.
Step 2: Set your routing schedule
On the Routing tab, make sure the Schedule dropdown is set to Always route calls. This ensures overflow works consistently regardless of time.
Step 3: Enable overflow
Click the Overflow tab and turn on the Overflow calls toggle.
Step 4: Enter your overflow number
Type in a valid phone number where calls should be routed. This cannot be a toll-free number, as outbound calls cannot be made from toll-free lines.

For digital and SIP-IN lines
Digital and SIP-IN lines require an extra step. Before the Overflow tab appears, you need to:
- On the Settings tab, check the box for Enable overflow and agent forwarding for this line
- Select an outbound number from the dropdown
- Now the Overflow tab will be visible for configuration
Things to keep in mind:
- When a call goes to a non-Zendesk overflow number, the resulting ticket is tagged with call_overflow
- Calls to Zendesk overflow numbers create regular tickets without this tag
- If recording is enabled, overflow calls are recorded just like regular calls
- You're charged for overflow calls at your normal per-minute rate
Configuring business hours overflow
If your support team operates on a schedule, you can set different overflow numbers for business hours versus after-hours.
Step 1: Set your schedule
On the Routing tab of your phone line, change the Schedule dropdown from "Always route calls" to Business Hours.
Step 2: Configure inside schedule overflow
On the Overflow tab, find the Inside schedule section. Enable the overflow toggle and enter the number where calls should go during business hours when your team is unavailable.
Step 3: Configure outside schedule overflow
In the Outside schedule section, enable overflow and enter a different number for after-hours calls. This might route to an on-call service or an emergency support line.

Common use cases:
- After-hours on-call support: Route overflow to the mobile number of whoever is on-call that week
- Weekend coverage: Send weekend calls to a reduced weekend team or external answering service
- Holiday routing: Set temporary overflow numbers for holiday closures
Important consideration for 24/7 operations:
If you run continuous support, the business hours approach has limitations. As one Zendesk user noted in the help center comments, "Since adding omni-channel routing the option to have roll-over calls is no longer available in our tiered setup." For 24/7 operations with tiered overflow (Tier 1 → Tier 2 → external), you may need to use omnichannel routing instead of basic overflow numbers.
Using omnichannel routing for advanced overflow
For teams with more complex routing needs, omnichannel routing offers a more sophisticated approach to overflow.
Instead of routing to external numbers, omnichannel routing lets you overflow between agent groups based on skills and availability. Here's how it works:
Custom queues with primary and secondary groups
When you create a custom queue in omnichannel routing, you can define primary and secondary agent groups. The system routes calls to primary groups first, treating them as a single collective pool. Only when no one in the primary groups is available does it "overflow" to the secondary groups.
Skills-based routing
You can create skills (like language or product expertise) and assign them to agents. When a call comes in, it's routed first to agents with matching skills. If no skilled agents are available within your configured timeout period, the call overflows to any available agent in the group.
Setting skills timeout
In your routing configuration, you can enable skills timeout and set how long the system should wait for an agent with matching skills before falling back to other agents. This is critical for overflow to work properly. As Zendesk's documentation notes, "You must turn on skills timeout for calls to 'overflow' or 'fall back' to other agents without the matching skills."
When to use omnichannel vs. basic overflow:
| Use basic overflow numbers when... | Use omnichannel routing when... |
|---|---|
| You have an external answering service | You have multiple internal agent groups |
| You need to route to non-Zendesk numbers | You want skills-based routing |
| Your overflow destination is outside Zendesk | You need overflow between teams, not to external numbers |
| You have simple routing needs | You want to minimize external transfer costs |
Troubleshooting common Zendesk Talk queue overflow and timeout issues
Even with proper configuration, you might run into unexpected behavior. Here are the most common issues and how to resolve them.
Maximum queue wait time not working during transfers
The issue: Customers report being on hold longer than your configured maximum wait time.
The explanation: This is actually expected behavior. As documented in Zendesk's support article, maximum queue wait time is ignored after a call is transferred. When a call transfers to a group and all agents in that group ignore it, the caller stays on hold until someone answers or the call routes to voicemail.
The workaround: If this is causing problems, consider reducing your call offering time limit or using omnichannel routing with skills timeout instead of transfers.
Calls going to voicemail instead of overflow
The issue: You've configured an overflow number, but calls are still reaching voicemail.
The fix: Overflow only works when voicemail is turned off. Check your line settings and disable voicemail if you want calls to route to your overflow number instead.
Overflow number not receiving calls
The issue: Your overflow number isn't getting the forwarded calls.
Things to check:
- Verify the number is in E.164 format (including country code)
- Make sure the number isn't a toll-free line (outbound calls can't use toll-free numbers)
- For digital/SIP-IN lines, confirm you've enabled "overflow and agent forwarding" and selected an outbound number
- Check that your outbound number has credit available for making calls
24/7 operations with tiered overflow
The issue: You want Tier 1 → Tier 2 → external overflow, but Zendesk's business hours schedules don't support this.
Workaround suggestions:
- Use omnichannel routing with primary/secondary groups for tiered internal overflow
- For after-hours overflow to external numbers, consider using a third-party call routing service
- Some teams create multiple Talk lines with different schedules and chain them together
Queue callback requests expiring
The issue: You see tickets with the description "queue callback request: expired."
The explanation: This is separate from maximum queue wait time. When a customer requests a callback, they enter a virtual queue with its own 60-minute timer. If they don't receive a callback within 60 minutes, the request expires and a ticket is created. As one Zendesk support engineer explained, "This is someone who pressed 2 to receive a callback and entered the virtual queue but did not receive a call within the 60 minute allotment of virtual hold."
Best practices for managing call queues
Getting your overflow and timeout settings right requires balancing customer expectations with operational realities. Here are some recommendations based on common support scenarios.
Recommended maximum queue wait times:
| Business Type | Suggested Wait Time | Rationale |
|---|---|---|
| E-commerce | 2-3 minutes | Customers expect quick resolution; long waits increase abandonment |
| B2B SaaS | 5-10 minutes | Complex issues may justify longer waits for the right agent |
| Technical support | 10-15 minutes | Customers often prefer waiting for an expert over a quick but unhelpful answer |
| Healthcare | 2-5 minutes | Urgency demands shorter wait times |
Setting appropriate queue sizes:
Start with a queue size of 5-10 for most teams. If you're consistently hitting that limit, you have a staffing problem, not a configuration problem. Very large queue sizes (100+) only make sense for enterprise teams with predictable volume patterns.
Monitoring your overflow metrics:
Use Zendesk Explore to track overflow calls, abandoned calls, and average wait times. Look for patterns. Are overflows happening at specific times of day? During certain campaigns? This data helps you staff appropriately rather than just routing calls elsewhere.
Combining Talk with messaging:
Consider offering messaging as an alternative to waiting on hold. Many customers prefer typing their issue over waiting in a queue. You can configure your Web Widget to show messaging availability alongside phone support.
Using AI to reduce queue pressure:
If you're seeing high overflow rates, the real solution might be reducing call volume. An AI chatbot can handle common questions before they become phone calls. An AI Agent can resolve tickets that would otherwise escalate to phone support. We offer both capabilities through our AI agent for Zendesk, and they integrate directly with your existing Zendesk setup.
Reduce call volume with AI-powered support
Managing overflow settings is important, but it's ultimately a band-aid for high call volume. The better long-term solution is reducing the number of calls that reach your queue in the first place.
At eesel AI, we approach this as a teammate you hire, not a tool you configure. Our AI Chatbot answers customer questions instantly on your website, trained on your help center and past tickets. When customers get the answers they need without calling, your queue pressure drops.

For tickets that do come in, our AI Agent handles them autonomously. It learns from your past tickets, macros, and help center, then resolves tickets end-to-end. You start with eesel drafting replies for review, then level up to full autonomy as it proves itself.
The result is fewer calls reaching your Talk queue in the first place. Instead of constantly tuning overflow settings to handle excess volume, you can right-size your phone support and let AI handle the routine inquiries.
If you're interested in seeing how this works with your existing Zendesk setup, you can try eesel AI free or book a demo to see it in action.
