How to build a Zendesk multichannel strategy that actually works
Stevia Putri
Last edited March 3, 2026
Your customers don't care about your internal systems. They just want help, and they want it on their terms. Some will email you. Others will fire off a tweet or open a chat window. A few will still pick up the phone. The challenge isn't choosing which channel to support. It's bringing them all together without creating chaos for your team.
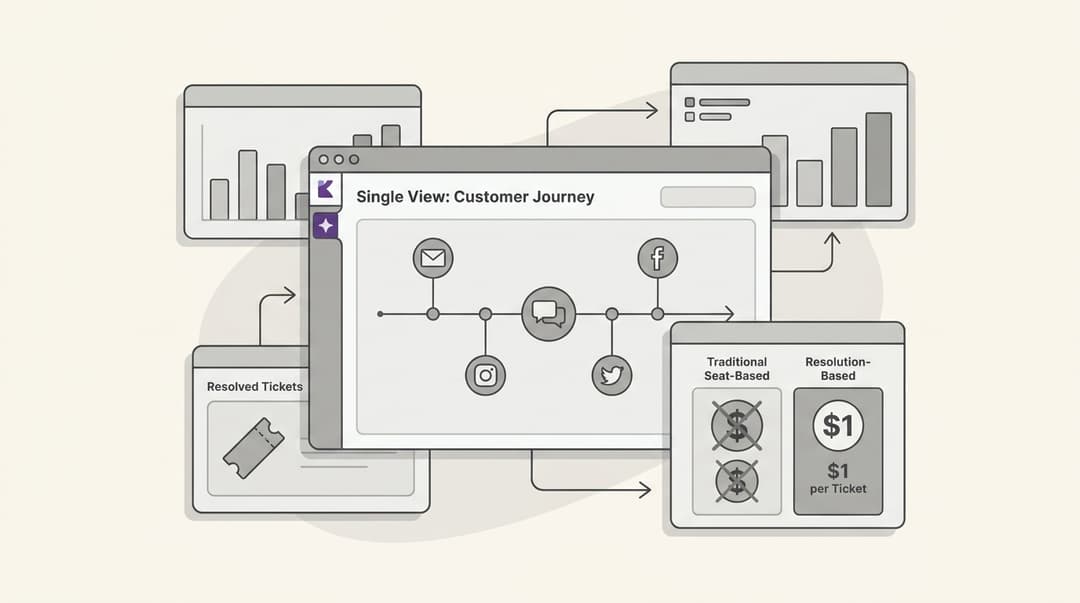
A well-planned Zendesk multichannel strategy helps you meet customers where they are while keeping your agents sane. When done right, it lets customers reach you however they prefer while giving your agents a single, unified view of every conversation. No more switching between tabs. No more asking customers to repeat themselves. Just smooth, efficient support.
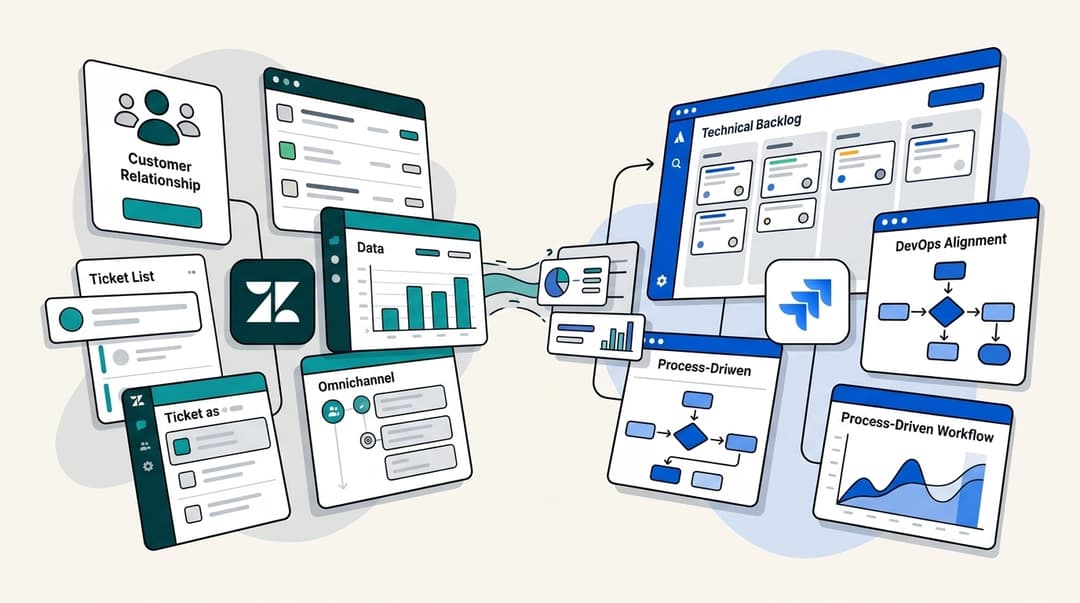
But let's be clear: "multichannel" and "omnichannel" aren't the same thing. Multichannel means you're present on multiple platforms. Omnichannel means those platforms talk to each other. A customer can start on chat, continue via email, and finish on the phone without ever losing context. This guide focuses on building a multichannel foundation in Zendesk that can grow toward true omnichannel support.
Here's what we'll cover: how to choose the right channels, configure your Zendesk setup, route tickets intelligently, structure your team, and avoid the common mistakes that derail multichannel rollouts. We'll also look at how AI can augment your strategy without replacing the human touch.
What you'll need
Before you start building, make sure you have the basics in place:
- A Zendesk Suite plan (Team, Professional, or Enterprise). The basic Support Team plan won't cut it for multichannel messaging.
- The Zendesk Agent Workspace activated. This is the unified interface where agents handle all channels.
- Administrator access to your Zendesk account.
- At least one team member assigned to a Chat role.
- A clear list of which channels you want to support (email, chat, phone, social, messaging apps).
If you're exploring AI integration alongside your Zendesk setup, you might also want to look at how eesel AI integrates with Zendesk to add autonomous resolution capabilities.
Step 1: Choose your channels strategically
The biggest mistake teams make? Trying to be everywhere at once. Every channel you add increases complexity, training requirements, and agent cognitive load. Research from the American Psychological Association shows that task switching can cause up to a 40% loss in productivity. More channels doesn't mean better support. It often means slower, more stressed agents.
Start with quality over quantity. Here's how to decide which channels deserve your attention:
Audit where your customers already are. Look at your existing support requests. Are customers already tweeting at you? Do they prefer email? Check your website analytics to see which contact methods get the most use. Survey your customers directly: "How do you prefer to reach us?"
Match channels to inquiry types. Urgent issues (outages, billing problems) need real-time channels like phone or live chat. Non-urgent questions work fine over email. Complex technical issues might be better handled asynchronously so agents can research before responding.
Consider your demographics. Younger customers often prefer messaging apps and social media. Enterprise clients typically expect phone support and formal email channels. B2C companies might need Instagram and Facebook. B2B companies might only need email and phone.
Start small and expand. Pick 2-3 channels that cover 80% of your customer needs. Get those working smoothly before adding more. It's easier to add a channel later than to remove one that isn't working.
For more on channel selection and omnichannel support strategies, check our detailed guide.

Step 2: Configure Zendesk Agent Workspace
The Zendesk Agent Workspace is the heart of your multichannel operation. It's where email tickets, chat conversations, phone calls, and social media messages all come together in one interface. Instead of agents juggling multiple browser tabs and apps, everything lives in a single workspace.
Here's how to set it up:
Activate Agent Workspace. Navigate to Admin Center > Workspaces > Agent tools > Agent Workspace. Select "Turn on the Agent Workspace" and save your changes. Note: this is an account-wide setting that affects all agents. They'll need to refresh their browsers to see the change.
Set up messaging channels. Go to Admin Center > Channels > Messaging and social > Messaging. Configure your web widget for website chat and set up mobile SDKs if you have iOS or Android apps. Customize the widget appearance to match your brand.
Configure social media integrations. Connect your Facebook, Instagram, X (Twitter), and WhatsApp accounts through the Channels settings. This lets customers reach you through social platforms while your agents respond from the same workspace they use for everything else.
Enable multi-conversations. This feature lets customers start multiple separate conversations about different topics instead of being locked into a single thread. It's particularly useful when a customer has an ongoing shipping issue but needs quick help with something unrelated.
Critical setup detail: If you're authenticating end users, authentication must happen before they start a messaging conversation. If a user starts chatting and then authenticates, their conversation won't merge with their authenticated profile history. This creates fragmented customer records and duplicate tickets. Work with your developers to ensure authentication happens at the right moment.
For a detailed walkthrough of setting up multiple channels, see our guide on unifying multiple support channels in Zendesk.
Step 3: Set up intelligent routing and automation
Once channels are configured, you need to get tickets to the right agents efficiently. Zendesk offers several routing options, from simple manual assignment to sophisticated omnichannel routing.
Here's how AI augments multichannel support:
Choose your routing model. You have two main approaches:
- Push routing: Tickets are automatically assigned to agents based on rules you define. This includes round-robin assignment (distributing evenly) or omnichannel routing (considering agent availability, capacity, and skills).
- Pull routing: Agents assign work to themselves from views using Play mode or by manually selecting tickets from filtered queues.
For most multichannel setups, omnichannel routing is the better choice. It provides consistent logic across email, messaging, and voice channels. Tickets are assigned based on agent status and capacity, ensuring work is distributed fairly without overwhelming individual agents.
Configure skills-based routing (Professional+ plans). Skills are agent attributes that determine who's qualified to handle specific ticket types. You might create skills for "Spanish language," "Enterprise accounts," or "Technical escalations." When a ticket arrives requiring those skills, it routes only to agents who have them.
Set up triggers for automation. Triggers are event-based rules that fire when tickets are created or updated. Common uses include:
- Automatically tagging tickets by channel or keyword
- Assigning tickets to specific groups based on issue type
- Sending automated responses to acknowledge receipt
- Escalating urgent issues to senior agents
Prevent cherry-picking. In pull routing models, some agents might consistently pick easier tickets while leaving complex ones untouched. Combat this with ticket queues that hide ticket details until assignment, or use guided mode (Enterprise) which restricts agents to accessing tickets only through the Play button.

Test before going live. Set up your routing rules in a sandbox environment first. Create test tickets through each channel and verify they route to the right agents with the right priorities. Adjust your rules based on what you learn.
Step 4: Implement tiered support structure
Tiered support is essential for multichannel environments. Not every agent should handle every type of issue. Without clear escalation paths, complex tickets clog up your queue while simple questions wait unnecessarily.
Define your tiers clearly:
- Tier 1 (Frontline): Handles common, repetitive issues like password resets, order status checks, and basic troubleshooting. These agents need broad knowledge but not deep technical expertise.
- Tier 2 (Specialized): Handles more complex issues that require specific product knowledge or access to internal tools. These might be billing disputes, technical configuration problems, or escalations from Tier 1.
- Tier 3 (Expert): Reserved for the most complex issues: bugs requiring engineering input, enterprise account management, or legal/compliance questions.
Keep it simple. Don't create more than three tiers. Each additional tier adds handoff delays and confusion. As one Zendesk community expert advised: "Don't overcomplicate your tiered structure. Simply and clearly define the roles and responsibilities of each tier so your agents know exactly when to escalate."
Use tags and custom fields. Create fields that identify ticket complexity, customer tier (bronze/silver/gold), or issue category. Use these in your routing rules to ensure tickets reach the right tier immediately rather than bouncing around.
Set up escalation paths. Define clear criteria for when Tier 1 should escalate to Tier 2. Create views or triggers that surface tickets approaching SLA breaches so they get attention before it's too late.
If you're looking to automate ticket classification, we have a guide on how to use AI to classify or tag support tickets that pairs well with tiered support structures.
Step 5: Train your team and monitor performance
Technology is only half the battle. Your agents need to understand how to work effectively in a multichannel environment.
Train on workflow, not just tools. Agents should understand:
- How to prioritize when multiple channels are active simultaneously
- When to guide customers to start new conversations for new topics
- How to maintain context when switching between tickets
- What your escalation criteria are and how to apply them
Track the right metrics. Monitor these KPIs closely:
- First response time: How quickly customers get an initial reply
- Resolution time: How long until issues are fully resolved
- CSAT scores: Customer satisfaction by channel
- Channel volume: Ticket counts per channel to identify demand patterns
- Agent utilization: Workload distribution across your team
Expect volume changes. When you enable multi-conversations, you'll likely see an increase in total ticket volume. Customers start more threads when it's easy to do so. This isn't bad, it means cleaner topic separation, but your staffing models may need adjustment.
Create feedback loops. Hold weekly reviews to discuss what's working and what isn't. Which channels are overwhelming agents? Where are customers getting stuck? Use this input to continuously refine your setup.
Common pitfalls and how to avoid them
Even well-planned multichannel rollouts hit snags. Here are the most common problems and how to sidestep them:
Task switching burnout. Agents bouncing between email, chat, phone, and social all day experience cognitive overload. The American Psychological Association found that switching between tasks can reduce productivity by up to 40%. Mitigate this by grouping similar work, letting agents focus on one channel at a time when possible, or using routing to distribute channel-specific work evenly.
Fragmented customer records. If authentication happens after a conversation starts, you end up with duplicate customer profiles and scattered conversation history. The fix is technical: ensure your authentication flow completes before any messaging begins.
Overcomplicated tier structures. Too many tiers create confusion and delay. Stick to three tiers maximum. If you find yourself needing more, the problem is probably unclear role definitions, not insufficient tiers.
Channel proliferation without resources. Every new channel needs staffing, training, and ongoing management. Don't add WhatsApp support just because it's trendy if you don't have agents who can monitor it consistently.
Ignoring self-service. A good multichannel strategy includes channels customers never need to use because they found answers themselves. Invest in your help center and knowledge base. For tips on deflecting tickets before they happen, see our guide on improving deflection rates.
Stale documentation. When you add channels or change workflows, update your help center immediately. Confused customers create unnecessary tickets.
Taking your Zendesk multichannel strategy further with AI
Once your multichannel foundation is solid, AI can help you scale without proportionally scaling your team. The goal isn't to replace human agents. It's to handle routine work automatically so your people can focus on what requires human judgment.
Here's how AI augments multichannel support:
Intelligent classification. AI can read incoming tickets and automatically categorize them by intent, urgency, and sentiment. This happens before a human ever sees the ticket, ensuring proper routing from the start.
Consistent draft responses. AI can suggest replies based on your past tickets, help center articles, and macros. These drafts maintain your team's tone and incorporate the right information, saving agents from typing the same responses repeatedly.
Progressive autonomy. Start with AI drafting replies for agent review. As you gain confidence in its accuracy, let it send simple responses directly. Eventually, it can handle full frontline support while escalating only the edge cases you define.
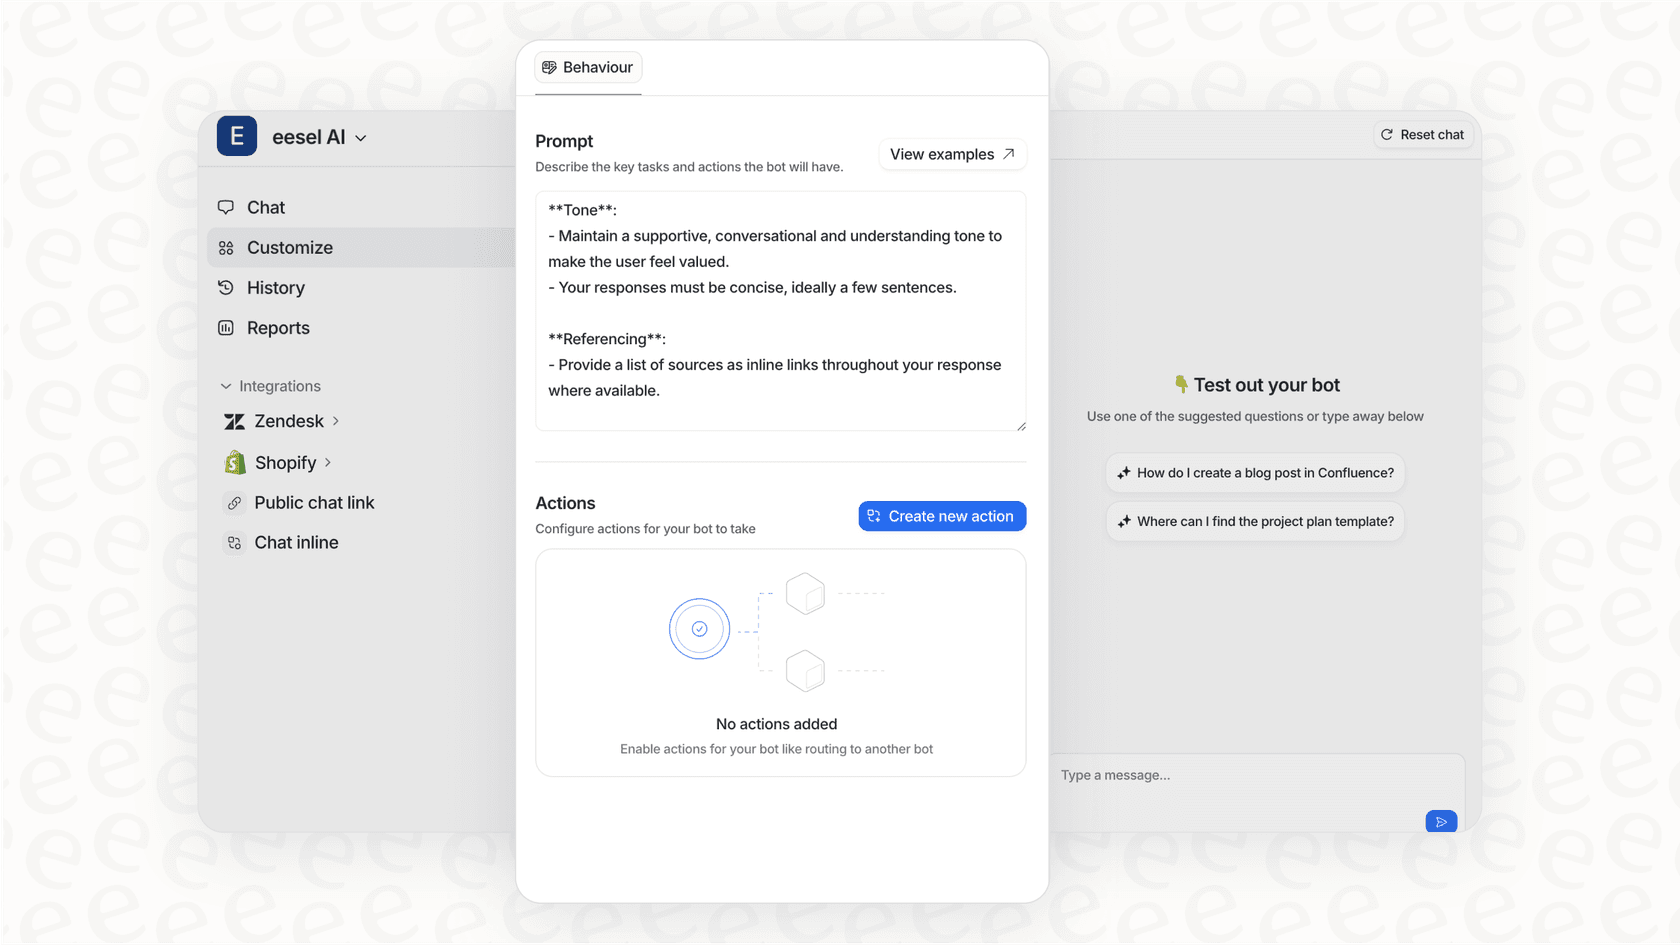
Plain English control. Modern AI tools let you define escalation rules in natural language. "Always escalate billing disputes over $500 to a human." "If the customer mentions 'lawsuit' or 'lawyer,' immediately flag for legal review." No complex workflow builders required.
We take a different approach to multichannel support. Instead of just organizing conversations better, we focus on resolving more of them autonomously from the start. Our AI agent integrates directly with Zendesk and learns from your existing tickets, help center, and macros. You can start with supervised drafts and gradually expand to full autonomous resolution as the AI proves itself.

The choice depends on your goals. If you want better organization of manual work, Zendesk's native multi-conversations work well. If you want to fundamentally reduce the manual workload, an AI-native approach might be worth exploring. Either way, the goal is the same: give customers a smoother support experience while making your team's work more manageable.
Start building your unified support strategy today
Let's recap the key steps:
- Choose your channels strategically. Start with 2-3 that cover most of your customer needs. Quality beats quantity.
- Configure Agent Workspace. This unified interface is the foundation of multichannel support. Set it up correctly, including that critical authentication timing.
- Set up intelligent routing. Use omnichannel routing and skills-based assignment to get tickets to the right agents efficiently.
- Implement tiered support. Keep it simple (three tiers max) with clear escalation criteria.
- Train your team and monitor. Track the right metrics and create feedback loops for continuous improvement.
The payoff? Reduced agent stress from context switching. Faster resolution times because tickets reach qualified agents immediately. Happier customers who can reach you however they prefer without repeating themselves.
Start with a pilot. Pick one channel or one customer segment and get it working smoothly before expanding. Multichannel support is a journey, not a switch you flip.
If you're looking to add AI capabilities to your Zendesk multichannel setup, invite us to your team. We integrate directly with your existing Zendesk environment and can start drafting replies for review within minutes of connecting.
Frequently Asked Questions
Share this article

Article by
Stevia Putri
Stevia Putri is a marketing generalist at eesel AI, where she helps turn powerful AI tools into stories that resonate. She’s driven by curiosity, clarity, and the human side of technology.