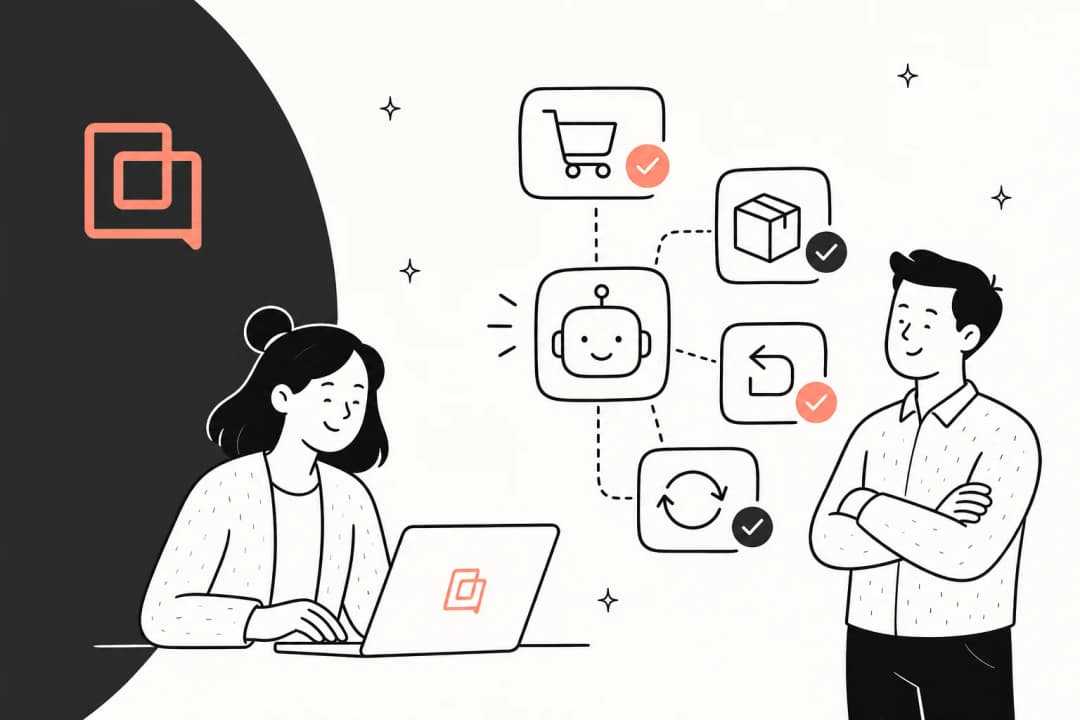
Setting up an AI agent for your helpdesk can feel overwhelming. The documentation is spread across multiple pages, and it's hard to know where to start. This guide brings everything together in one place. By the end, you'll have a clear path from initial setup to going live with Gorgias AI Agent.
If you're looking for alternatives that work beyond Shopify or need more flexible knowledge sources, we'll also touch on how eesel AI integrates with Gorgias as a complementary option.
What you'll need before you start
Before diving into the setup, make sure you have these requirements in place:
- Active AI Agent subscription. AI Agent is part of the Gorgias Automate add-on. You'll need this enabled on your account.
- Shopify store connected to Gorgias. This is mandatory. AI Agent only works with Shopify stores and is not compatible with BigCommerce, Magento, or WooCommerce.
- Lead, Admin, or Account Owner permissions. Only these permission levels can configure AI Agent settings.
- At least one knowledge source ready. You'll need Help Center articles, website content, or documents prepared before AI Agent can start learning.
.webp&w=1680&q=75)
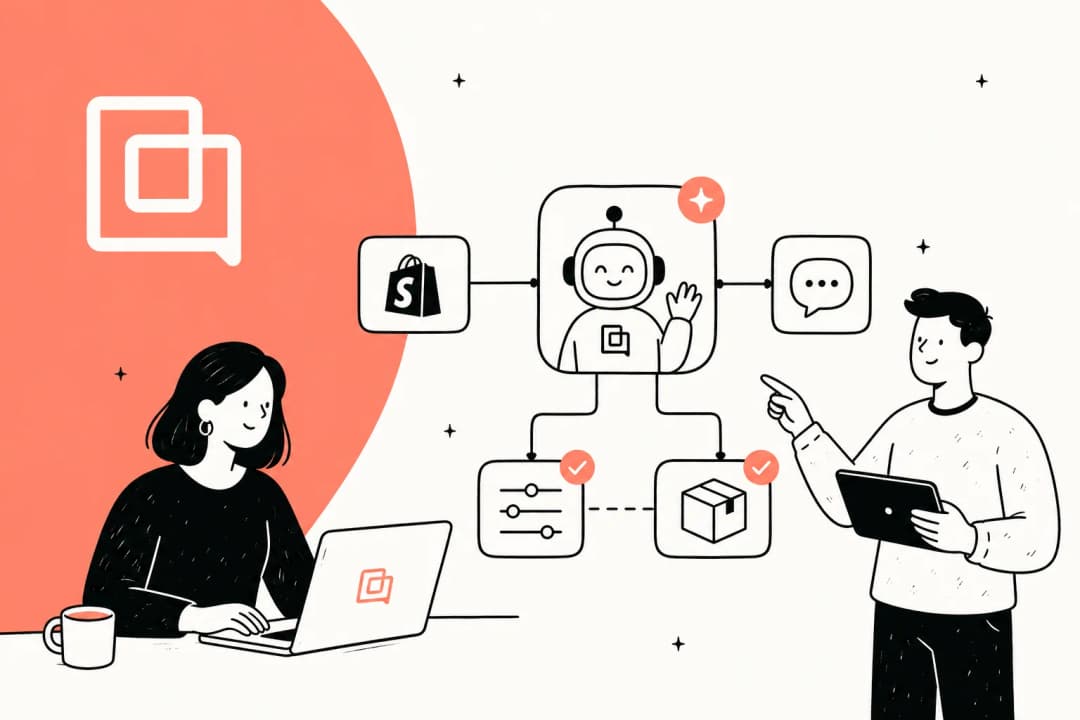
Step 1: Connect Shopify and enable data permissions
AI Agent needs access to your Shopify data to provide personalized responses about orders, products, and customer history. Here's how to set that up:
- Go to Settings > My Apps in your Gorgias dashboard, then select Shopify
- Select your store, then click Update App Permissions
- Sign in to Shopify to confirm the updated permissions
One important limitation to understand: AI Agent can only access data from a customer's last 10 orders. This is a built-in constraint that affects how the AI handles order-related questions. If a customer asks about an order beyond their most recent 10, the AI won't have that information and may need to escalate to a human agent.
Step 2: Add your brand's content to train AI Agent
Now comes the critical part: teaching your AI Agent what it needs to know. Navigate to AI Agent > Knowledge in your dashboard. You'll need at least one knowledge source enabled before you can activate AI Agent.
Here's what you can feed into the system:
- Help Center articles. This is your primary knowledge source. Both public and internal articles work.
- Website content. Your store website is automatically synced and transformed into Q&A-like snippets.
- Public URLs. You can add up to 10 specific URLs (FAQ pages, return policies, warranty information, blog posts).
- Uploaded documents. PDFs, Word documents, PowerPoint files, and Excel spreadsheets are all supported.
- Custom Guidance. Plain English instructions using "When, If, Then" logic to handle specific scenarios.
Best practice: Start with your most frequently asked questions. Shipping policies, return procedures, and order tracking instructions are usually the highest-impact content to include first.
Step 3: Customize AI Agent behavior
With knowledge in place, it's time to configure how your AI Agent behaves. Access the AI Agent settings to fine-tune these key areas:
Tone of voice. Choose how your AI sounds when responding to customers. The tone automatically adapts for Chat to be more conversational and concise compared to email responses.
Handover rules. Define when AI Agent should escalate to human agents. This includes confidence thresholds, specific topics that always require human attention, and customer frustration detection.
Auto-tagging and ticket fields. Configure which tags AI Agent should automatically apply and which ticket fields it should populate. This helps with reporting and routing.
Sales settings. If you're using the Shopping Assistant upgrade, you can configure product recommendations and discount code settings.
Guidance. Write custom instructions in plain English for specific scenarios. For example: "When a customer asks about returns over 30 days old, politely decline and offer store credit instead."
.webp&w=1680&q=75)
Step 4: Test before going live
Testing isn't optional, it's essential. Gorgias provides a test conversation feature that lets you preview how AI Agent responds without affecting real customers or reporting.
To start testing:
- Go to AI Agent and click Test
- Click Configure to set your test channel and audience type
- Enter messages to see how AI Agent responds
- Review the responses for accuracy, tone, and completeness
Pay attention to knowledge gaps. If the AI can't answer common questions, you need to add more content to your knowledge base. Also test your handover scenarios to make sure escalation happens when it should.
For Actions (automated tasks like canceling orders), you can test with fake customer profiles to avoid affecting real data. Just remember to explicitly allow actions in your test configuration to see them in action.
Step 5: Deploy on your channels
Once testing looks good, it's time to go live. AI Agent can be deployed across three channels:
Email deployment
- Go to AI Agent > Deploy > Email
- Select the email addresses you want AI Agent to monitor
- Toggle Enable AI Agent on Email to on
- Save changes
AI Agent will monitor these inboxes and respond to incoming tickets. It also handles tickets submitted through Order Management and Flows that are linked to the same email addresses.
Chat deployment
- Go to AI Agent > Deploy > Chat
- Select the chat widgets to connect
- Configure your handover preferences
- Toggle Enable AI Agent on Chat to on
- Save changes
Note that Article Recommendations are automatically disabled when you enable AI Agent on Chat. This prevents conflicting messages to customers.
SMS deployment
- Go to AI Agent > Deploy > SMS
- Select your SMS-enabled phone numbers
- Toggle Enable AI Agent on SMS to on
- Save changes
SMS requires a separate SMS add-on subscription from Gorgias.
.webp&w=1680&q=75)
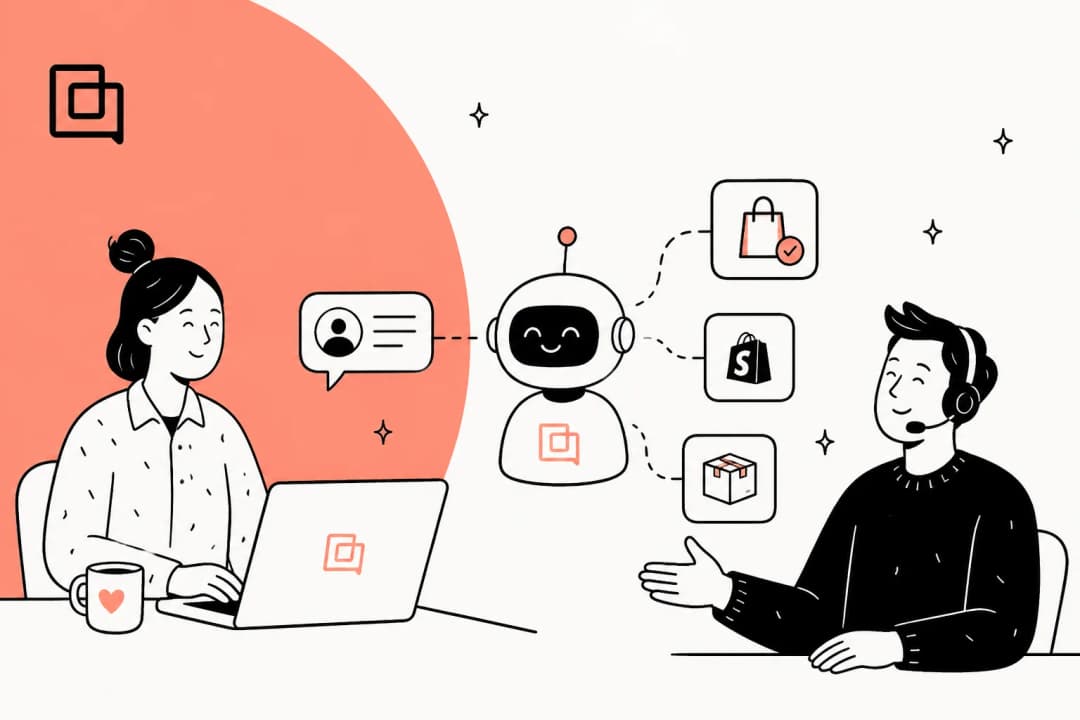
Step 6: Set up Actions for advanced automation
Actions take AI Agent beyond just answering questions to actually doing things. With Actions, your AI can cancel orders, edit shipping addresses, manage subscriptions, and interact with third-party apps.
You have two options for creating Actions:
Start from a template. Gorgias offers pre-built templates for common tasks like canceling orders or editing addresses. These come with recommended conditions and settings already configured.
Build custom Actions. Use the Action editor to create workflows from scratch. You can add multiple steps, set conditions based on customer or order data, and connect to various apps via API.
Key components of an Action:
- Conditions. Define when the Action should trigger (e.g., "order is less than 30 days old")
- Steps. The actual tasks AI Agent performs (e.g., "cancel order in Shopify")
- Customer confirmation. For consequential actions like cancellations, require customer approval before proceeding
Test each Action thoroughly before relying on it. Actions in test mode can affect real customer data unless you configure the test to target a fake profile.
.webp&w=1680&q=75)
Tips for success and common pitfalls
Once you're live, these practices will help you get the most from AI Agent:
- Update your knowledge base regularly. Outdated information leads to incorrect answers and frustrated customers.
- Monitor AI Agent ticket Views daily. Check the Processing, Close, Handover, and Ignore views to understand how AI Agent is performing.
- Give feedback on handled tickets. When you review AI Agent conversations, mark good and bad responses. This helps improve performance over time.
- Start with one channel. Many teams begin with email, get comfortable with how AI Agent performs, then expand to Chat and SMS.
Common mistakes to avoid:
- Insufficient knowledge coverage. If customers keep asking questions the AI can't answer, expand your knowledge base before blaming the AI.
- Unclear handover rules. Make sure your escalation criteria are specific enough to catch situations that need human attention.
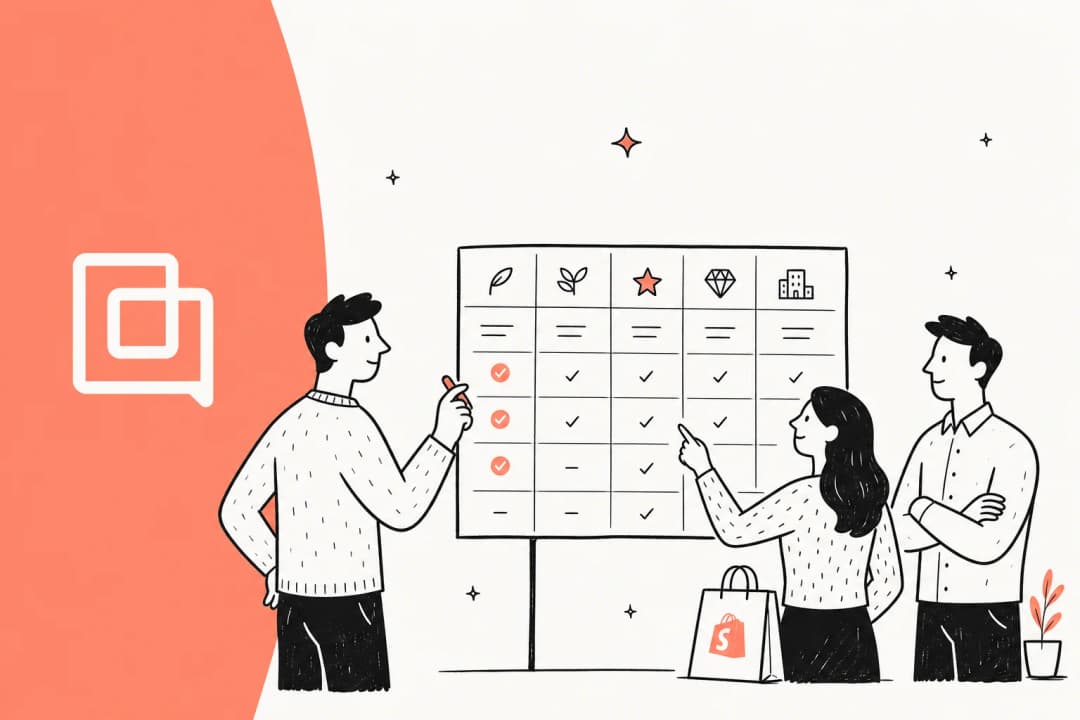
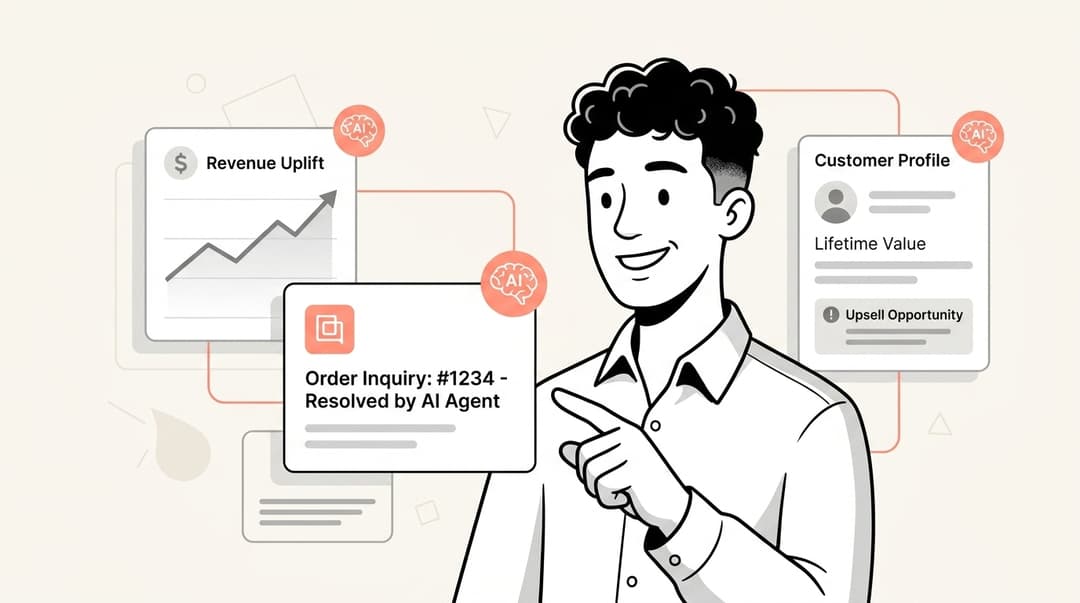
Considering alternatives? When eesel AI might be a better fit
Gorgias AI Agent works well for Shopify-focused brands, but it's not the right fit for every team. Here are some scenarios where you might want to consider eesel AI as an alternative or complementary solution:

You're not on Shopify. Gorgias AI Agent is Shopify-only. If you're using BigCommerce, Magento, WooCommerce, or a custom platform, eesel AI works across all of them.
Your knowledge is scattered. Gorgias AI Agent pulls from Help Center, website content, and uploaded documents. If your team has critical information in Confluence, Google Docs, Notion, or other sources, eesel AI can connect to all of them alongside your Gorgias data.
You want to learn from past tickets. Gorgias AI Agent doesn't train on historical ticket data. eesel AI learns from your past tickets and macros automatically, capturing your team's knowledge and tone of voice.
You need extensive testing before going live. While Gorgias offers test conversations, eesel AI provides bulk simulation on thousands of past tickets so you can measure accuracy and deflection rates before deploying.
You want plain-English control. eesel AI lets you define behavior, escalation rules, and workflows using natural language prompts rather than structured configuration.
For teams already using Gorgias who want these additional capabilities, eesel AI integrates directly with your Gorgias helpdesk. You can explore the eesel AI Gorgias integration to see how it complements your existing setup.