Managing user accounts at scale is one of those tasks that starts simple and gets complicated fast. Whether you're onboarding customers from a new acquisition, syncing users from your internal database, or building a self-service registration flow, you'll eventually need to create Zendesk users programmatically.
The Zendesk Users API gives you the tools to do this. It's a RESTful API that handles everything from creating individual users to bulk importing thousands at once. This guide walks you through the practical steps to get it working, with working code examples you can adapt to your stack.
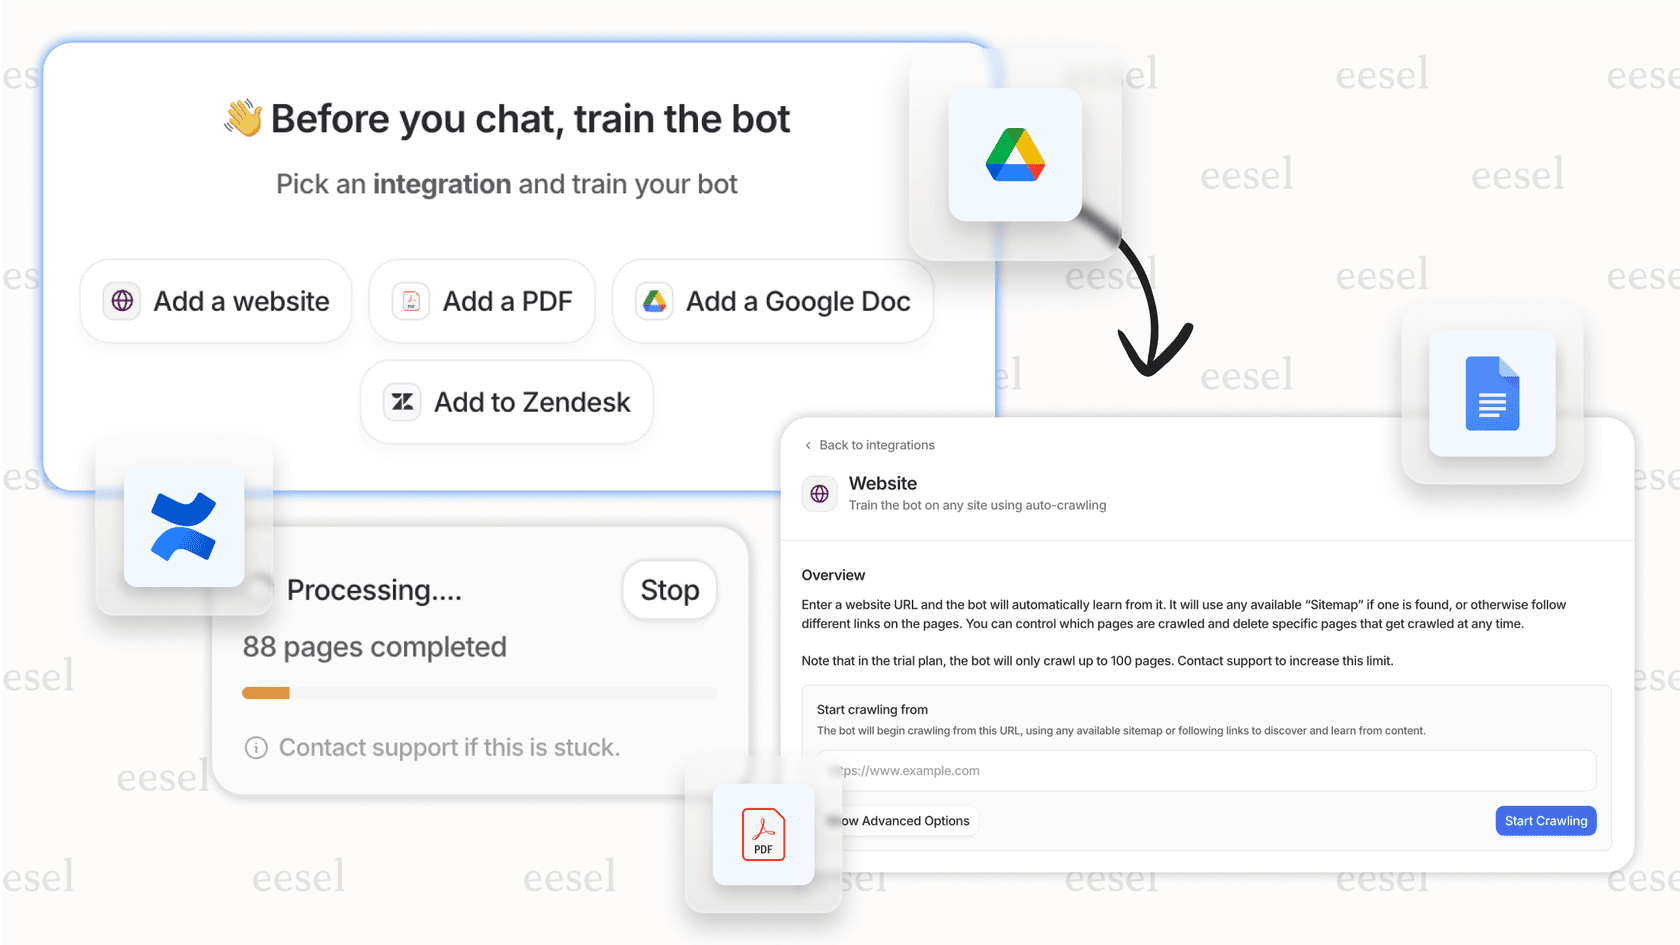
If you're looking to automate more than just user creation, tools like eesel AI for Zendesk can handle the full spectrum of support automation, from ticket routing to AI-powered responses.

What you'll need
Before you start making API calls, make sure you have:
- A Zendesk account with admin access only admins can create API tokens and manage users via API
- An API token or OAuth credentials we'll cover how to generate these below
- Basic familiarity with REST APIs you should know what a POST request is
- A development environment cURL, Python, or Node.js will work fine
Step 1: set up API authentication
Zendesk supports two main authentication methods for API access: API tokens and OAuth. For most server-to-server integrations, API tokens are simpler to implement.
Generating an API token
- Sign in to your Zendesk account as an administrator
- Navigate to the Admin Center (click the gear icon, then "Go to Admin Center")
- Go to Apps and integrations → APIs → Zendesk API
- Click the Settings tab and ensure Token Access is enabled
- Switch to the API tokens tab and click Add API token
- Enter a descriptive name like "User Sync Integration"
- Copy the token immediately Zendesk only displays it once

Formatting your authentication header
Zendesk uses Basic authentication with your API token. The format is:
- Username: Your Zendesk email address with
/tokenappended (e.g.,you@company.com/token) - Password: The API token itself
Base64 encode these credentials and include them in the Authorization header:
curl https://your-subdomain.zendesk.com/api/v2/users.json \
  -u you@company.com/token:your_api_token_here
Or in Python:
import requests
from requests.auth import HTTPBasicAuth

subdomain = "your-subdomain"
email = "you@company.com"
token = "your_api_token_here"

auth = HTTPBasicAuth(f"{email}/token", token)
headers = {"Content-Type": "application/json"}

url = f"https://{subdomain}.zendesk.com/api/v2/users.json"
response = requests.get(url, auth=auth, headers=headers)
print(response.json())
Security best practices
- Store API tokens in environment variables, never in your code
- Rotate tokens periodically delete old ones and generate new ones
- Use descriptive token names so you know what each one is for
- Delete tokens when integrations are decommissioned
- Consider creating a dedicated service user with limited permissions rather than using an admin's token
Step 2: create a single user
The simplest way to create a user is through the POST /api/v2/users endpoint. At minimum, you need to provide a name.
Required and optional parameters
| Parameter | Required | Description |
|---|---|---|
name | Yes | The user's full name |
email | No | Primary email address (creates an identity) |
role | No | end-user (default), agent, or admin |
organization_id | No | ID of the organization to assign |
external_id | No | Your system's unique identifier for this user |
verified | No | Set to true to skip email verification |
Understanding user roles
Zendesk has three built-in roles:
- end-user: Customers who submit tickets (default if no role specified)
- agent: Support staff who handle tickets
- admin: Full administrative access
For Enterprise plans, you can also assign custom agent roles using the custom_role_id parameter. Note that custom roles must be created in the Admin Center first you cannot create them via API.
Code examples
cURL:
curl https://your-subdomain.zendesk.com/api/v2/users.json \
  -d '{"user": {"name": "Jane Smith", "email": "jane@example.com", "role": "end-user"}}' \
  -H "Content-Type: application/json" \
  -X POST \
  -u you@company.com/token:your_api_token
Python:
import requests
import json
from requests.auth import HTTPBasicAuth

subdomain = "your-subdomain"
auth = HTTPBasicAuth("you@company.com/token", "your_api_token")
headers = {"Content-Type": "application/json"}

user_data = {
    "user": {
        "name": "Jane Smith",
        "email": "jane@example.com",
        "role": "end-user",
        "external_id": "user_12345"
    }
}

response = requests.post(
    f"https://{subdomain}.zendesk.com/api/v2/users.json",
    auth=auth,
    headers=headers,
    json=user_data
)

if response.status_code == 201:
    user = response.json()["user"]
    print(f"Created user {user['id']}: {user['name']}")
else:
    print(f"Error: {response.status_code} - {response.text}")
JavaScript (Node.js with axios):
const axios = require('axios');

const subdomain = 'your-subdomain';
const email = 'you@company.com';
const token = 'your_api_token';

const userData = {
  user: {
    name: 'Jane Smith',
    email: 'jane@example.com',
    role: 'end-user',
    external_id: 'user_12345'
  }
};

axios.post(
  `https://${subdomain}.zendesk.com/api/v2/users.json`,
  userData,
  {
    auth: {
      username: `${email}/token`,
      password: token
    },
    headers: {
      'Content-Type': 'application/json'
    }
  }
)
.then(response => {
  const user = response.data.user;
  console.log(`Created user ${user.id}: ${user.name}`);
})
.catch(error => {
  console.error('Error:', error.response?.data || error.message);
});
Interpreting the response
A successful creation returns HTTP 201 Created with the user object:
{
  "user": {
    "id": 9873843,
    "name": "Jane Smith",
    "email": "jane@example.com",
    "role": "end-user",
    "created_at": "2024-01-15T10:30:00Z",
    "updated_at": "2024-01-15T10:30:00Z",
    "active": true,
    "verified": false
  }
}
Step 3: create or update users (upsert)
What happens if you try to create a user who already exists? The standard create endpoint returns a 422 error. For sync scenarios where you're regularly importing users from an external system, use the create_or_update endpoint instead.
When to use create_or_update
Use POST /api/v2/users/create_or_update when:
- You're syncing users from an external database
- You want idempotent operations (same request produces same result)
- You don't want to check if a user exists before creating
How matching works
Zendesk matches users by:
- External ID if provided, this takes precedence
- Email address if no external ID match found
Response codes
| Status | Meaning |
|---|---|
| 201 Created | New user was created |
| 200 OK | Existing user was updated |
Practical example: syncing from an external system
import requests
from requests.auth import HTTPBasicAuth

auth = HTTPBasicAuth("you@company.com/token", "your_api_token")
headers = {"Content-Type": "application/json"}

external_users = [
    {"name": "Jane Smith", "email": "jane@example.com", "external_id": "usr_001"},
    {"name": "John Doe", "email": "john@example.com", "external_id": "usr_002"}
]

for external_user in external_users:
    user_data = {"user": external_user}

    response = requests.post(
        "https://your-subdomain.zendesk.com/api/v2/users/create_or_update.json",
        auth=auth,
        headers=headers,
        json=user_data
    )

    if response.status_code == 201:
        print(f"Created: {external_user['email']}")
    elif response.status_code == 200:
        print(f"Updated: {external_user['email']}")
    else:
        print(f"Failed: {external_user['email']} - {response.text}")
Step 4: create multiple users in bulk
If you need to create hundreds or thousands of users, individual API calls are inefficient. Zendesk provides a bulk endpoint that accepts up to 100 users per request.
Endpoint and limitations
- Endpoint:
POST /api/v2/users/create_many - Limit: 100 users per request
- Enablement: Bulk imports must be enabled by Zendesk support (contact them if you get 403 errors)
Understanding job_status responses
Unlike single-user creation, bulk operations are asynchronous. The API returns immediately with a job_status object, and the actual creation happens in the background:
{
  "job_status": {
    "id": "82de0b044094f0c67893ac9fe64f1a99",
    "status": "queued",
    "total": 50,
    "progress": 0,
    "url": "https://your-subdomain.zendesk.com/api/v2/job_statuses/82de0b044094f0c67893ac9fe64f1a99"
  }
}
Poll the job status URL to track progress:
def check_job_status(job_url):
    response = requests.get(job_url, auth=auth)
    job = response.json()["job_status"]

    print(f"Status: {job['status']}, Progress: {job['progress']}/{job['total']}")

    if job["status"] == "completed":
        for result in job.get("results", []):
            print(f"  {result['action']}: User {result['id']} - {result['status']}")

    return job["status"]

import time
while check_job_status(job_url) != "completed":
    time.sleep(5)
When bulk makes sense
| Scenario | Approach |
|---|---|
| 1-50 users | Individual API calls |
| 50-10,000 users | Bulk API with batching |
| 10,000+ users | Contact Zendesk for import assistance |
Bulk creation example
users_to_create = [
    {"name": "User One", "email": "user1@example.com", "role": "end-user"},
    {"name": "User Two", "email": "user2@example.com", "role": "end-user"},
    # ... up to 100 users
]

response = requests.post(
    "https://your-subdomain.zendesk.com/api/v2/users/create_many.json",
    auth=auth,
    headers=headers,
    json={"users": users_to_create}
)

if response.status_code == 200:
    job = response.json()["job_status"]
    print(f"Job queued: {job['id']}")
else:
    print(f"Error: {response.status_code} - {response.text}")
Common errors and troubleshooting
Even with the right code, things can go wrong. Here's how to handle the most common issues:
401 Unauthorized
Your authentication credentials are invalid. Check:
- Is the email address correct?
- Did you append
/tokento the username? - Is the API token still active (not deleted)?
- Are you using the right subdomain?
403 Forbidden
You don't have permission for this action. Common causes:
- The API token belongs to an agent, not an admin
- Bulk imports aren't enabled on your account (contact Zendesk support)
- You're trying to create an admin user without sufficient permissions
422 Unprocessable Entity
The request data is invalid. Check:
- Is the
namefield present? (it's required) - Is the email format valid?
- Is the role one of:
end-user,agent,admin? - Does the organization_id exist?
429 Too Many Requests
You've hit Zendesk's rate limit. The API returns a Retry-After header indicating how many seconds to wait. Implement exponential backoff in your code:
import time

def api_call_with_retry(url, auth, headers, json_data, max_retries=3):
    for attempt in range(max_retries):
        response = requests.post(url, auth=auth, headers=headers, json=json_data)

        if response.status_code == 429:
            retry_after = int(response.headers.get('Retry-After', 60))
            print(f"Rate limited. Waiting {retry_after} seconds...")
            time.sleep(retry_after)
            continue

        return response

    raise Exception("Max retries exceeded")
Duplicate email errors
If you get a 422 error mentioning "Email has already been taken," either:
- Use the
create_or_updateendpoint instead - Check if the user exists first with
GET /api/v2/users/search?query=email@example.com
Best practices for user management automation
After working with the Zendesk Users API, here are patterns that consistently work well:
Use external_id for idempotency
Always include an external_id that maps to your internal user ID. This makes operations idempotent and simplifies syncing:
user_data = {
    "user": {
        "name": "Jane Smith",
        "email": "jane@example.com",
        "external_id": f"internal_db_{internal_user_id}"
    }
}
Set verified status to skip email verification
If you're creating users from a trusted source (like your own database), set verified: true to prevent Zendesk from sending verification emails:
user_data = {
    "user": {
        "name": "Jane Smith",
        "email": "jane@example.com",
        "verified": True  # Skip verification email
    }
}
Handle custom roles correctly
Custom roles are an Enterprise feature. To assign them:
- Create the custom role in Admin Center first
- Get the
custom_role_idfrom the role's URL or API - Set both
role: "agent"andcustom_role_id: 12345
Implement proper error handling
Don't assume API calls succeed. Wrap calls in try/except blocks and handle specific error cases:
try:
    response = requests.post(url, auth=auth, headers=headers, json=data)
    response.raise_for_status()
except requests.exceptions.HTTPError as e:
    if response.status_code == 422:
        errors = response.json().get("details", {})
        print(f"Validation error: {errors}")
    else:
        raise
Store credentials safely
Never hardcode API tokens. Use environment variables:
import os

ZENDESK_SUBDOMAIN = os.environ.get("ZENDESK_SUBDOMAIN")
ZENDESK_EMAIL = os.environ.get("ZENDESK_EMAIL")
ZENDESK_TOKEN = os.environ.get("ZENDESK_TOKEN")
Consider broader automation needs
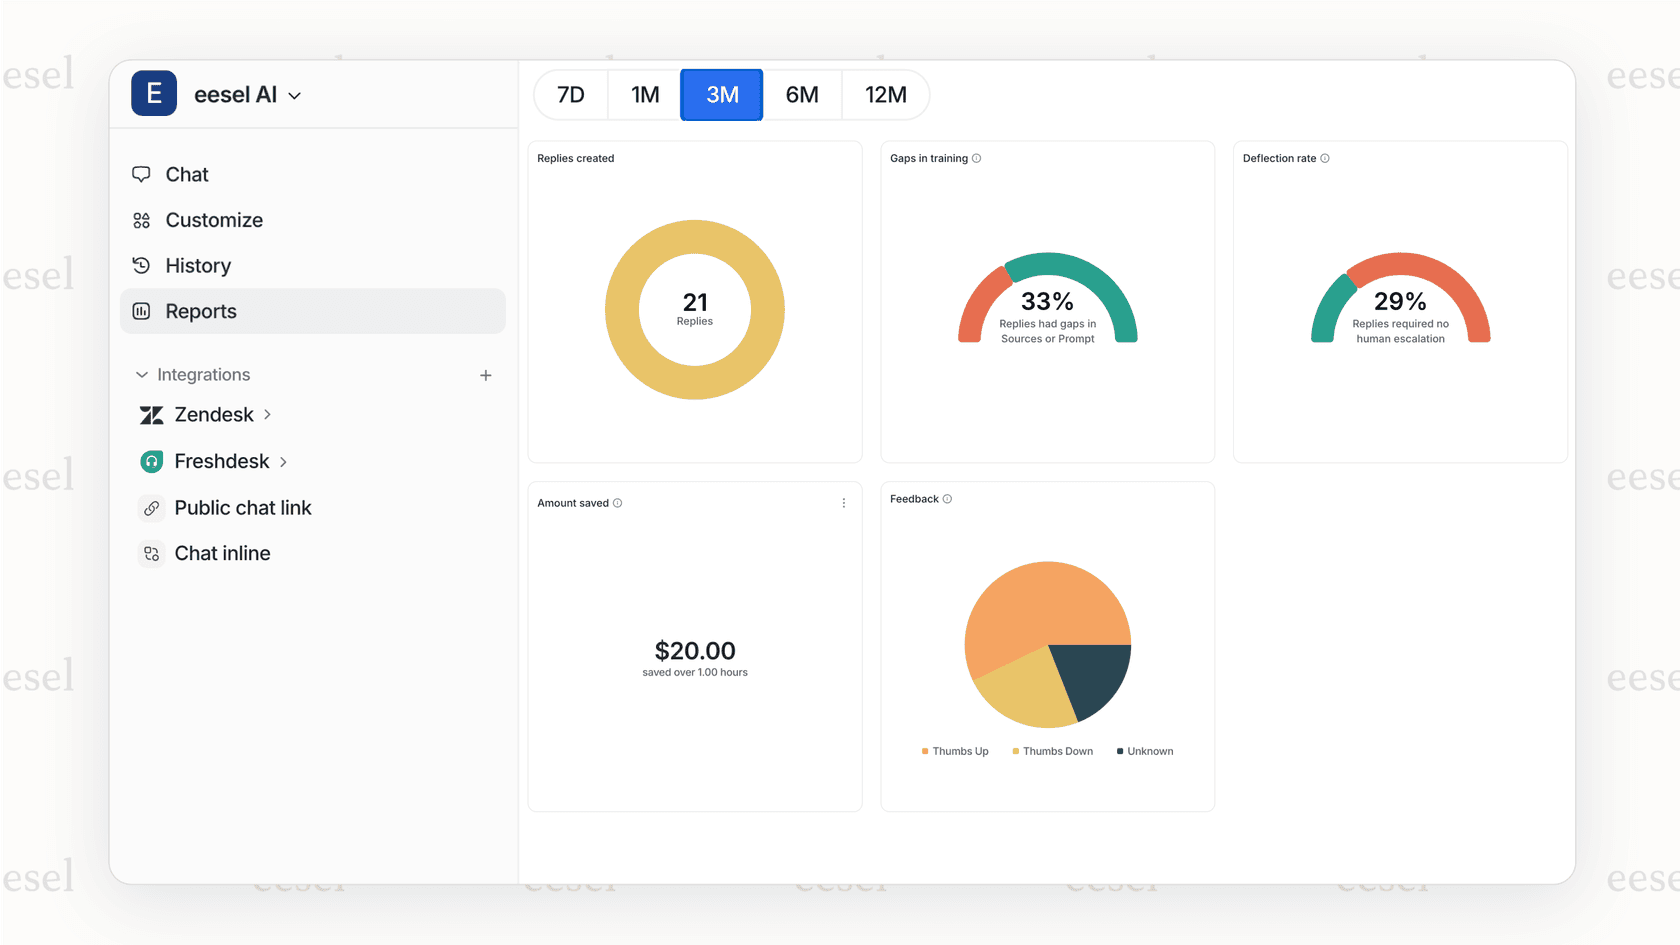
If you're automating user creation, you're likely managing a growing support operation. While the Zendesk API handles user management, you might also need to automate ticket handling, routing, and responses. eesel AI integrates with Zendesk to handle these workflows automatically, from classifying and tagging tickets to drafting AI-powered responses.
Start automating your Zendesk workflows
You now have the foundation to create Zendesk users programmatically. Whether you're building a user sync integration, automating onboarding, or managing a large customer base, the Users API gives you the control you need.
The patterns in this guide authentication, single creation, upserts, and bulk operations cover most real-world scenarios. Start with the single user endpoint to validate your setup, then move to bulk operations as your scale increases.
If you're looking to automate beyond user creation, consider how AI can streamline your entire support workflow. eesel AI integrates with Zendesk to handle ticket triage, response drafting, and intelligent routing reducing manual work while improving response times. You can explore our AI agent for customer service to see how automation can extend throughout your support stack.