If you're building an integration with Zendesk, authentication is your first hurdle. Get it wrong and you'll spend hours debugging mysterious 403 errors. Get it right and you'll have a secure, maintainable connection that just works.
This guide covers everything you need to know about Zendesk API authentication in 2026. We'll walk through the different authentication methods, explain how OAuth scopes work, and show you exactly how to implement them with working code examples.
At eesel AI, we build integrations with Zendesk every day. We have seen what works, what breaks, and how to avoid the common pitfalls that trip up developers.
Understanding Zendesk API authentication methods
Zendesk offers three ways to authenticate API requests, though one is being phased out. Let's break down your options.
The three authentication options
| Method | Best For | Security Level | Ease of Setup |
|---|---|---|---|
| API Token | Internal scripts, single-user apps | Medium | Easy |
| OAuth Access Token | Multi-user apps, third-party integrations | High | Moderate |
| Password (Basic Auth) | Legacy systems only | Low | Easy |
Password authentication is deprecated and Zendesk recommends migrating to API tokens or OAuth. If you're starting fresh, skip passwords entirely.
API token authentication
API tokens are the simplest option. They're auto-generated passwords you create in the Zendesk Admin Center.
Here's how the credentials work:
{email_address}/token:{api_token}
For example:
jdoe@example.com/token:6wiIBWbGkBMo1mRDMuVwkw1EPsNkeUj95PIz2akv
When you base64-encode this string, your Authorization header looks like:
Authorization: Basic amRvZUBleGFtcGxlLmNvbS90b2tlbjo2d2lJQldiR2tCTW8xbVJETXVWd2t3MUVQc05rZVVqOTVQSXoyYWt2
Or with curl:
curl https://yourdomain.zendesk.com/api/v2/users.json \
  -u jdoe@example.com/token:6wiIBWbGkBMo1mRDMuVwkw1EPsNkeUj95PIz2akv
Key limitations to know:
- You can have up to 256 active tokens (2048 if you already exceeded 256)
- Tokens can impersonate any user in the account, including admins
- No granular permissions: a token has the same access as the user who created it
- Tokens don't expire unless you manually revoke them
Source: Zendesk Security and Authentication Docs
OAuth access token authentication
OAuth is the better choice for most integrations. It gives you granular control over permissions through scopes, and tokens are tied to specific users rather than having broad account access.
The flow works like this:
- Your app redirects the user to Zendesk to authorize access
- User grants permission and Zendesk sends an authorization code to your app
- Your app exchanges the code for an access token
- You use the Bearer token in API requests
Here's what a request looks like:
curl https://yourdomain.zendesk.com/api/v2/users.json \
  -H "Authorization: Bearer gErypPlm4dOVgGRvA1ZzMH5MQ3nLo8bo"
OAuth also supports client-side API requests from browsers, which API tokens cannot do due to CORS restrictions.

Source: Zendesk OAuth Help Documentation
OAuth scopes explained
Scopes are the heart of OAuth security. They let you request only the permissions your app actually needs, following the principle of least privilege.
What are OAuth scopes?
Think of scopes as permission slips. Instead of getting full access to a Zendesk account, you request specific capabilities. A reporting tool might only need read access to tickets. A sync tool needs read and write access. An admin dashboard might need impersonation rights to act on behalf of users.
Broad scopes
These give general access across all resources:
read: Access to GET endpoints and sideloading related resourceswrite: Access to POST, PUT, and DELETE endpoints for creating, updating, and deletingimpersonate: Allows admins to make requests on behalf of end users
Resource-specific scopes
For finer control, you can scope permissions to specific resources:
| Resource | Read Scope | Write Scope |
|---|---|---|
| Tickets | tickets:read | tickets:write |
| Users | users:read | users:write |
| Organizations | organizations:read | organizations:write |
| Help Center | hc:read | hc:write |
| Apps | apps:read | apps:write |
| Triggers | triggers:read | triggers:write |
| Automations | automations:read | automations:write |
| Webhooks | webhooks:read | webhooks:write |
| Macros | macros:read | macros:write |
| Requests | requests:read | requests:write |
| Satisfaction Ratings | satisfaction_ratings:read | satisfaction_ratings:write |
| Audit Logs | auditlogs:read | N/A (read-only) |
Some resources are write-only: any_channel:write and web_widget:write.
Source: Zendesk OAuth Tokens API Reference
Scope format differences (important!)
Here's where developers often get tripped up. Zendesk uses different formats depending on which endpoint you use:
For the OAuth Tokens API (/api/v2/oauth/tokens):
{
  "token": {
    "client_id": 1234,
    "scopes": ["tickets:read", "users:read"]
  }
}
For the authorization flow (/oauth/tokens):
{
  "grant_type": "authorization_code",
  "scope": "tickets:read users:read"
}
The first uses an array. The second uses a space-separated string. Mix these up and you'll get confusing errors.
Implementing OAuth authentication
Let's walk through the complete implementation, step by step.
Step 1: Create an OAuth client
First, you need to register your application with Zendesk.
-
In the Zendesk Admin Center, navigate to Apps and integrations > APIs > OAuth clients
-
Click Add OAuth client
-
Fill in the details:
- Name: Your app name (users see this when authorizing)
- Description: Brief explanation of what your app does
- Client kind: Choose Public for mobile/SPA apps or Confidential for server-side apps
- Redirect URLs: Your callback URLs (must be HTTPS except for localhost)
-
Click Save
-
Copy the Secret value immediately. It's only shown once.
-
Note your Unique Identifier (this is your
client_id)
Understanding client kinds:
- Confidential clients run on secure servers where credentials can be protected. They can use PKCE, client secrets, or both.
- Public clients run in browsers or mobile apps where credentials are visible. They must use PKCE for security.
If you're building a server-side integration, choose Confidential. For JavaScript apps or mobile apps, choose Public.
Source: Zendesk OAuth Help Documentation
Step 2: Request authorization
Send your users to Zendesk's authorization page:
https://{subdomain}.zendesk.com/oauth/authorizations/new?
  response_type=code&
  redirect_uri=https://yourapp.com/callback&
  client_id=your_unique_identifier&
  scope=read%20write&
  state=random_state_string
Required parameters:
response_type=code(you want an authorization code back)redirect_uri(must match what you registered)client_id(your unique identifier)scope(space-separated list of permissions)
Optional but recommended:
state(random string to prevent CSRF attacks)code_challengeandcode_challenge_method=S256(for PKCE)
The user sees an authorization page asking if they want to grant your app access. If they approve, Zendesk redirects to your redirect_uri with an authorization code:
https://yourapp.com/callback?code=7xqwtlf3rrdj8uyeb1yf
Important: The authorization code expires in 120 seconds. Exchange it promptly.
Step 3: Exchange code for access token
Make a POST request to exchange the code:
curl https://{subdomain}.zendesk.com/oauth/tokens \
  -H "Content-Type: application/json" \
  -d '{
    "grant_type": "authorization_code",
    "code": "7xqwtlf3rrdj8uyeb1yf",
    "client_id": "your_unique_identifier",
    "client_secret": "your_client_secret",
    "redirect_uri": "https://yourapp.com/callback",
    "scope": "read write",
    "expires_in": 172800,
    "refresh_token_expires_in": 7776000
  }'
You'll get a response like:
{
  "access_token": "gErypPlm4dOVgGRvA1ZzMH5MQ3nLo8bo",
  "refresh_token": "31048ba4d7c601302f3173f243da835f",
  "token_type": "bearer",
  "scope": "read write",
  "expires_in": 172800,
  "refresh_token_expires_in": 7776000
}
Store both tokens securely. The access token is used for API calls. The refresh token gets you a new access token when the current one expires.
Token expiration settings:
expires_in: 300 seconds (5 minutes) to 172,800 seconds (2 days)refresh_token_expires_in: 604,800 seconds (7 days) to 7,776,000 seconds (90 days)
Source: Zendesk OAuth Help Documentation
Step 4: Make authenticated API requests
Now use your access token:
curl https://{subdomain}.zendesk.com/api/v2/tickets.json \
  -H "Authorization: Bearer gErypPlm4dOVgGRvA1ZzMH5MQ3nLo8bo"
Or in Python:
import requests

headers = {
    "Authorization": f"Bearer {access_token}"
}
response = requests.get(
    "https://yourdomain.zendesk.com/api/v2/tickets.json",
    headers=headers
)
Or in Node.js:
const axios = require('axios');

const response = await axios.get(
  'https://yourdomain.zendesk.com/api/v2/tickets.json',
  {
    headers: {
      'Authorization': `Bearer ${access_token}`
    }
  }
);
When the access token expires, use the refresh token to get a new one without requiring the user to re-authorize.
Common scope configurations by use case
Different integrations need different permissions. Here are typical scope configurations for common scenarios.
Read-only reporting tools
For dashboards that pull ticket data without making changes:
read
Or more specifically:
tickets:read users:read organizations:read
This gives your tool access to view tickets, users, and organizations without the ability to modify anything.
Two-way sync integrations
For syncing Zendesk with a CRM or other systems:
tickets:read tickets:write users:read users:write organizations:read organizations:write
This lets you read existing data and push updates back to Zendesk.
Help Center content management
For tools that manage knowledge base articles:
hc:read hc:write
This scopes permissions to Help Center content only, keeping tickets and user data off-limits.
Customer-facing portals
For embedded widgets where end users create and view their own tickets:
requests:read requests:write impersonate
The impersonate scope lets your app create tickets on behalf of end users without them needing Zendesk accounts.
Troubleshooting authentication errors
Even with the right setup, things go wrong. Here is how to fix the most common issues.
403 Forbidden errors
A 403 means your token is valid but you don't have permission for that action.
Causes:
- Missing required scope for the endpoint
- Wrong scope format (array vs string)
- User role doesn't allow that action (e.g., agent trying to use admin-only endpoints)
Fix: Check the API documentation for the endpoint's required scope. Verify your token has that scope using the Show Token endpoint.
401 Unauthorized errors
A 401 means your token is invalid, expired, or malformed.
Causes:
- Token has expired (if you set an expiration)
- Token was revoked by the user or an admin
- Token format is wrong (missing "Bearer" prefix, for example)
Fix: Refresh the token if you have a refresh token. Otherwise, redirect the user through the authorization flow again.
Common OAuth errors
| Error | What It Means | How to Fix |
|---|---|---|
invalid_grant | Authorization code expired or was already used | Get a new authorization code (they expire in 120 seconds) |
redirect_uri_mismatch | Redirect URL doesn't match registered URL | Check for exact match including protocol and trailing slashes |
invalid_scope | Requested scope doesn't exist | Check spelling and format of scope names |
invalid_client | Client ID or secret is wrong | Verify credentials from Admin Center |
Source: Zendesk OAuth Help Documentation
Security best practices for Zendesk API authentication
Getting authentication working is step one. Keeping it secure is ongoing.
Token management
- Store tokens encrypted: Never store tokens in plain text or commit them to code repositories
- Implement automatic rotation: Refresh tokens before they expire to avoid service interruptions
- Delete unused tokens: Revoke tokens for integrations you no longer use
- Monitor token usage: Zendesk tracks when tokens are used. Watch for unexpected activity
Scope selection
- Request minimal scopes: Only ask for permissions your app actually needs
- Review granted permissions: Periodically audit what scopes your tokens have
- Document scope requirements: Keep a record of why each scope is needed for compliance
Integration security
- Use HTTPS for all requests: The Zendesk API is SSL-only and requires TLS 1.2
- Implement PKCE for public clients: Required for mobile and browser-based apps
- Validate state parameters: Always verify the state parameter matches what you sent to prevent CSRF attacks
- Support SNI: Your HTTP client must support the Server Name Indication TLS extension
Source: Zendesk Security and Authentication Docs
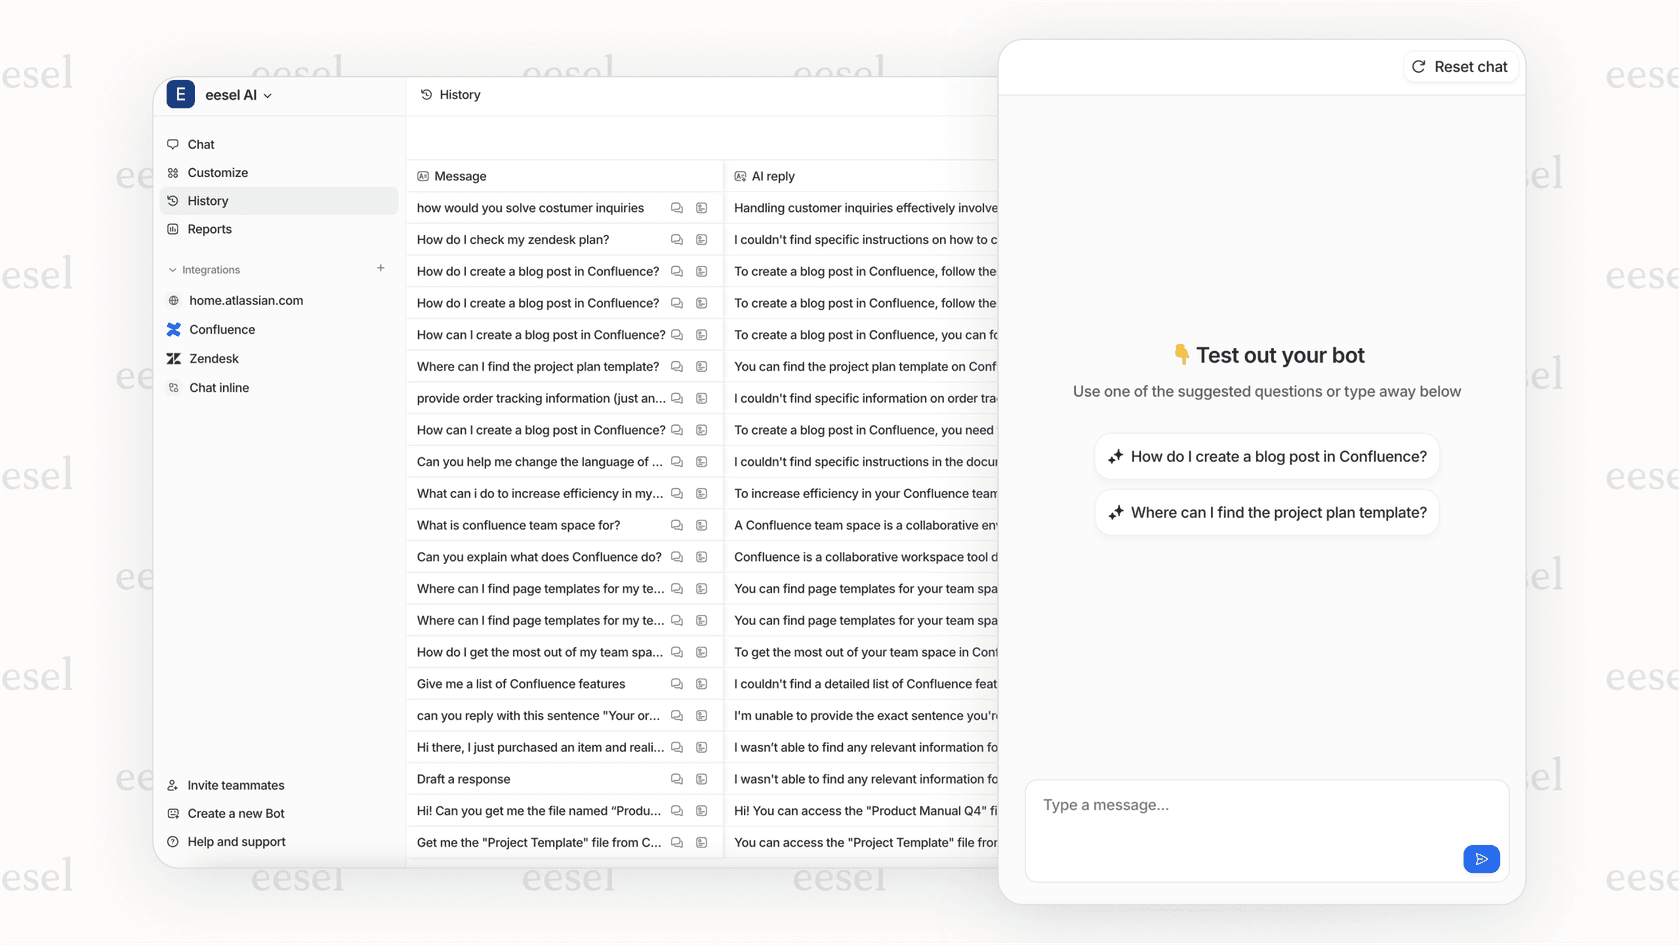
Building secure Zendesk integrations with eesel AI
If all of this feels like a lot to manage, you're not alone. Authentication is one of the most error-prone parts of building Zendesk integrations.
At eesel AI, we handle Zendesk OAuth securely so you don't have to worry about token management, scope configuration, or refresh logic. Our Zendesk integration comes with pre-configured scopes that follow the principle of least privilege, automatic token refresh, and built-in error handling for common authentication issues.
We also offer an AI Agent that can work with your Zendesk data to automate support workflows. It connects through the same secure OAuth flow, with scopes limited to exactly what the automation needs.
Whether you build it yourself or use a platform like ours, the key is getting the authentication right from the start. A secure foundation makes everything else easier.
Whether you build it yourself or use a platform like ours, the key is getting the authentication right from the start. A secure foundation makes everything else easier.