Tags are the connective tissue of a well-organized Zendesk instance. They power your automations, drive your reporting, and ensure tickets reach the right agents. But before any of that works, you need to configure the right account settings.
This guide walks you through the essential Zendesk account settings for tags. Whether you're setting up a new instance or auditing an existing one, you'll learn how to enable the tagging features you need, manage permissions, and avoid the common pitfalls that lead to tag chaos.
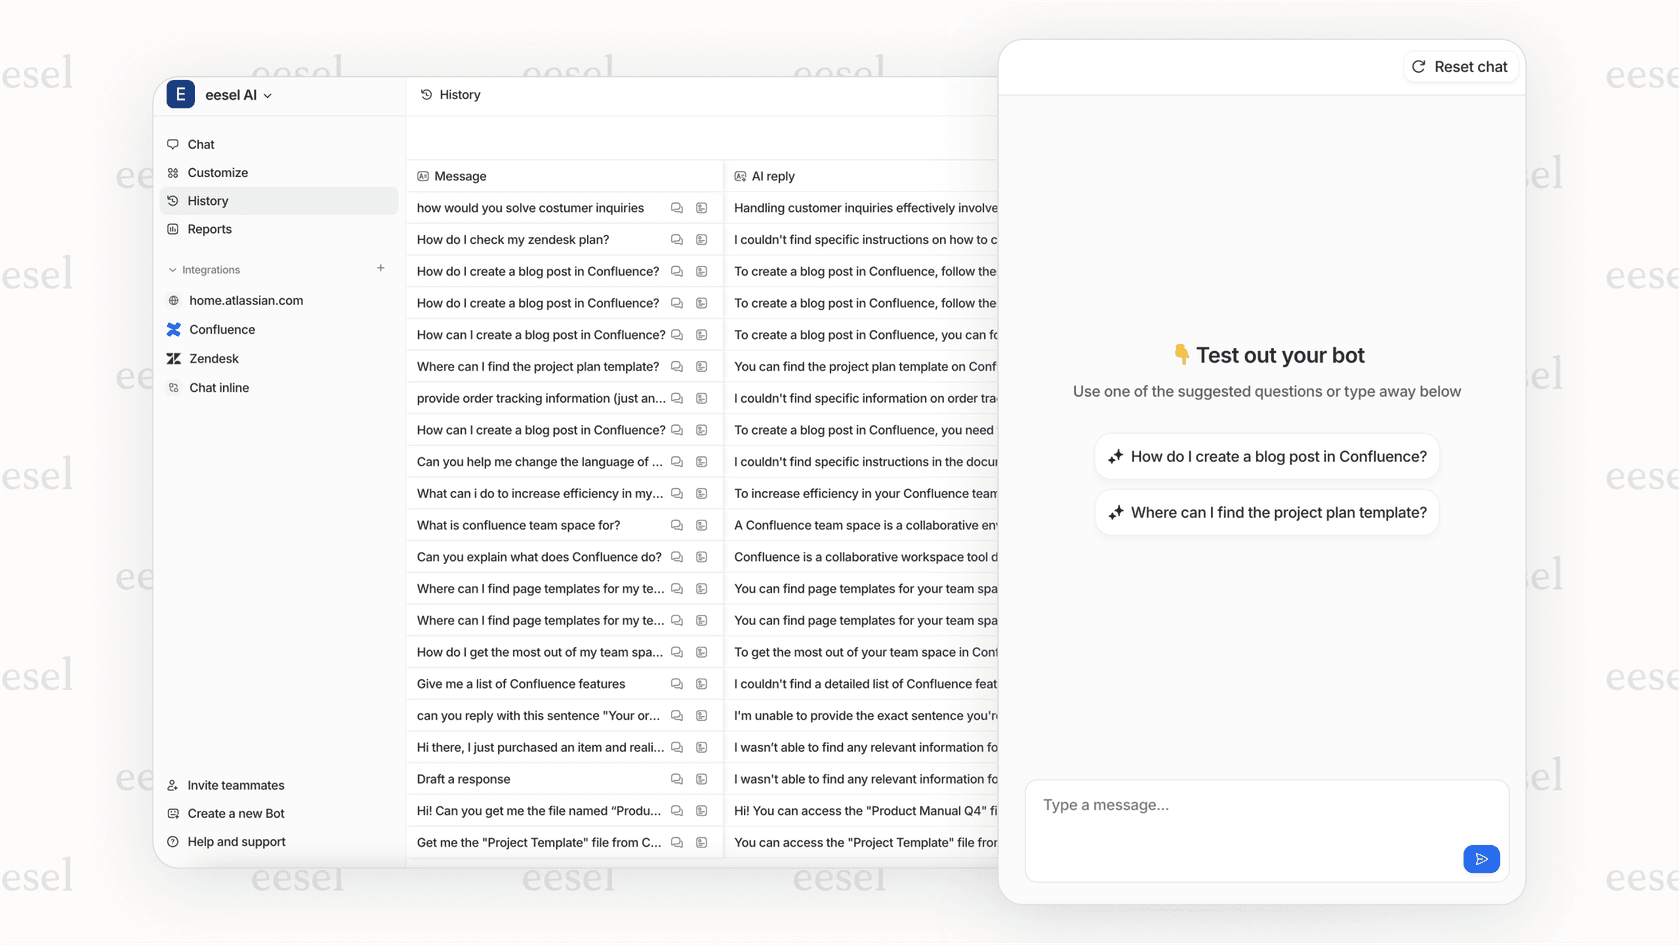
If you're looking to reduce the manual work of tag management altogether, tools like eesel AI's Zendesk integration can analyze your tickets and apply tags automatically without the configuration overhead. But let's start with getting your Zendesk tags configured properly.
What you'll need before configuring tag settings
Before diving into the settings, make sure you have:
- Administrator access to your Zendesk account. Only admins can modify account-level tag settings.
- A basic tagging strategy. Know what you want to track (issue types, priorities, customer tiers) before enabling features.
- A draft tag list. You don't need every tag finalized, but having a starting set helps test your configuration.
- Familiarity with the Admin Center. You'll be navigating through several sections.
Step 1: Enable user and organization tagging
By default, Zendesk only allows tags on tickets. To tag users and organizations (which can then automatically apply those tags to tickets), you need to enable this feature first.
Here's how to do it:
- Navigate to Admin Center > People > Configuration > End users
- Find the Tags on users and organizations section
- Toggle the setting to Enabled
- Click Save Tab

Once enabled, you can add tags to user profiles and organization profiles. These tags automatically flow to tickets: when a user submits a ticket, their user tags and their organization's tags are both added to that ticket. This is powerful for routing (automatically send VIP customer tickets to a priority queue) and reporting (track tickets by account type or industry).
Important: Tags are only added when tickets are created, not when they're updated. Also, enabling this setting doesn't retroactively add tags to existing tickets. It only affects new tickets going forward.
Source: Zendesk Help - Adding tags to users and organizations
Step 2: Configure automatic ticket tagging
Zendesk can automatically suggest or apply tags to tickets using machine learning. This feature analyzes your ticket content and matches it against patterns from your previously tagged tickets.
To configure automatic tagging:
- Go to Admin Center > Objects and rules > Tags
- Look for the Automatic tagging section
- Toggle the feature on or off as needed
- If enabled, adjust the confidence threshold to control how aggressively tags are applied
Requirements for automatic tagging:
| Requirement | Details |
|---|---|
| Plan level | Zendesk Suite Growth, Professional, Enterprise; or Legacy Enterprise |
| Minimum data | 10,000+ previously tagged tickets for the ML model to learn from |
| Language | Works best with English-language tickets |
Agents can see and remove auto-applied tags, so you're not locked into the system's suggestions. However, if your ticket volume is low or your tagging has been inconsistent, automatic tagging may not be accurate enough to be useful. In those cases, manual tagging or business rules (triggers and automations) might work better.
Source: Zendesk Help - Enabling and disabling ticket tags
Step 3: Set up ticket tagging permissions
Not everyone in your Zendesk account should have the same level of tag control. Here's how permissions break down:
- Administrators can add tags to tickets, users, organizations, and agent profiles
- Agents can add tags to tickets and end-user profiles (but not other agents' profiles)
- End users cannot add tags (they're applied automatically or by agents)
Best practice: Consider restricting tag creation to prevent "tag sprawl." If every agent can create new tags on the fly, you'll end up with duplicates like refund, refunds, and refund-request. Instead, maintain a controlled tag list and train agents to use existing tags.
You can manage tag permissions through custom agent roles on Enterprise plans. For other plans, it's all-or-nothing based on the agent/admin distinction.
Step 4: Manage your tag list
Over time, your tag list will grow. Some tags become obsolete. Others get created by accident. Regular maintenance keeps your tagging system useful.
To manage your tags:
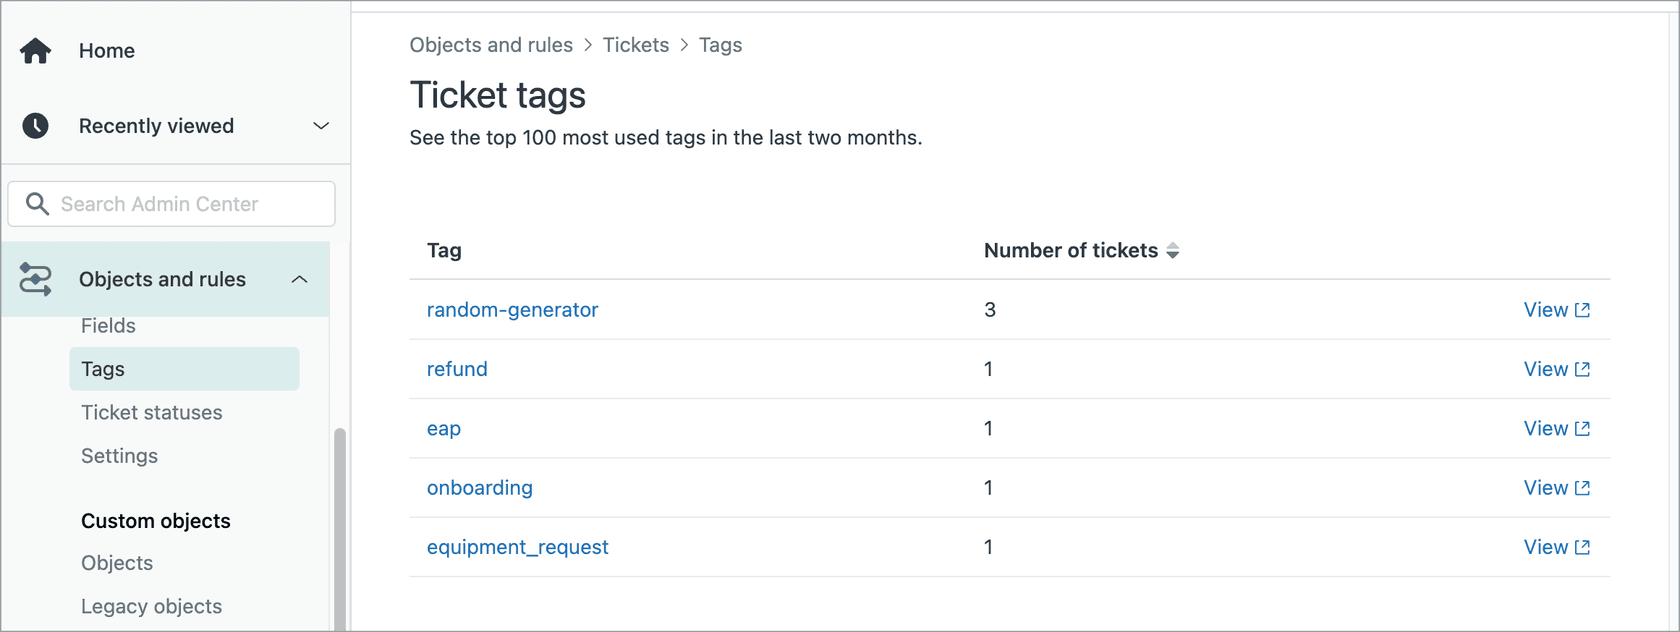
- Navigate to Admin Center > Objects and rules > Tags
- Review the complete list of tags used in your account
- Use search and filters to find specific tags
Available management actions:
- Rename tags: Updates the tag name across all tickets (use with caution if you have business rules referencing the old name)
- Delete tags: Removes the tag from your account entirely
- Merge tags: Combines two tags into one, useful for consolidating duplicates
Tag cleanup best practices:
- Review your tag list quarterly
- Delete tags with zero usage that are no longer relevant
- Merge obvious duplicates (decide on
technical-supportvstech-supportand standardize) - Document any tag renames in your internal wiki so your team knows what changed
Source: Zendesk Help - Managing ticket tags
Understanding the three types of tags in Zendesk
Zendesk has three distinct tag types, each serving different purposes. Understanding how they interact helps you design a better tagging strategy.
Ticket tags
The most common type. Applied directly to individual tickets for:
- Issue categorization (
bug,feature-request,billing-issue) - Routing (triggers that assign based on tags)
- Status tracking (
escalated,pending-vendor)
User tags
Applied to customer profiles. These automatically appear on tickets from those users. Use them for:
- VIP status (
vip,enterprise-customer) - Customer tier (
tier-1,tier-2,tier-3) - Language preference (
spanish-speaking,french-speaking) - Product access (
beta-tester,early-access)
Organization tags
Applied to company/organization profiles. All users in that organization inherit these tags. Use them for:
- Account type (
enterprise-account,startup-account) - Industry (
saas,ecommerce,healthcare) - Region (
emea,apac,north-america) - SLA tier (
sla-platinum,sla-gold)
How they combine
When a ticket is created, it inherits both the requester's user tags AND their organization's tags. So a ticket from a VIP user at an enterprise SaaS company might automatically have tags: vip, enterprise-customer, enterprise-account, saas, sla-platinum.
This inheritance happens at ticket creation only. Changing a user's tags later doesn't update their existing tickets.
Source: Zendesk Help - About tags
Best practices for Zendesk tag management
Getting the account settings right is just the start. Here are practices that keep your tagging system effective:
-
Establish a naming convention. Use lowercase with hyphens (
technical-support, notTechnical Supportortechnical_support). Consistency makes tags easier to remember and search for. -
Create a tag taxonomy document. Write down what tags you use, what they mean, and when to apply them. Share this with your team.
-
Run regular tag audits. Quarterly reviews catch duplicates, obsolete tags, and inconsistent usage before they become problems.
-
Avoid tag sprawl. Delete tags you no longer need. A tag list with 500 entries where 300 are unused makes finding the right tag harder for agents.
-
Use tags consistently in business rules. If you have a trigger for
vipcustomers, make sure that's the exact tag name used everywhere (notVIPorvip-customerin some places). -
Train your agents. Even with perfect settings, tags only work if your team uses them correctly. Include tag usage in onboarding.
-
Consider automation alternatives. If manual tag management feels overwhelming, eesel AI can analyze ticket content and apply appropriate tags automatically, learning from your existing tickets without requiring manual configuration of rules.
Common tag configuration mistakes to avoid
Even experienced admins sometimes miss these pitfalls:
Enabling user/org tags without a strategy. The feature is powerful, but if you don't know what you'll tag users with or why, you'll end up with inconsistent data.
Letting agents create tags freely. This leads to duplicates and confusion. Restrict tag creation to admins, or at least maintain a documented standard that agents must follow.
Not documenting your tag structure. Six months later, nobody remembers why priority-urgent exists alongside urgent-priority. Write it down.
Ignoring automatic tagging after enabling it. If you turn on automatic tagging, check its accuracy periodically. Bad auto-tags are worse than no tags.
Mixing tag types without understanding inheritance. Remember that user and organization tags flow to tickets. Don't create ticket tags that duplicate what user tags already track.
Forgetting to clean up unused tags. That one-off campaign tag from 18 months ago? It's still in your list, cluttering search results.
Using tags effectively in your support workflow
Once your account settings are configured, tags become the foundation for powerful workflows:
-
Views: Create ticket views filtered by tag. A view showing all
escalatedtickets gives managers instant visibility into problem cases. -
Triggers: Build triggers that fire based on tag conditions. A trigger can assign any ticket tagged
billing-disputedirectly to your finance team. -
Automations: Set up time-based automations. Tickets tagged
awaiting-customerfor 72 hours can auto-close with a polite message. -
SLA policies: Apply different SLA targets based on tags.
viptickets get a 2-hour first response; standard tickets get 8 hours. -
Reporting: Use tags in Zendesk Explore to analyze ticket trends. Which issue types are increasing? How do resolution times differ by customer tier?
Proper tag configuration makes all of this possible. When your tags are consistent and well-organized, AI-powered tools can also understand your business better. For example, eesel AI connects to your Zendesk account and learns from your tagged tickets to handle routine inquiries automatically, routing complex issues to the right team based on the patterns it recognizes.
Start optimizing your Zendesk account settings for tags today
You've now got the complete picture of how to configure Zendesk account settings for tags. Here's the quick recap:
- Enable user and organization tagging if you need tags to flow from customers to tickets
- Configure automatic tagging if you have enough ticket volume and want ML assistance
- Set up appropriate permissions to prevent tag chaos
- Regularly manage your tag list to keep it clean
Take 30 minutes this week to audit your current tag setup. Check what's enabled, review your tag list for duplicates, and make sure your team knows your naming conventions.
If you find that manual tag management is consuming too much of your team's time, consider how AI-powered alternatives can help. eesel AI learns from your existing tickets and help center content to categorize and route conversations automatically, without requiring you to configure complex rules or maintain extensive tag lists. It's a different approach that works alongside (or instead of) traditional tag-based workflows.
Whatever path you choose, getting your account settings right is the foundation. Start there, and build a tagging system that actually helps your team work smarter.
