Blog
Tips, guides, and insights on AI teammates, smarter support, and building better teams.


The 10 best free knowledge base software tools in 2026
Ten knowledge base tools that are actually free in 2026, checked against their own pricing tables, plus the exact rung where each free plan stops.

The 10 best email help desk software tools in 2026
Ten email help desk software tools compared on 2026 prices, the AI billing unit each one meters, and what your customer actually receives when you switch.

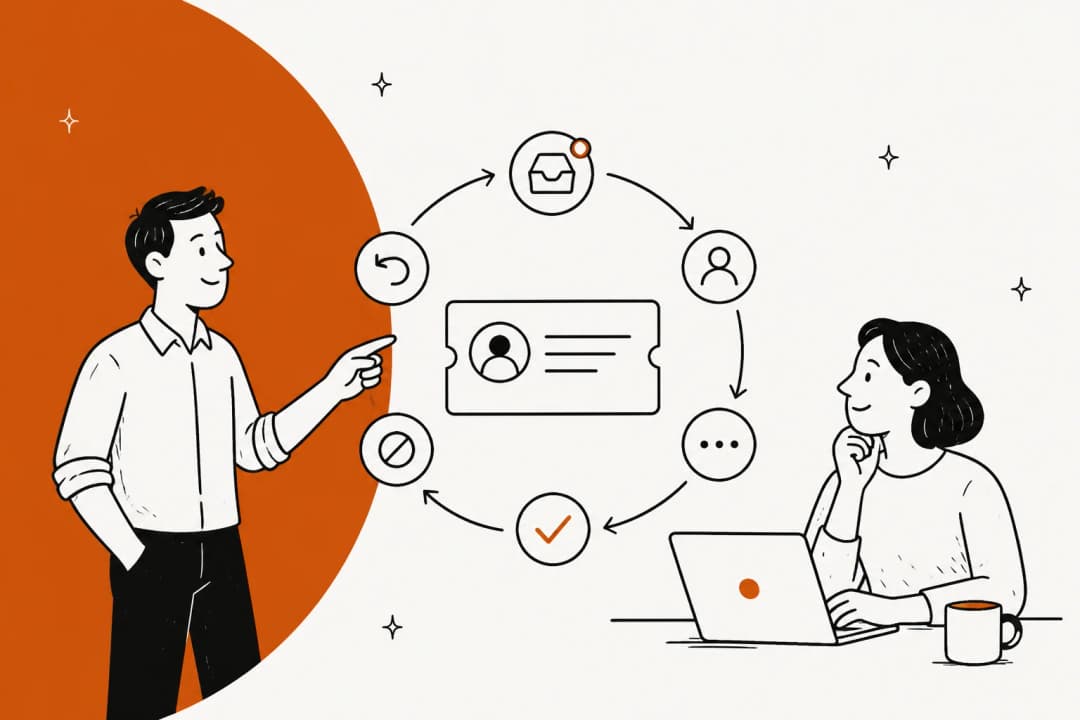
What a help desk system really is, and how to choose one
A help desk system is four layers plus a metered AI layer. Here is what each one does, where vendors quietly differ, and what it costs at your volume.

The 10 best help desk solutions in 2026
I compared 10 help desk solutions on real 2026 prices, and on the AI billing unit that quietly decides what you actually pay each month.

Help desk management: how to actually run the queue in 2026
A practical guide to help desk management: what is really in your queue, the staffing math, routing and SLAs, and the metrics that quietly lie to you.

Help desk support in 2026: what it costs and what works
The real numbers behind help desk support: what a ticket costs at each tier, why first level resolution beats every other metric, and where AI actually lands.
Help desk ticket: what it is, and why yours get stuck
Six statuses at Zendesk, four at Freshdesk, and a reopen rate nobody tracks. A working guide to what a help desk ticket really is and where yours go to die.

Help desk services in 2026: what they cost and who runs yours
Outsourced help desk services, in-house software, or an AI layer: three meters, three quotes, no comparison. Here are the real 2026 rates and the per-ticket math.

IT help desk services in 2026: models, real costs, what to ask
In-house, outsourced, co-managed, or AI-first. What each IT help desk service model really costs per ticket, and the contract questions that decide it.
Ready to hire your AI teammate?
Set up in minutes. No credit card required.