That default Shopify Inbox chat bubble is fine, but it doesn't always play nice with the look you've worked so hard on for your store. It just sort of floats there, sometimes covering up key info or clashing with your branding. Maybe you want a cleaner design, or you want to put a "Chat with us" link right on your contact page, in your footer, or on a product page where you know shoppers will have questions.
And if you've Googled how to fix this, you've probably found a bunch of old forum posts with tricks that just don't work anymore. Methods like adding "/?chat" to the end of a URL are outdated and unreliable now.
That's what this guide is for. We'll walk you through a simple, step-by-step process using a small bit of modern JavaScript. It’s the most dependable way to create a clickable link to open your Shopify chat widget from anywhere on your site, putting you back in control of your store's design.
What you'll need before you start
Before we jump in, let’s make sure you have everything ready. Don't worry, it's a short list:
-
A Shopify store with the Shopify Inbox app installed and running.
-
Admin access to your Shopify account so you can get into your theme's code.
-
About 10-15 minutes of your time.
Why old methods no longer work
Shopify is always updating its platform, which is great, but it also means that unofficial tricks and workarounds can suddenly stop working. Those old URL parameters like "?show_chat" were clever hacks that worked for a while, but Shopify has since changed how apps like Inbox are loaded on your storefront. Trying them today usually just leads to broken links and confused customers.
The technical reason is that the chat widget now often loads in what’s called a shadow DOM or an iframe. You can think of it as a secure little box on your webpage that's kept separate from everything else. This setup makes it tough for a simple URL to reach inside that box and tell the widget to open up.
This is why we need a modern JavaScript approach. The method we're about to show you is much more stable. Instead of trying a URL trick, it finds the actual chat button on the page, wherever it's hiding, and simulates a click. It works exactly like a real person opening the chat, which makes it a far more reliable solution for the long haul.
How to create a clickable Shopify chat link in 4 steps
The whole process comes down to two things: adding a link to your page and then dropping a small script into your theme to make it work. No developer experience needed, I’ll walk you through every click.
Step 1: Back up your theme
Alright, before you touch any code, let's do the smart thing: back up your theme. This is your safety net. If anything goes sideways, you can restore the backup in a single click and pretend it never happened.
-
From your Shopify admin, head to Online Store > Themes.
-
Find your current theme (the one that says "Live"). Click the three-dots icon (...) next to the customize button.
-
Choose Duplicate from the menu.
Shopify will make an exact copy. Now you can edit the original without worrying, knowing you have a safe version ready to go if you need it.
Step 2: Add your custom link or button
Next, decide where you want your new chat link to live. You can put it pretty much anywhere that accepts HTML, like on a contact page, inside a product description, or in your site's footer.
Once you’ve picked a spot, add this simple line of HTML:
[Chat with our team](#open-chat)
Feel free to change "Chat with our team" to whatever makes sense for you. The really important part is ""href="#open-chat"". This is the unique hook our script will look for to know when to open the chat. It doesn't actually link to another page; it's just an identifier for our code.
Step 3: Add the JavaScript code to your theme
Okay, this is the core of the solution. We need to add a small script to your theme that waits for someone to click your new link. The best place for this is your "theme.liquid" file, which ensures the code is active on every page of your site.
-
In your Shopify admin, go back to Online Store > Themes.
-
Click the three-dots icon (...) on your live theme and select Edit code.
-
In the file menu on the left, open the "Layout" folder and click on "theme.liquid".
-
Scroll all the way to the bottom of the file. Just before you see the closing "" tag, paste in this code snippet:
document.addEventListener('DOMContentLoaded', function() {
  const customChatLinks = document.querySelectorAll('a[href="#open-chat"]');

if (customChatLinks.length > 0) {
    const openShopifyChat = function(event) {
      event.preventDefault();
      const chatButton = document.querySelector('#ShopifyChat button[aria-controls="chat-ui"], #dummy-chat-button-iframe');
      if (chatButton) {
        chatButton.click();
      } else {
        // Fallback for when the button is inside an iframe
        const iframe = document.querySelector('#dummy-chat-button-iframe');
        if (iframe && iframe.contentWindow) {
          const buttonInFrame = iframe.contentWindow.document.querySelector('button');
          if (buttonInFrame) {
            buttonInFrame.click();
          } else {
            console.warn('Shopify Chat button not found inside iframe.');
          }
        } else {
          console.warn('Shopify Chat button not found.');
        }
      }
    };

customChatLinks.forEach(link => {
      link.addEventListener('click', openShopifyChat);
    });
  }
});
So, what does this code actually do? It just waits for the page to load, then it keeps an eye out for any link with ""href="#open-chat"". When someone clicks it, the script stops the page from jumping and instead finds the official Shopify Chat button and "clicks" it for you. Simple as that.
Step 4: Test your new link
Hit the "Save" button in the top right corner of the code editor. Now, go to the page where you added your custom link and try it out. The Shopify Inbox chat widget should pop open, just as if you'd clicked the floating icon.
Give it a few tests. Close the widget and click your link again just to make sure it's working smoothly.
Common issues and troubleshooting
While this script is pretty solid, working with custom code can sometimes have its quirks. Here are a couple of things to keep in mind.
-
What if the link doesn't work? If your link isn't working, the most likely culprit is that Shopify has updated the chat widget's code, changing the button's ID. The selector in our script (""#ShopifyChat button..."") is built to handle common variations, but a major platform change could break it. This is the main downside of any custom code: it might need a little tune-up down the road.
-
Accessibility is key: Always use clear, descriptive text for your links. "Chat with our support team" is much more helpful for users with screen readers than something vague like "Click here."
-
Performance: Don't worry, this script is incredibly lightweight and won't have any noticeable impact on your site's speed. It’s just a good reminder that any custom code is one more thing you have to manage yourself.
Beyond the link: What happens next?
Getting the link sorted is a great feeling. You've cleaned up your site's design and made it easier for customers to reach out. But... what happens next? Once they click that link, the real work begins.
This is the part a simple code snippet can't solve. Who is there to answer those chats? What's the plan if a message comes in late at night? How do your agents keep up with the same questions over and over, like "Where is my order?", without burning out? A custom link is a great first step, but the experience can quickly fall flat if there isn't a fast, helpful response on the other side.
This is usually where manual support hits a ceiling, and you start thinking about a better way.
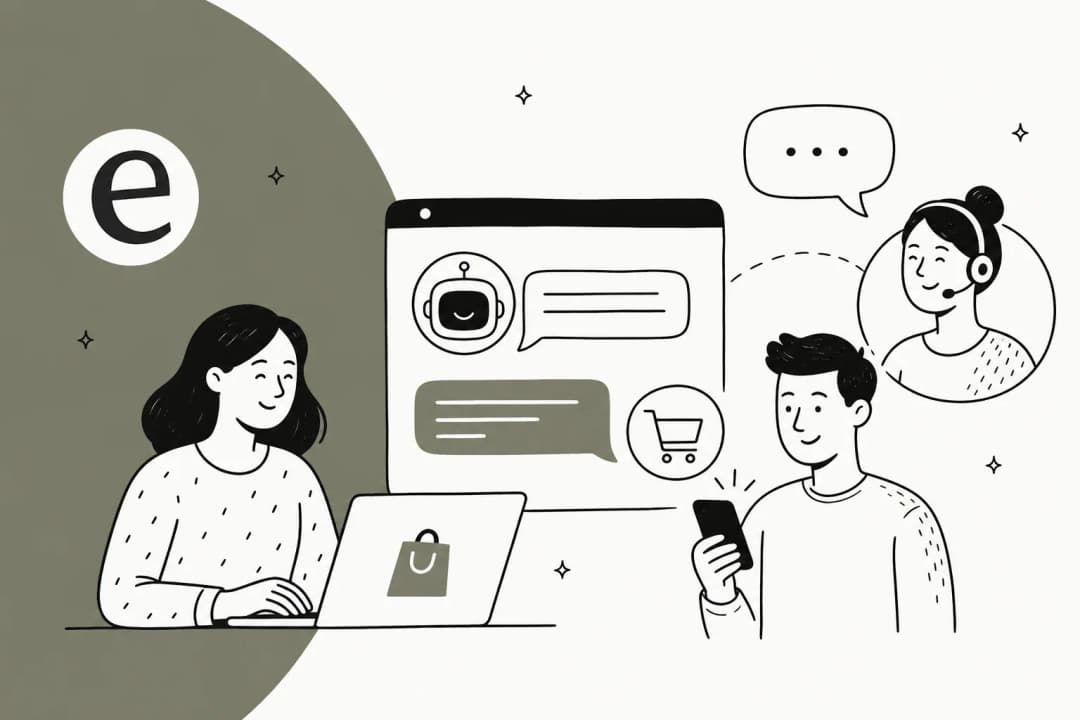
An AI platform like eesel AI is designed to pick up where manual support leaves off. The eesel AI Chatbot doesn't just help start a conversation; it often resolves it instantly.
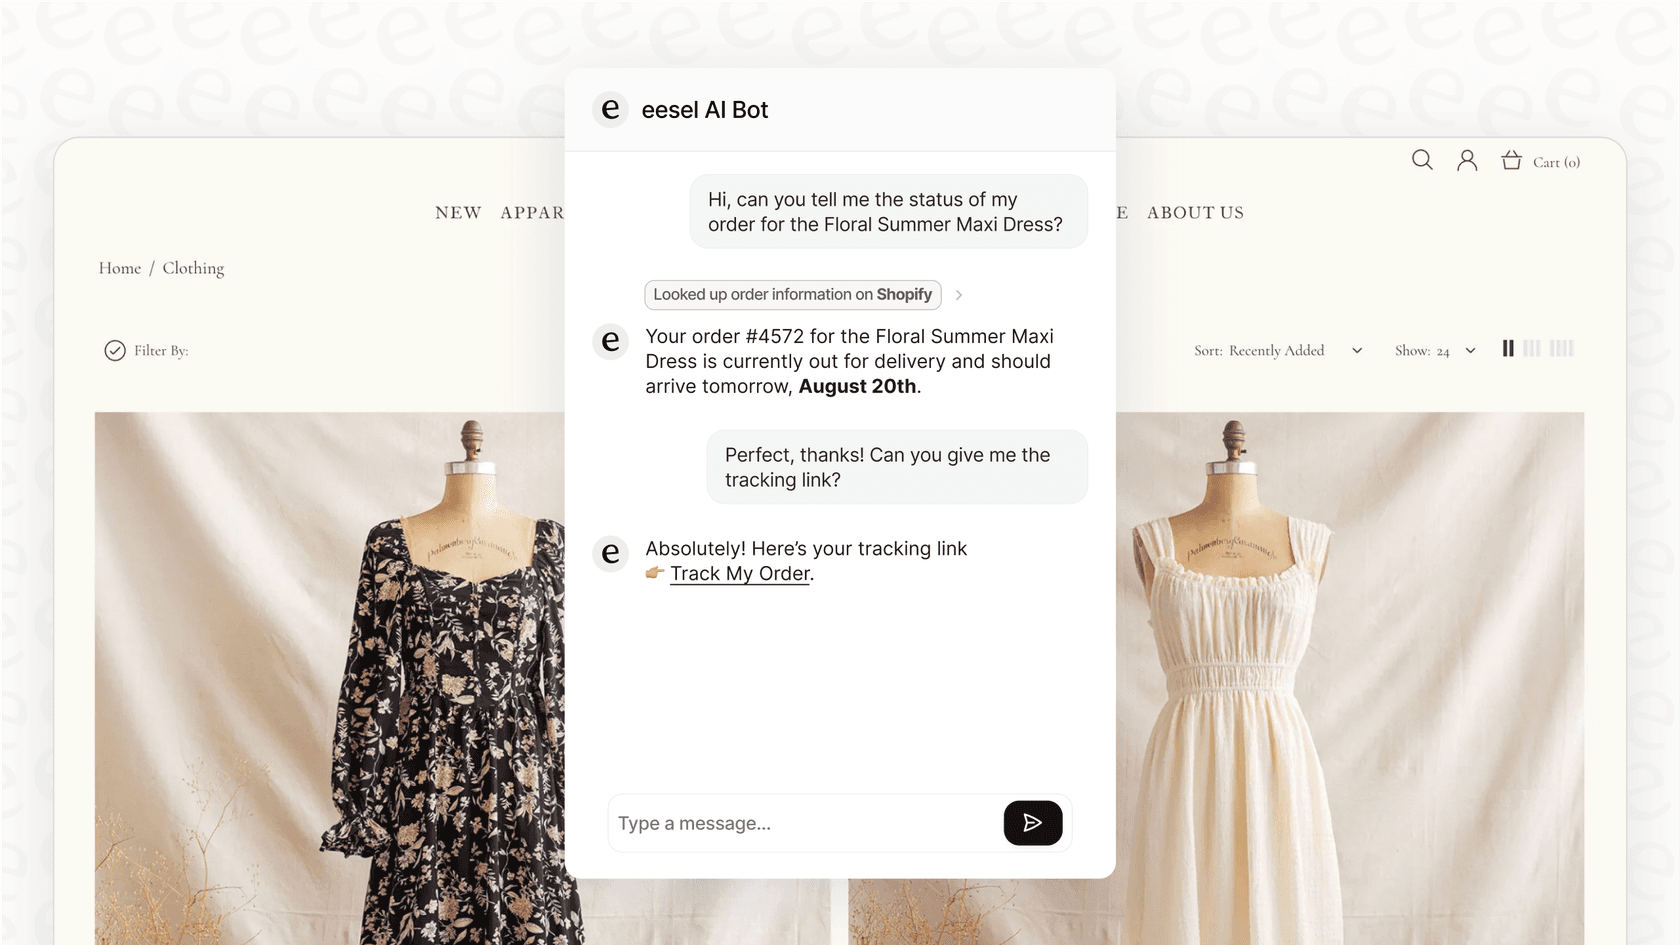
Here’s how it tackles the challenges that a custom link alone can't:
-
Get set up in minutes (seriously): Instead of messing with theme code, eesel AI connects with Shopify in a few clicks. The setup is completely self-serve, so you can have an AI agent working for you in less time than it takes to make a cup of coffee.
-
Give it all your knowledge: You can train your AI on everything from your help center articles to past support tickets and even your entire Shopify product catalog. It can then answer detailed product questions, handle returns, and explain policies on its own.
-
Let it do the work for you: eesel AI can be set up with custom actions to look up live order information directly from Shopify. When a customer asks, "Where's my order?" they get an immediate, real-time answer, any time of day, without a human needing to lift a finger.
-
Test it before you launch it: Wondering how an AI will actually perform with your customers? eesel AI’s simulation mode lets you test your setup on thousands of your past customer conversations before it goes live. You get a clear forecast of how effective it will be from day one.
Taking control of your customer chat
You now have a solid, modern way to create a clickable link to open your Shopify chat widget, giving you more control over your store's look and feel. It's a fantastic tweak for a cleaner, more user-friendly site.
But as your store grows, you'll realize that fixing the chat button is just the start. The real win is in improving the entire chat experience. Custom code needs babysitting, and even the most dedicated support team can't be everywhere at once.
For Shopify stores looking to offer instant, accurate, and on-brand support that can scale with their business, an AI-powered solution is the natural next step. It's how you turn customer service from a daily chore into a real asset for growth.
Ready to see what a fully automated support experience feels like? Try eesel AI for free and build your first AI chatbot for Shopify in just a few minutes.
Frequently asked questions
How hard is it to create this chat link without coding skills?
This guide is specifically designed to be accessible to everyone, regardless of prior developer experience. You'll follow clear, step-by-step instructions for adding a link and a small script to your theme without needing to understand complex coding.
Where can I place the custom chat link on my store?
You have flexibility in placing the custom link almost anywhere on your Shopify store that accepts standard HTML. Popular and effective locations include your contact page, within product descriptions, or as part of your site's footer.
What if the link doesn't work after I add the JavaScript?
If your custom link isn't functioning, the most probable cause is that Shopify has updated the chat widget's underlying code, potentially altering the button's ID or selector. You might need to inspect the chat button's current selector and make a minor adjustment to the JavaScript provided.
Could future Shopify updates break this method?
While this modern JavaScript approach is far more stable than outdated URL tricks, major platform updates from Shopify could potentially modify how the chat widget loads. In such cases, the script might require a small tune-up or adjustment to remain fully functional.