Connecting your customer service platform with your CRM creates a unified view of customer interactions. The Kustomer Salesforce integration lets support teams see Salesforce data directly in Kustomer and create cases in Salesforce from support conversations.
This guide walks through the complete setup process, from initial configuration to advanced features like automatic case creation. Whether you're a Salesforce admin or support team lead, you'll find actionable steps to get the integration running smoothly.
If you're evaluating options, you might also consider whether an AI-native approach could simplify your support stack entirely. More on that later.
What you'll need
Before starting, make sure you have the following in place:
- Salesforce admin account with API access. The integration requires administrator permissions to configure connected apps and OAuth settings.
- Supported Salesforce edition. Enterprise, Unlimited, or Performance editions work fully. Professional Edition can work with API access but cannot install the managed package for case creation.
- Kustomer admin access. You'll need permissions to install apps from the App Directory.
- Your Salesforce subdomain. This is the first part of your Salesforce URL (e.g., "yourcompany" in yourcompany.salesforce.com).
Here's what this means. The native integration is free with your Kustomer subscription, but the optional managed package for case creation requires specific Salesforce editions.
Step 1: Install the Salesforce app in Kustomer
Start by installing the Salesforce app from Kustomer's App Directory.
Navigate to Apps > App Directory in your Kustomer workspace. Search for "Salesforce" and click Install. You'll be prompted to enter your Salesforce subdomain (the part before .salesforce.com).
Next, you'll authenticate via OAuth 2.0. Click Connect and log in with your Salesforce admin credentials. Grant the requested permissions to allow Kustomer to read Salesforce data and create cases.
The connection establishes a secure link between the two platforms. Once connected, Kustomer can pull Account, Contact, Opportunity, and Lead data into your customer timeline.
Step 2: Configure the connected app in Salesforce
After connecting from Kustomer, you need to configure the Connected App settings in Salesforce.
Go to Setup > Apps > Connected Apps > Connected Apps OAuth Usage in Salesforce. Find "Kustomer" in the list and click Install. This authorizes the OAuth connection. For detailed OAuth setup instructions, refer to the Kustomer help documentation.
Then set the OAuth policies. Edit the connected app and configure:
- IP Relaxation: Set to "Relax IP restrictions" if your team accesses Kustomer from various locations
- Refresh Token Policy: Set to "Refresh token is valid until revoked" for uninterrupted syncing
These settings ensure the connection remains stable and your team can access Salesforce data without frequent re-authentication.
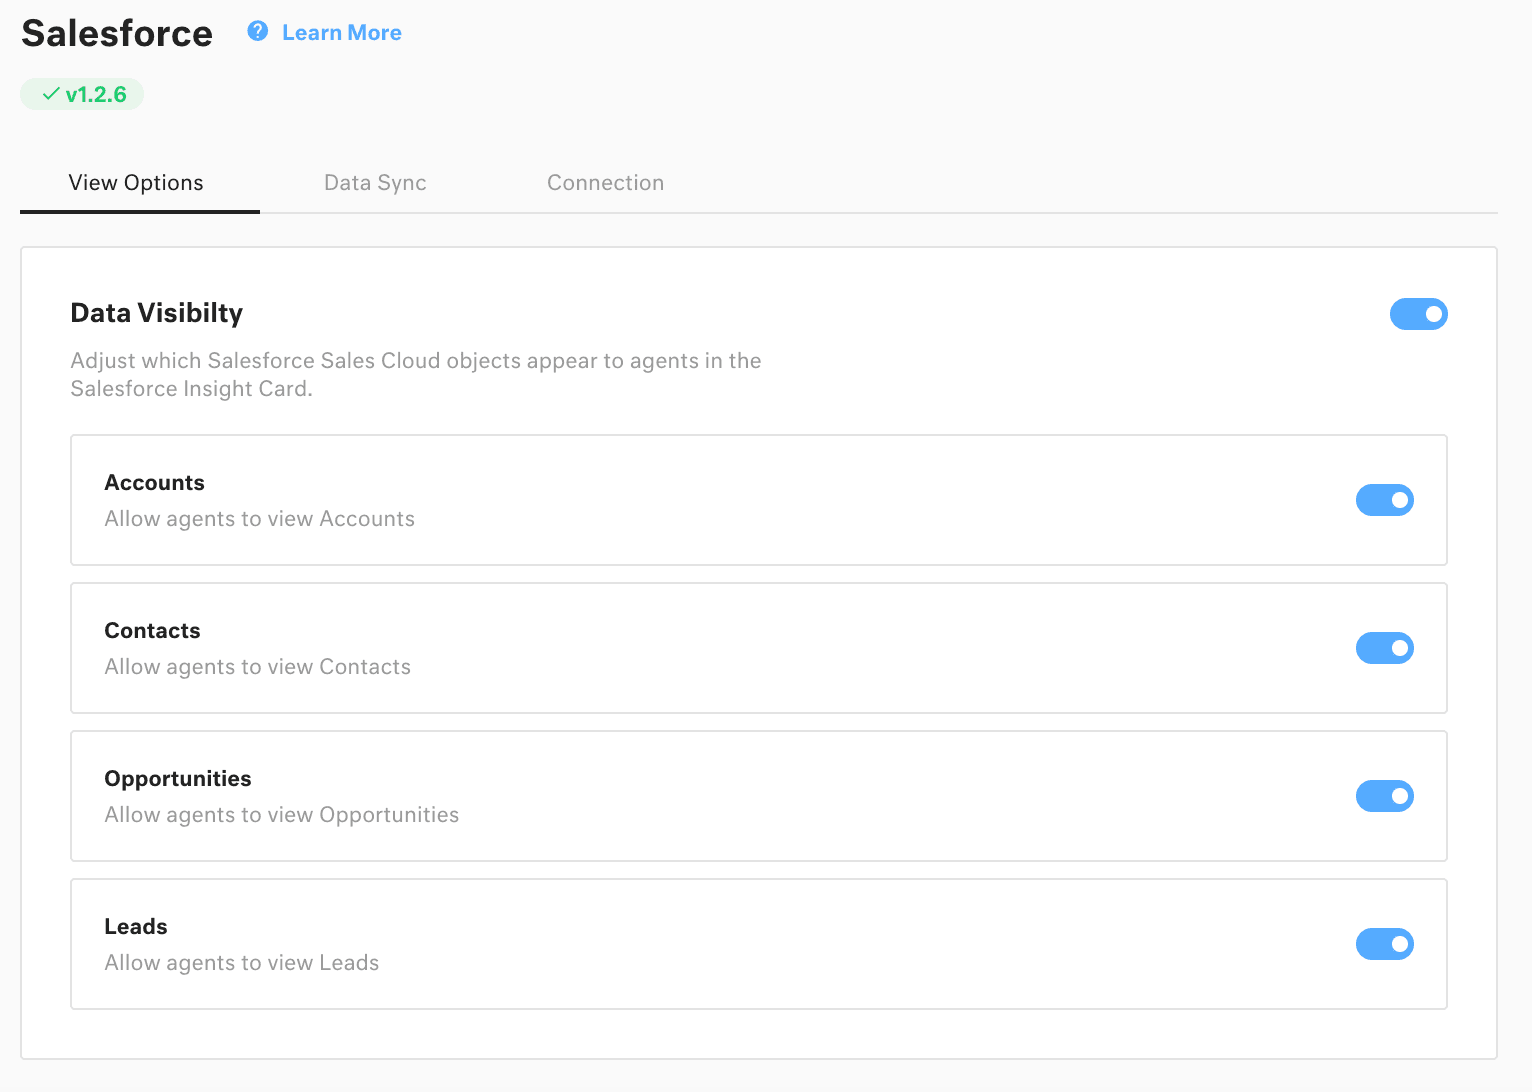
Step 3: Set up data visibility and sync options
Now configure which Salesforce objects appear in Kustomer and how they display.
In Kustomer, go to Apps > Salesforce > Settings. Here you'll select which objects to sync:
- Accounts - Company information
- Contacts - Individual customer records
- Opportunities - Sales pipeline data
- Leads - Prospective customers
The Salesforce Insight Card appears in the customer timeline when viewing a conversation. It displays matching Salesforce records based on email address matching. If a customer's email in Kustomer matches a Contact or Lead email in Salesforce, their data appears automatically.
Important limitation to understand: this is primarily a one-way sync for data visibility. Kustomer reads Salesforce data but doesn't write back to Salesforce records (except when creating cases, which we'll cover next).
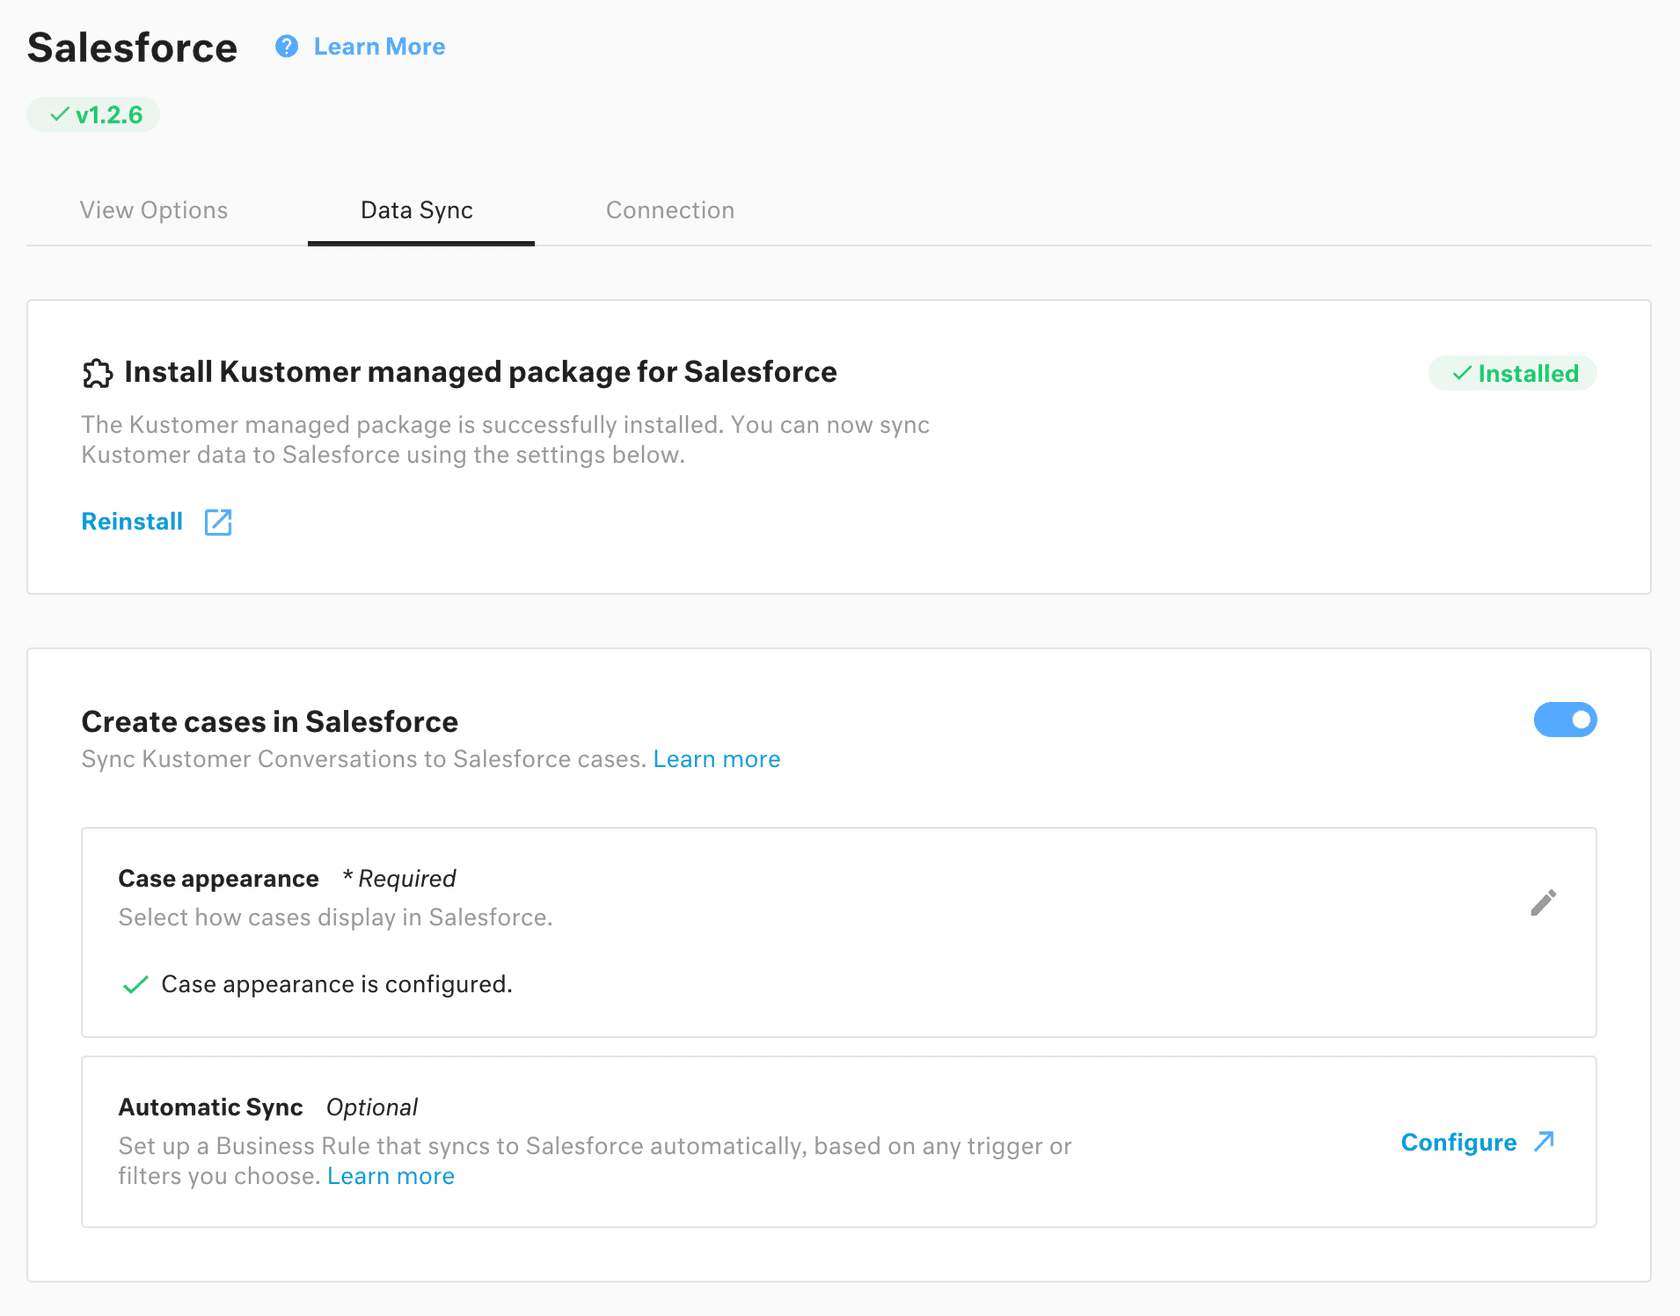
Step 4: Enable case creation in Salesforce (optional)
For teams that want to create Salesforce cases from Kustomer conversations, you'll need to install the managed package.
First, install the Kustomer managed package in Salesforce. Contact Kustomer support for the package installation link. This step requires Enterprise, Unlimited, or Performance editions. Professional Edition users cannot install managed packages.
Next, configure record types. In Salesforce, go to Setup > Object Manager > Case > Page Layouts and add the Kustomer fields to your case layouts. This determines what information appears on cases created from Kustomer.
Then set up automatic sync via Business Rules. In Kustomer, create a Business Rule that triggers case creation:
- Go to Settings > Business Rules
- Create a rule with conditions (e.g., "When conversation is closed")
- Add action "Create Salesforce Case"
- Map fields as needed
You can also create cases manually. In any conversation, click the Salesforce icon and select "Create Case" to generate a Salesforce case instantly.
Limitations and considerations
Before rolling this out to your team, understand these constraints:
API rate limits. Salesforce enforces API call limits based on your edition and user count. If you hit limits, Kustomer caches data and retries. The cache includes Customer and Conversation objects viewed within the last 24 hours.
Professional Edition restrictions. Salesforce Professional Edition with API access can use basic integration but cannot install the managed package required for case creation. This limits you to read-only Salesforce data in Kustomer.
One-way sync for cases. When you create a case in Salesforce from Kustomer, the sync is one-way. Updates to the case in Salesforce don't automatically reflect back in Kustomer conversation data.
Data privacy. The integration uses email addresses as unique identifiers. Ensure your data hygiene is solid, duplicate contacts can cause matching issues.
Alternative integration approaches
The native integration isn't your only option. Depending on your needs, these alternatives might work better:
Zapier for no-code automation. If you need simple data flows without the complexity of managed packages, Zapier connects Kustomer and Salesforce with triggers like "Conversation Created" and actions like "Create Case." Zapier pricing starts at $19.99/month for Professional plans with multi-step Zaps.
Alumio for enterprise integrations. For complex integration landscapes, Alumio offers an iPaaS solution with visual workflow builders and data transformation. This suits larger organizations with multiple systems to connect.
Here's how the approaches compare:
| Approach | Best for | Setup complexity | Key limitation |
|---|---|---|---|
| Native integration | Teams wanting Salesforce data in Kustomer UI | Medium | Requires managed package for case creation |
| Zapier | Simple automations, smaller teams | Low | Limited to Zapier's trigger/action set |
| Alumio | Complex enterprise integrations | High | Enterprise pricing |
Choose based on your technical resources and integration complexity. The native option works well for most support teams. Zapier suits simpler use cases. Alumio fits enterprise environments with dedicated integration teams.
When to consider an AI-native alternative
Here's the thing about traditional integrations: they sync data, but they don't solve the underlying challenge. You're still managing two platforms, maintaining connections, and training teams on multiple systems.
An AI-native approach changes the equation. Instead of syncing support tickets to Salesforce, what if your AI agent handled frontline support autonomously, only escalating complex issues that truly need human attention?
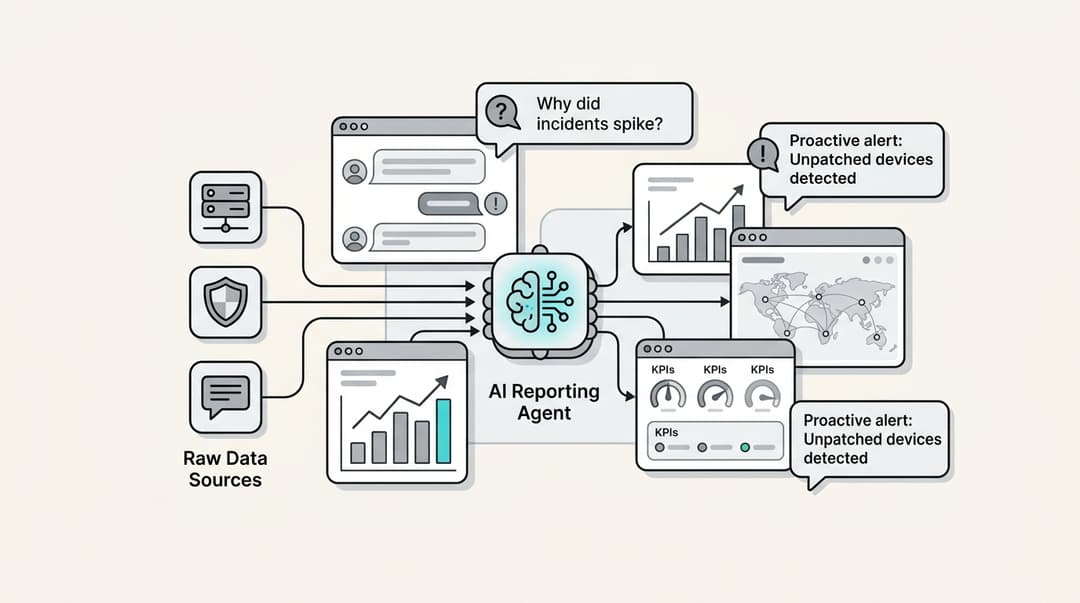
We built eesel AI to work as an AI teammate that learns your business from existing data (help centers, past tickets, documentation) and handles support directly. It integrates with Salesforce, Zendesk, Freshdesk, and 100+ other tools, but the difference is it actually resolves tickets end-to-end rather than just moving data between systems.
The result? Up to 81% autonomous resolution for mature deployments, with a typical payback period under 2 months. You can start with AI drafting replies for review, then level up to full autonomy as it proves itself.
If you're evaluating Kustomer Salesforce integration because you want better customer data visibility, consider whether AI agents might eliminate the need for complex syncs altogether. Check out our Salesforce Service Cloud AI integration to see how this works.
Start streamlining your customer data today
The Kustomer Salesforce integration gives your support team visibility into customer data without switching platforms. Follow the steps above to connect the systems, configure data visibility, and optionally enable case creation.
Key takeaways:
- Enterprise, Unlimited, or Performance Salesforce editions required for full functionality
- The managed package enables case creation but has edition restrictions
- Consider your API limits and data matching hygiene
- Alternative approaches like Zapier work for simpler use cases
If you're looking for a more modern approach to customer support, explore eesel AI's pricing and see how AI agents can reduce your integration complexity while improving resolution rates. Our integrations work with the tools you already use, but with the added benefit of autonomous resolution.

Frequently Asked Questions
Share this article

Article by
Stevia Putri
Stevia Putri is a marketing generalist at eesel AI, where she helps turn powerful AI tools into stories that resonate. She’s driven by curiosity, clarity, and the human side of technology.