How to sync contacts and organizations between Zendesk and Salesforce
Stevia Putri
Last edited March 2, 2026
When your sales team lives in Salesforce and your support team lives in Zendesk, customer data gets fragmented fast. A contact updates their email in Salesforce, but support still has the old address in Zendesk. An account gets reclassified as enterprise, but that context never reaches the agents handling their tickets.
This is where contact and organization sync comes in. By connecting the two systems, you create a single source of truth for customer data. Sales reps see support history without leaving Salesforce. Support agents see account details without switching tabs.
This guide walks you through setting up contact and organization sync using Zendesk's native Salesforce integration. It's the most common starting point for teams that want to unify their customer data without adding another tool to the stack.
What you'll need
Before you start, make sure you have:
- Zendesk Support admin access - you'll need to configure integrations in Admin Center
- Salesforce admin access - specifically Performance, Unlimited, Enterprise, or Developer Edition (Professional works with API add-on)
- API access enabled in both platforms
- A clear mapping plan - know which Salesforce fields should sync to which Zendesk fields
One important note: the integration requires your Salesforce session settings to allow connections from outside IP addresses. If your org locks sessions to originating IPs, you'll need to disable that first.
Step 1: Connect your Salesforce organization to Zendesk
The setup happens in Zendesk Admin Center. Start by navigating to Apps and integrations, then Integrations, then Salesforce.
Before you click "Add connection," check your Salesforce session settings. In Salesforce Setup, go to Security, then Session Settings, and make sure "Lock sessions to the IP address from which they originated" is unchecked. If this stays enabled, your integration will disconnect every time a session expires.
Now back in Zendesk:
- Click "Add connection"
- Choose your environment: Production or Sandbox (always test in Sandbox first)
- Agree to the Built by Zendesk Terms of Use
- Click "Connect Salesforce" and sign in with your Salesforce admin credentials
- You'll be redirected back to Zendesk where the connection appears in your list

The connection is now active, but no data is syncing yet. You need to configure what gets synced and when.
Step 2: Configure contact sync (Salesforce contacts to Zendesk users)
With the connection established, click the options menu next to your Salesforce organization and select "Configure." You'll see tabs for different sync options. Start with Data Sync.
For contact sync, you are mapping Salesforce contacts to Zendesk users. This is typically one-way (Salesforce to Zendesk) because Salesforce is usually the system of record for customer information.
Here's how to set it up:
- Enable "Contacts to users sync"
- Map standard fields: First Name, Last Name, Email, Phone, Title
- Configure custom field mappings if you have additional data to sync
- Set the sync direction (Salesforce → Zendesk recommended for contacts)
- Define the sync frequency - real-time or scheduled
The integration will create new Zendesk users for Salesforce contacts that don't exist yet, and update existing users when contact data changes in Salesforce.

One thing to watch: email matching. The integration uses email as the primary identifier. If you have duplicate contacts in Salesforce with the same email, you'll get duplicate users in Zendesk. Clean your data before enabling sync.
Step 3: Configure organization sync (Salesforce accounts to Zendesk organizations)
Organization sync works similarly, but maps Salesforce accounts to Zendesk organizations. This keeps company data aligned across both systems.
In the same Data Sync configuration:
- Enable "Accounts to organizations sync"
- Map account fields to organization fields - at minimum, sync Account Name to Organization Name
- Handle parent/child account hierarchies if you use them in Salesforce
- Set up organization matching rules
- Test with a small subset before enabling full sync

The matching rules are critical here. If an account exists in Salesforce but not Zendesk, it gets created. If it exists in both, it gets updated based on your conflict resolution settings. If you delete an account in Salesforce, the integration can optionally delete the organization in Zendesk (though many teams prefer to keep historical orgs).
Step 4: Set up bidirectional sync options
For some data, you want updates to flow both ways. The most common use case is ticket status: when a support ticket closes in Zendesk, you want the corresponding case in Salesforce to update.
Bidirectional sync requires more careful configuration:
- Define which system wins in a conflict (usually the one where the change originated)
- Set up field-level sync rules - not everything needs to go both ways
- Configure how deleted records are handled
- Schedule regular sync audits to catch edge cases
The native integration handles basic bidirectional sync, but it has limitations. Complex transformations (like mapping multiple Zendesk fields to a single Salesforce field) aren't supported. For those scenarios, you'll need a third-party tool.
Common pitfalls and how to avoid them
Even with a straightforward setup, things can go wrong. Here are the issues we see most often:
Duplicate records happen when your matching rules aren't tight enough. Before your first sync, define strict deduplication rules, usually based on email for contacts and name/domain for organizations. Run a data audit in both systems and merge duplicates before connecting them.
API rate limits can pause your sync. Salesforce enforces strict limits on API calls per 24-hour period. If you're syncing high volumes of data, you might hit these limits. Monitor your API usage in Salesforce Setup and consider batching large syncs during off-hours.
Permission conflicts cause silent failures. The integration user needs specific permissions in both systems. In Salesforce, create a dedicated integration user profile with API access, read/write on Contacts/Accounts, and view all data permissions. Don't use a human admin's credentials.
Data quality issues get amplified by sync. Bad data in one system becomes bad data in two systems. Standardize your field values, clean up nulls and inconsistencies, and establish data governance rules before enabling automation.
Field mapping errors are hard to untangle. Document every field mapping decision. When a field gets renamed or deleted in one system, the sync breaks in ways that aren't immediately obvious. Keep a mapping spreadsheet that your team can reference.
Alternative approaches for complex needs
The native integration works for straightforward use cases, but it has clear limits. If you need any of the following, you'll want to explore third-party options:
- Syncing custom objects beyond standard contacts and accounts
- Complex data transformations during sync
- Multiple Salesforce or Zendesk instances
- Advanced automation based on sync events
- Custom logic for conflict resolution
Here's a quick comparison of the main alternatives:
| Solution | Starting Price | Best For |
|---|---|---|
| eOne Solutions | $10/agent/month | Teams wanting low-cost, no-code setup |
| Exalate | $550/month (Pro) | Complex sync logic with scripting |
| Syncari | Custom pricing | Enterprise multi-system data management |
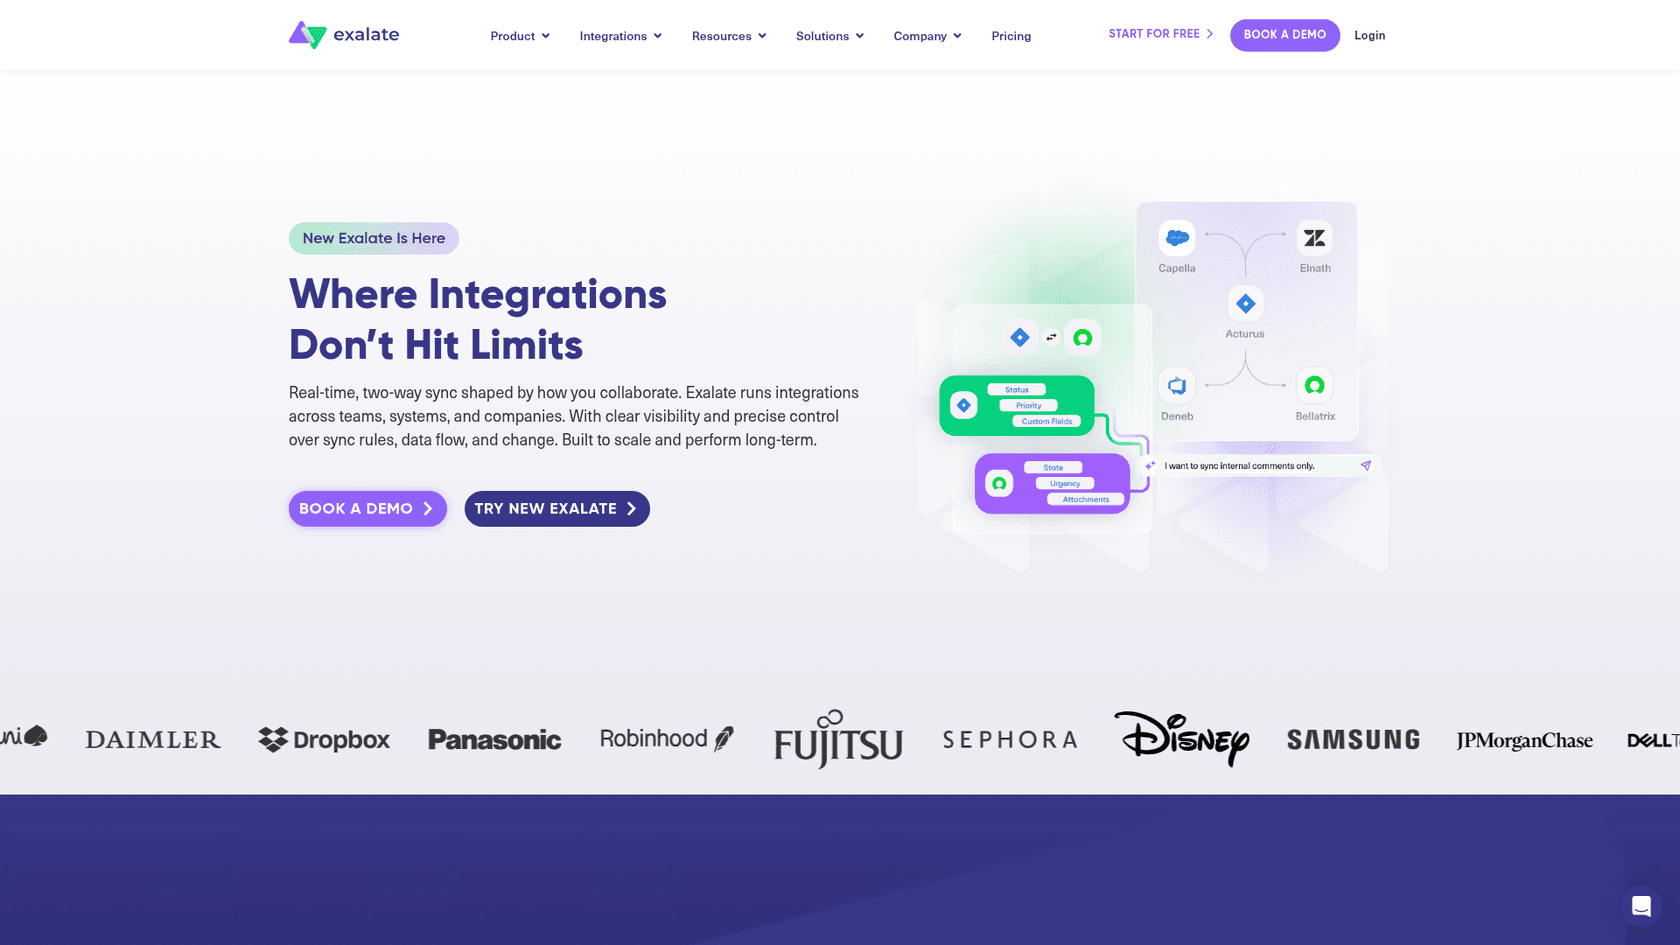
eOne Solutions offers the most affordable entry point at $10 per agent monthly, with a no-code interface that lets non-technical users manage integrations. Exalate provides a Groovy scripting engine for complex transformations, starting at $550 monthly for Salesforce connections. Syncari takes an enterprise approach with stateful synchronization across unlimited systems, though you'll need to contact sales for pricing.
There's also a fundamentally different approach worth considering. Instead of syncing data between systems, you can use an AI teammate that works across both platforms natively. This is where we come in.
How eesel AI handles customer data differently
At eesel AI, we take a different approach to the Salesforce-Zendesk data problem. Instead of syncing records between systems, our AI teammate connects directly to both platforms and accesses data where it lives.
Here's what that means in practice:
- No data migration - We read from Salesforce and Zendesk in real-time, so there's no sync to configure or maintain
- No field mapping - The AI understands context across both systems without rigid field-to-field mappings
- Unified responses - When an agent asks about a customer, we pull relevant data from both platforms automatically
- Continuous learning - Corrections and updates in either system are reflected immediately without sync delays
You can start with eesel AI drafting responses in Zendesk while referencing Salesforce data, then expand to more autonomous handling as the AI learns your business. Most teams see up to 81% autonomous resolution once fully deployed.

Learn more about our AI Agent for help desks or see how our AI Copilot works.
Start syncing your customer data today
Setting up contact and organization sync between Zendesk and Salesforce takes a few hours of planning and configuration, but the payoff is significant. Your teams stop context-switching, data stays consistent, and customers get better service because everyone has the full picture.
Start with the native integration if your needs are straightforward. Test thoroughly in Sandbox before touching production data. And if you hit the limits of what's possible natively, explore the third-party options or consider whether an AI-native approach might solve the underlying problem more elegantly.
The goal isn't perfect sync. It's giving your teams the customer context they need to do their jobs well. Whether that's through data synchronization or an AI that bridges the gap, choose the approach that gets you there with the least ongoing maintenance burden.
Frequently Asked Questions
Share this article

Article by
Stevia Putri
Stevia Putri is a marketing generalist at eesel AI, where she helps turn powerful AI tools into stories that resonate. She’s driven by curiosity, clarity, and the human side of technology.