Managing customer support for multiple brands can feel like juggling. You've got different logos, different voices, and different customer expectations, all while trying to keep your team from drowning in complexity. Do you split your support team by brand? Set up separate Zendesk instances? Or just hope customers don't notice when emails come from the wrong domain?
Zendesk's Multibrand feature was built for exactly this situation. It lets you run multiple distinct brand experiences from a single account. Your customers see separate help centers, email addresses, and support channels for each brand. Your agents work from one unified dashboard. Everyone gets what they need without the operational headache of managing multiple systems.
Here's how to set it up and make it work for your team.

What are brands in Zendesk?
In Zendesk, a brand is a customer-facing identity. It's the collection of touchpoints where your customers interact with you: the help center they visit, the email address they write to, the web widget they chat with, and the social media accounts they message.
Every ticket in Zendesk has a brand value. This matters because it controls what your agents can see and do. Agents can only view, search, and access tickets within the brands they're assigned to. Admins see everything across all brands. End users and organizations don't belong to specific brands, they belong to your account, but their tickets are tagged with the brand they contacted.
Most channels support brands: help centers, email, voice, messaging widgets, and social channels like X and Facebook. This means you can set up support.yourbrandA.com and help.yourbrandB.com as completely separate experiences, even though your team manages both from the same place.
Companies typically need multiple brands when they've acquired other businesses, launched distinct product lines, or operate regional markets with different identities. Instead of maintaining separate support systems (or worse, forcing customers of a luxury brand and a budget brand into the same support experience), you can give each audience the tailored experience they expect.
Plan requirements and limitations
Before you start adding brands, you need to know your plan limits. Here's the breakdown:
| Plan | Brand Limit | Notes |
|---|---|---|
| Suite Growth | Up to 5 brands | Good for small multi-brand operations |
| Suite Professional | Up to 5 brands | Same limit as Growth |
| Suite Enterprise | Up to 300 brands | Built for large portfolios |
| Suite Enterprise Plus | Up to 300 brands | Same high limit |
| Support Enterprise | Up to 5 brands | Standalone Support plan |
| Employee Service Suite Growth+ | 3 brands by default | Pre-configured for Support, HR, and IT |
Every Zendesk account starts with one default brand created when you set up your account. This brand shares your account subdomain. When you add more brands, you get multiple brand subdomains while keeping a single account subdomain.
One brand is always designated as the default brand. This is the fallback for any situation where a specific brand isn't indicated. It can't be deleted until you make another brand the default. You can also set an agent brand, which determines where agents land when they sign in.
It's worth understanding how brands differ from other Zendesk features. Groups are for organizing your internal team and routing tickets to the right people. Organizations are for grouping your customers. Brands are for creating distinct customer-facing identities. You might have a VIP customer organization that submits tickets across multiple brands, or a support group that handles tickets from several brands.
Setting up your first additional brand
Adding a brand is straightforward, but there are a few decisions to make along the way. Here's the process:
Step 1: Access brand management
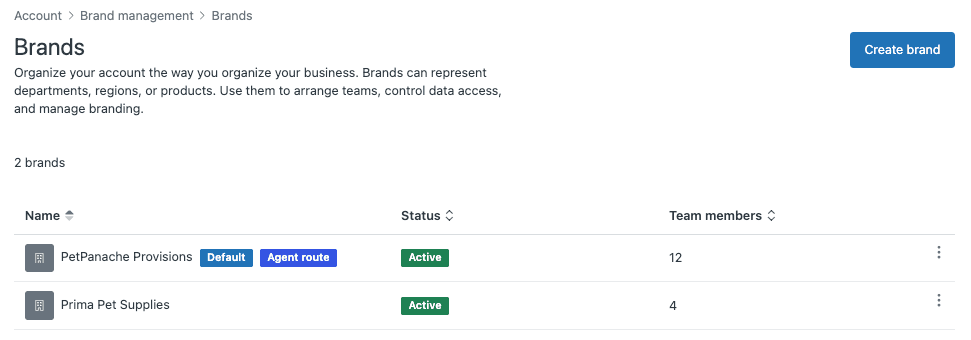
Navigate to Admin Center, then Account, then Brand management, then Brands. If this is your first time adding a brand, you'll see a "Get started" button. After that, you'll see a "Create brand" button.
You'll need admin privileges to access this section. If you don't see Brand management in your sidebar, check with your account owner about permissions.
Step 2: Create the brand
Enter a name for your brand. This is customer-facing, so use your actual brand name. It must be unique across all your brands.
Next, choose a subdomain. This becomes the URL for your brand's help center (yoursubdomain.zendesk.com/hc) and the default support email address (support@yoursubdomain.zendesk.com). Subdomains can only contain letters, numbers, and dashes. You'll see immediately if your chosen subdomain is available or already taken.

Optionally, upload a logo. Keep it under 2MB and use PNG, JPG, JPEG, or GIF format. Square logos work best. You can also add a brand signature that appends to your agents' personal signatures when they work on this brand's tickets.
If you want to use your own domain instead of a zendesk.com subdomain, enter it in the Host mapping field. For example, you might use support.brandA.com instead of brandA.zendesk.com. This requires additional setup including SSL certificate generation.
Step 3: Configure brand membership
After saving your brand, you need to decide who can access it. Click "Manage brand membership" under "Who has access."

All admins are automatically added to every brand and cannot be removed. For other team members, you need to explicitly add them to the brand before they can view or work on its tickets. This is useful for keeping sensitive brands restricted to specific team members, or for ensuring agents only see the brands they're trained to support.
Step 4: Set up brand channels
Your new brand won't be visible to customers until you add a help center or associate it with another channel. You'll need to:
- Create a help center for the brand
- Set up email support addresses
- Configure web widgets or messaging
- Add voice numbers if applicable
- Connect social media accounts

Each channel needs to be explicitly linked to your new brand. This ensures customers of Brand A always interact with Brand A's touchpoints, never accidentally seeing Brand B's content.
Configuring business rules by brand
Once your brands are set up, you can use them throughout your Zendesk configuration. Brand is available as a condition in triggers, automations, macros, and views. This lets you build brand-specific workflows.
For example, you might create a trigger that assigns all tickets from Brand A to your Tier 1 team, while Brand B tickets (which might be more technical) go straight to Tier 2. Or you could set up different SLA policies based on brand, reflecting different customer expectations.
Views can be filtered by brand, so agents can focus on just the brands they support. You can also create shared views that show tickets across all brands for managers who need the full picture.
Email templates and signatures can be customized per brand. This ensures customers receive communications that match the brand they contacted, maintaining consistency in tone and visual identity.
For reporting, brand is a dimension in Zendesk Explore. You can analyze ticket volume, resolution times, and customer satisfaction by brand to understand how each identity is performing.
Best practices for managing multiple Zendesk brands
Running a multibrand setup well requires some planning. Here are practices that help:
Use clear naming conventions. When you have multiple brands, consistent naming matters. This applies to everything from trigger names to view titles to internal documentation. A naming scheme like "[BrandA] Escalation Trigger" makes it immediately clear what belongs where.
Know when to use brands versus other features. Brands are for distinct customer-facing identities. If you just need to route tickets to different teams, use groups. If you need to organize customers, use organizations. Using brands for internal organization creates unnecessary complexity.
Maintain knowledge consistency. When you have shared policies across brands (like a company-wide return policy), you need a process to keep that information updated everywhere. Consider using internal documentation that agents can reference, rather than duplicating content across help centers and hoping you remember to update every instance.
Manage SSL certificates carefully. If you use host mapping, you need to regenerate your SSL certificate every time you add one or more host-mapped brands. You don't need to do this for every single brand, just whenever you add a batch. Use a SAN certificate that lists all your brand subdomains.
Train agents on brand differences. Agents working across multiple brands need to understand the distinct voice, policies, and customer expectations for each. Document these differences clearly and make them part of onboarding.
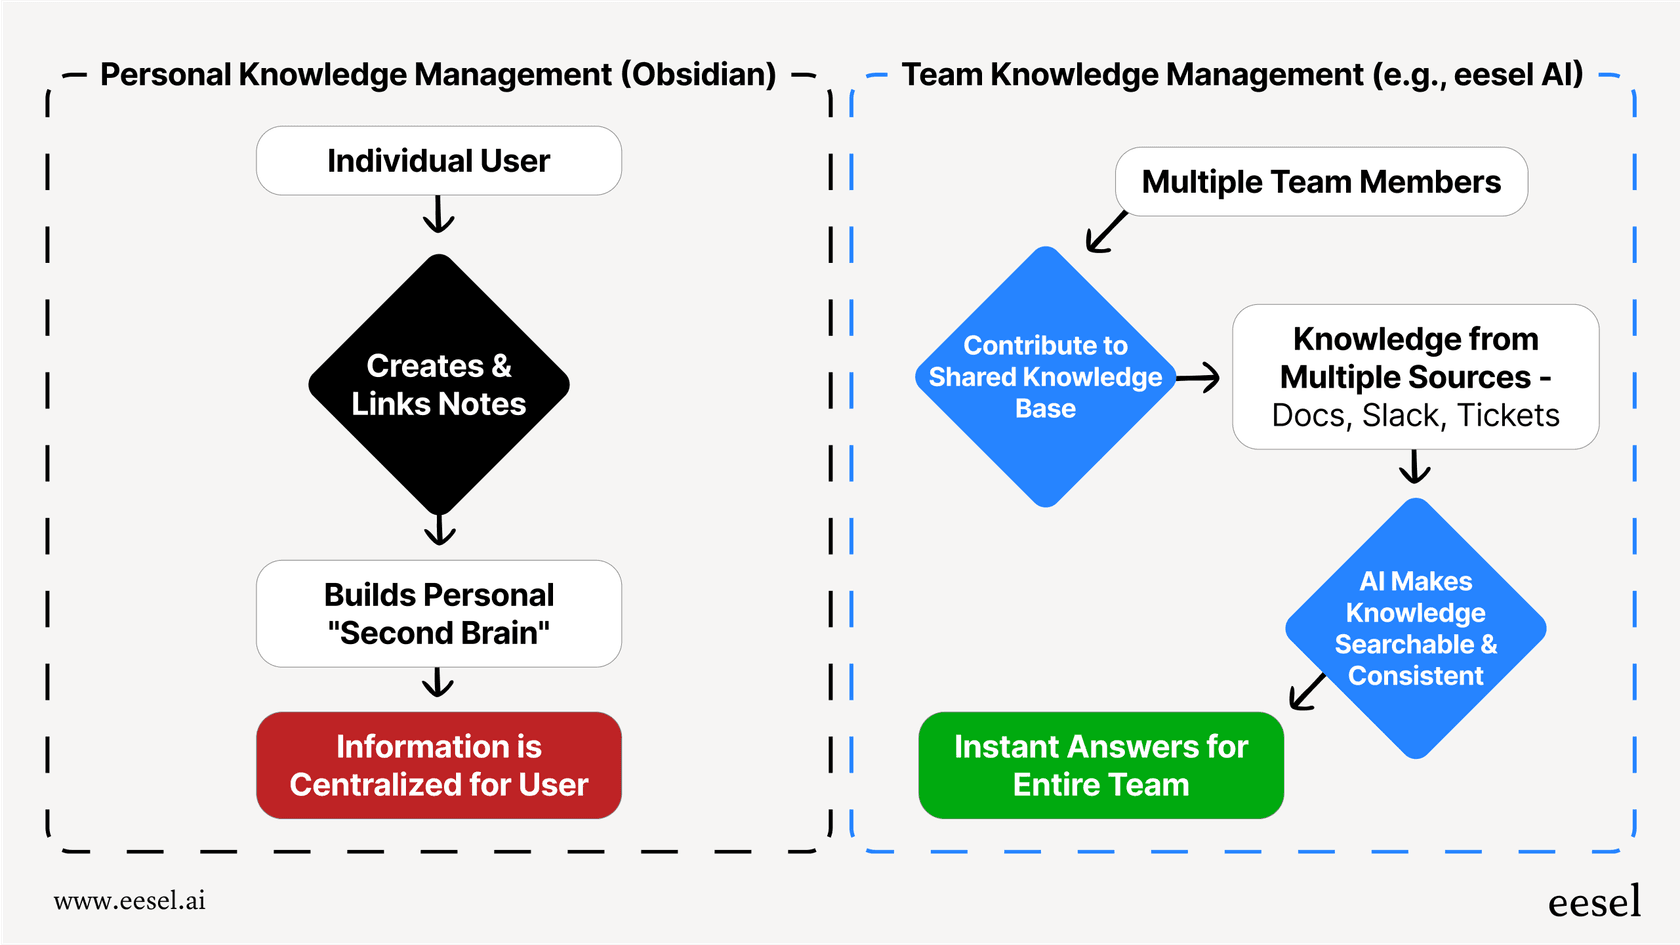
Consider an AI layer for knowledge management. As you scale to more brands, keeping knowledge consistent and accessible becomes harder. An AI platform like eesel AI can connect to all your help centers and internal documentation, giving agents a single place to find answers across every brand.
You can even configure different AI agents with different personalities for each brand, ensuring customers get the right tone even when AI is handling the response.
Common challenges and solutions
Integration limitations. Not all third-party tools fully support Zendesk's brand field. You might find that an integration can see tickets but not filter by brand, or that brand information doesn't sync to external systems. The workaround is often to use tags or custom fields alongside brands, though this adds maintenance overhead.
Scaling beyond plan limits. If you hit your brand limit (5 for most plans, 300 for Enterprise), your options are limited. You can upgrade your plan, consolidate brands, or in some cases, use organizations or groups to simulate brand separation for internal purposes.
Maintaining brand consistency. With multiple help centers, email templates, and agent signatures, it's easy for things to drift out of sync. Regular audits help, as does documenting your brand standards clearly.
Ticket routing complexity. When you have brands, groups, and organizations all influencing where tickets go, the logic can get complicated. Document your routing rules and test them regularly to make sure tickets are landing where they should.
Reporting across multiple brands. While Explore lets you filter by brand, getting a unified view of performance across all brands requires careful dashboard design. Make sure your reports answer the questions your leadership actually asks.
Start managing multiple brands in Zendesk today
Zendesk's Multibrand feature gives you a clean way to support multiple customer-facing identities without multiplying your operational overhead. Your customers get tailored experiences that match the brand they know. Your team works from a single, unified system. And you maintain the flexibility to grow your brand portfolio as your business expands.
The setup process is straightforward: create the brand, configure access, add your channels, and build your workflows. The real work is in the ongoing management: keeping knowledge consistent, training agents on brand differences, and ensuring your integrations play nicely with the brand structure.
If you're looking to make multibrand management even smoother, consider how an AI layer could help. eesel AI connects to your Zendesk instance and all your knowledge sources, giving your team instant access to consistent answers across every brand. Instead of maintaining duplicate help centers or hoping agents remember which policy applies where, you get a single source of truth that adapts to each brand's voice and requirements.

Ready to see how it works? Try eesel AI with your Zendesk setup and see how much easier multibrand support can be.

