A beginner's guide to effective tutorial blog writing
Riellvriany Indriawan
Katelin Teen
Last edited January 19, 2026
Tutorial blogs are a serious heavy-hitter in your content lineup. They aren't just articles; they're genuine problem-solvers. When you teach someone how to do something useful, you're doing more than just sharing info: you're building authority, educating your audience, and bringing in a good amount of organic traffic.
What is tutorial blog writing?
Tutorial blog writing is the art of creating super-detailed, instructional content that walks a reader through a specific task, from start to finish. Its main purpose is to solve a problem with clear, actionable steps that anyone can follow.
It's good to know how it differs from other content types you might be creating:
- Listicles: These are fine for showing options ("7 Best Tools for X"), but they don't actually teach you the full process of using any of them.
- Reviews: A review tells you if a product is good or bad, but it won't give you detailed instructions on how to use all its features.
- Overviews: An overview explains a topic in general terms, giving you the "what" and "why," but it usually skips the specific, hands-on steps needed to actually do something.
An infographic comparing tutorial blog writing to listicles and reviews, highlighting key differences.
For businesses, the payoff here is massive. A solid tutorial doesn't just get you visitors; it proves your expertise in a real way. You're not just telling people you're an expert, you're showing them. This builds a lot of trust with your audience and can bring in qualified leads who see you as the authority.
Planning your tutorial blog for success
Diving straight into writing without a plan is a surefire way to end up with a confusing mess. The prep work you do before you type a single word is what separates an okay tutorial from a fantastic one. Good planning makes sure your final post is relevant, clear, and actually helpful to the reader.
IMO opinion, AI is like most tools. Garbage in, garbage out. You can’t throw a Kw at it and expect a week written article. You still need to research proper KWs. You need to study the SERPs. You still need to perfect a great outline. Once all that is done, AI is a crutch, it can assist you. Stuck in your outline, but have a general idea what you want to write. Throw it into AI. Maybe you like the results, maybe you don’t. But it will usually prompt you. Just my two cents.
Choosing a topic that resonates
The best tutorials solve a real-world problem. Your first job is to figure out what your audience is actually struggling with.
Here are a few ways to find some topic ideas:
- Check out competitor content: See what tutorials your competitors are publishing. Are there any gaps you could fill? Can you make a guide that’s more detailed, current, or easier to understand?
- Browse forums: Sites like Reddit and Quora are basically gold mines for content ideas. Look for common questions people are asking in your industry. If you see the same problem mentioned repeatedly, you've probably found a winning tutorial topic.
- Do some basic keyword research: Tools like Ahrefs or SEMrush can show you what people are searching for. Look for "how-to" or "tutorial" keywords that have a decent search volume.
Pro tip
The very best topics often come from problems you've solved yourself. Your personal experience adds a layer of authenticity and unique insight that you just can't fake, and it helps you connect with readers.
Understanding your target audience
Who are you actually writing for? A tutorial aimed at a total beginner will look completely different from one for an expert user. You need to adjust the complexity, language, and tone to fit their skill level.
Ask yourself: what is my reader trying to achieve? Are they after a quick five-minute solution, or do they need a deep, detailed guide to master something complicated? The answer will tell you how much detail to include, whether you can use technical jargon, and what kind of examples will be most helpful.
Creating a logical outline
Your outline is the skeleton of your tutorial. It makes sure the final article flows logically and is easy for both readers and search engines to understand. A messy structure is one of the quickest ways to lose a reader's attention.
A good tutorial outline pretty much always has these parts:
- Introduction: State the problem you're solving and tell the reader what they'll be able to do by the end.
- Prerequisites: List any tools, accounts, software, or knowledge they'll need before getting started.
- Numbered, sequential steps: Break the whole process down into logical, small actions.
- Recap: Briefly recap what they've accomplished and suggest what they could do next.
An infographic showing the four key parts of a tutorial blog writing outline: introduction, prerequisites, steps, and recap.
A solid structure isn't just for your readers; it's also a big plus for SEO. Search engines prefer well-organized content, and it's especially important for new tech like Answer Engine Optimization (AEO), where AI models look for clear, structured info to answer questions.
Crafting the core components of your tutorial blog
With your plan ready, it's time to get writing. This is where you bring your outline to life with clear instructions, helpful context, and visuals that make everything easy to follow.
Writing a clear introduction and prerequisites
The intro has one main job: to get the reader hooked. It should clearly and quickly state what they'll learn and why it's important. Get straight to the point and promise a specific outcome.
Right after the intro, a "What You'll Need" or prerequisites section is a must. This is all about setting expectations. By listing everything the reader needs upfront (like a specific software, an admin account, or a bit of code), you stop them from getting halfway through and realizing they're missing something. It's a small thing that prevents a lot of frustration and keeps people from leaving your post.
Detailing actionable, step-by-step instructions
This is the core of your tutorial. The main goals here are clarity and simplicity.
- Use an active voice: Write "Click the 'Save' button" instead of "The 'Save' button should be clicked." It's more direct and easier to understand.
- Keep paragraphs short: Huge blocks of text are intimidating. Break each step down into short, simple paragraphs.
- One action per step: Don't try to squeeze too much into a single step. Each one should cover a single, clear action. This keeps readers from feeling overwhelmed.
- Use descriptive headings: Label each step clearly (e.g., "Step 1: Configure your account," "Step 2: Upload your file"). This makes your content easy to scan and helps readers find their spot if they need to step away.
The crucial role of visual aids
Let's be real: a tutorial without visuals is often just a boring wall of text. Visual aids are what make complicated steps simple to grasp. They break up the text and, more importantly, show the reader they're doing things correctly.
Here are a few types of visuals that are great for tutorials:
- Screenshots: These are essential for any software tutorial. Use simple notes like arrows or boxes to point out exactly where the user needs to click.
- GIFs/Short Videos: These are perfect for showing a quick process that would be awkward to explain with a bunch of static screenshots.
- Diagrams: Really useful for explaining abstract concepts, workflows, or how systems are set up.
An infographic showcasing key visual aids for tutorial blog writing, including screenshots, GIFs, and diagrams.
However, creating, annotating, and formatting all these visuals is usually the most time-consuming part of writing a tutorial blog. It can easily take hours to get them all right, which is a big hurdle if you're trying to produce content regularly.
How to automate tutorial blog writing with eesel AI
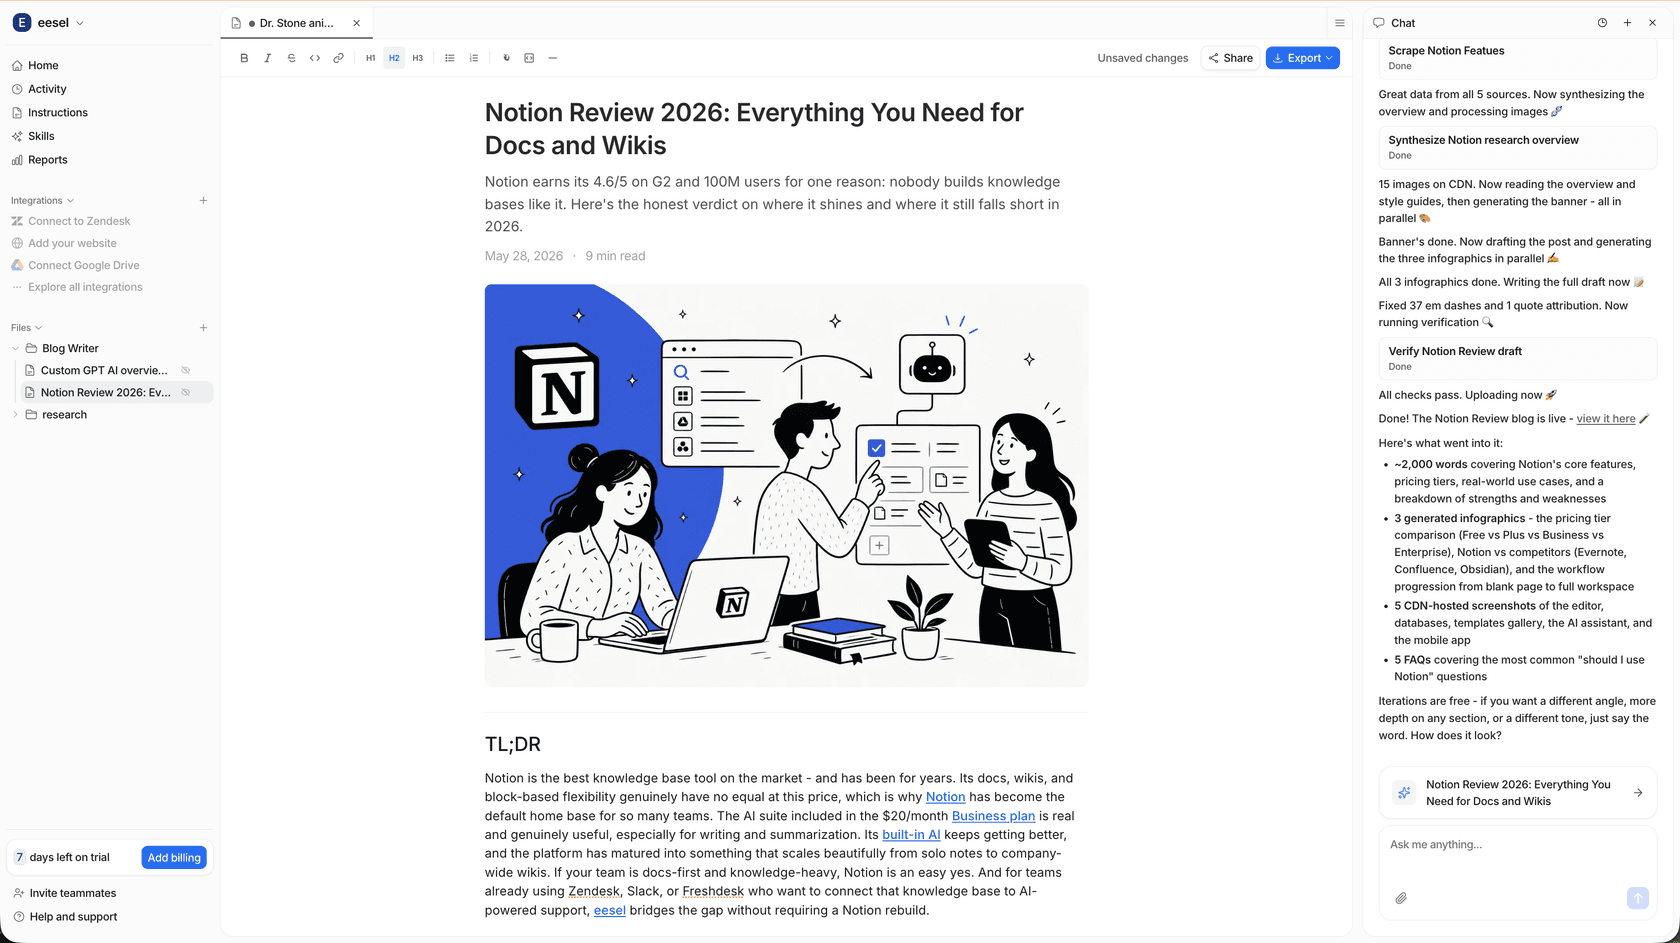
This is where a platform like the eesel AI blog writer can be useful. It’s designed to solve this exact problem by generating a complete, ready-to-publish tutorial from just a single keyword. We used this tool to grow our own blog from 700 to over 750,000 daily impressions in only three months.
Here’s how it assists in creating tutorials:
- Automatic Asset Generation: The eesel AI blog writer creates custom images, infographics, and data tables for you, cutting out hours of manual work.
- Social Proof Integration: It automatically finds and adds relevant YouTube videos and real quotes from Reddit threads. This gives your tutorial an extra layer of authenticity and real-world context, making it more trustworthy.
- Context-Aware Research: It understands what people are looking for in a tutorial. It doesn't just write generic content; it gathers the specific steps, details, and information needed to create a genuinely helpful guide.
- Built-in SEO and AEO: The content is automatically structured and optimized for both traditional search engines and new AI answer engines like Google AI Overviews, so you don't have to sweat the technical details.
LLMs are powerful tools, but they'll just make your poor communication skills even more obvious. You can get better at writing *without* letting the AI do it for you. Just ask it for options, work with it, even argue with it. It's a great way to improve your own content.
Optimizing and promoting your tutorial blog
Writing a great tutorial is only half the job. If nobody can find it, it won't do much good. A little bit of optimization and promotion can make a huge difference.
Simple SEO for tutorials
You don't have to be an SEO expert to get the basics down. Here are a few simple things to do:
- On-Page SEO: Make sure your target keyword is in your title, the URL, and at least one H2 heading.
- Image Alt Text: Write a short, descriptive alt text for every image. This helps with accessibility and can get your images to show up in Google Image search.
- Structured Data: This is a bit more advanced, but it's very effective. For tutorials, you can use "HowTo" schema markup. This is a bit of code that helps search engines understand that your content is a step-by-step guide. As Google's own documentation explains, this can help your steps get featured as a rich result right in the search results.
An infographic explaining how 'HowTo' schema can improve SEO for tutorial blog writing by creating rich results in Google.
Encouraging reader engagement
A great tutorial doesn't just teach; it starts a conversation. You want to build a sense of community around your content.
- Ask a question: End your post with an open-ended question to get people commenting. Something like, "What other methods have you tried? Share your tips in the comments below!" can get things started.
- Have a clear Call-to-Action (CTA): Once the reader has finished the tutorial, what's next? Guide them. Your CTA could be to download a related guide, read another post, or try a tool that makes the process even simpler.
For a deeper dive into the fundamentals of crafting a blog post that resonates with readers, check out this detailed guide from Neil Patel. He breaks down a formula that works for any type of blog, offering practical tips you can apply to your next tutorial.
Final thoughts
Good tutorial blog writing comes down to three things: planning ahead to solve a real user problem, providing clear and visually-supported instructions, and doing some basic optimization so people can find your work.
While tutorials are a fantastic way to build trust and authority, they definitely take a lot of time to create by hand. The research, writing, and especially the visual creation can eat up a lot of your resources. AI is a great way to tackle this, handling the heavy lifting so you can focus on creating more content and reaching a bigger audience.
Ready to turn a single keyword into a complete tutorial in minutes? Try the eesel AI blog writer for free and see how full-cycle automation can work for you.
Frequently Asked Questions
What is the most important element of effective tutorial blog writing?
How can I make my tutorial blog writing more engaging for readers?
What are some common mistakes to avoid in tutorial blog writing?
How do I choose the right topic for my tutorial blog writing?
Can AI tools really help with the creative aspects of tutorial blog writing?

Article by
Riellvriany Indriawan
Riell is a designer and writer at eesel AI with about two years of experience researching CX platforms, AI chatbots, and helpdesk software. She combines her design background with a sharp eye for how these tools actually look and feel in practice — making her comparisons unusually visual and user-focused.