How to configure Zendesk chat availability: A complete guide
Stevia Putri
Last edited March 5, 2026
When customers visit your website and see that chat widget in the corner, they're making a split-second judgment. Is someone actually there to help? Or are they about to waste their time typing into the void?
Getting chat availability right matters more than most teams realize. It's the difference between frustrated visitors and satisfied customers, between missed opportunities and closed deals.
This guide walks you through configuring Zendesk chat availability settings step by step. You'll learn how to manage agent status, set up operating hours, and optimize your chat experience. We'll also look at how modern AI alternatives like eesel AI handle availability differently.

What you'll need
Before diving into configuration, make sure you have:
- A Zendesk account with Chat or Messaging enabled (available on Suite Team plans and above)
- Admin access to configure settings in the Admin Center
- A clear understanding of your team's operating hours and coverage needs
- Optional: Agent Workspace enabled for advanced availability features
Step 1: Understanding Zendesk chat availability status options
Zendesk gives agents three distinct availability states. Each affects how the chat widget behaves and how conversations get routed.
Online means you're available to answer chats. When at least one agent is online, the chat widget appears active to visitors. This is the status that signals "we're here to help."
Away indicates internally to other agents that you're away from your computer. Here's the key detail: you can still serve chat requests when your status is Away. This status is more about team visibility than customer-facing availability.
Invisible allows you to sign into the Chat dashboard without appearing online to visitors. If your organization uses broadcast routing (where all agents see incoming chats), invisible agents can still view and accept requests. However, with assigned routing, invisible agents cannot receive chats. If all agents are invisible, the widget appears offline and chat triggers won't fire.

The status you choose directly impacts whether customers see an available chat widget. It also affects routing rules and trigger behavior.
Step 2: Setting your agent availability status
Changing your status in Zendesk Chat is straightforward once you know where to look.
To manually change your status, click the dropdown menu in the upper-left corner of the Chat dashboard. You'll see your current status and can switch between Online, Away, and Invisible.
Automatic Status Changes
You don't have to manage status manually all day. Zendesk includes an idle timeout feature that automatically changes your status after a period of inactivity.
To configure idle timeout:
- In the dashboard, select Settings > Personal
- Select the Idle timeout tab
- Toggle idle timeout On
- Choose whether to Ignore if chatting (recommended if you don't want status changes mid-conversation)
- Select your preferred Idle status (Away or Invisible)
- Set your Inactivity period (default is 15 minutes)
- Click Save changes
Important note: The idle timeout feature is only available in Classic Chat. If you're using the Zendesk Agent Workspace, status management works differently through the unified agent status feature.
Best Practices for Status Management
- Set realistic idle timeouts based on your workflow. Too short and you'll constantly flip statuses. Too long and customers might wait for agents who've stepped away.
- Use "Ignore if chatting" to prevent awkward status changes during active conversations.
- Train your team on what each status means. Many agents assume "Away" stops them from receiving chats, which isn't true.
Step 3: Configuring operating hours for Zendesk chat availability
Operating hours let you automate when chat is available to customers. Instead of relying on agents to manually sign in and out, you can set schedules that control widget visibility automatically.
Creating Your Schedule
To set up operating hours:
- Go to Admin Center > Channels > Chat > Operating Hours
- Click Add Schedule
- Name your schedule (e.g., "Standard Support Hours")
- Set your timezone
- Define hours for each day of the week
- Save your schedule

Support Business Hours vs. Chat Operating Hours
Here's where it gets confusing. Zendesk has two separate scheduling systems:
Support business hours control ticket SLAs and automated responses. They're configured in Admin Center > Business Rules > Business Hours.
Chat operating hours control when the chat widget appears online. These are configured separately in the Chat settings.
These systems don't sync automatically. If you set business hours in Support, your chat widget won't automatically follow that schedule. You need to configure both separately.
Setting Up Holidays and Exceptions
You can add holidays and exceptions to your operating hours schedule. This is useful for:
- Company holidays when support is closed
- Special events with extended hours
- Early closure days
To add exceptions, edit your schedule and add specific dates with modified hours or mark them as closed.
Step 4: Setting up chat routing
Routing determines how incoming chats get assigned to agents. Your routing method interacts with agent availability in different ways.
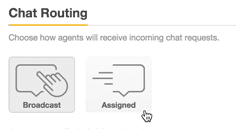
Broadcast vs. Assigned Routing
Broadcast routing sends incoming chats to all available agents simultaneously. The first agent to accept gets the conversation. With broadcast routing:
- Any agent with Online or Away status can see and accept chats
- Invisible agents can still see broadcast chats (but customers don't see them as available)
- If all agents are invisible, the widget appears offline
Assigned routing automatically assigns chats to specific agents based on rules. With assigned routing:
- Only Online agents receive assigned chats
- Away and Invisible agents don't receive assignments
- You can set up department-based routing for specialized teams
Department-Based Routing
If you have specialized teams (sales, technical support, billing), departments help route chats to the right people.
To set up department routing:
- Create departments in Chat settings
- Assign agents to departments
- Configure routing rules to direct chats based on visitor behavior or pre-chat form selections
- Set department-specific operating hours if needed
Capacity Rules and Concurrent Chat Limits
Capacity rules prevent agents from getting overwhelmed. You can set:
- Maximum concurrent chats per agent
- Queue limits for each department
- Overflow rules when capacity is reached
These limits work alongside availability status. An agent who's Online but at their chat limit won't receive new assignments until their load decreases.
Step 5: Managing messaging availability (advanced)
Zendesk Messaging works differently than Classic Chat when it comes to availability. Understanding these differences helps you set the right expectations.
Chat vs. Messaging Availability
Classic Chat is session-based and real-time. The widget is either online (agents available) or offline (no agents available). It's straightforward but rigid.
Messaging is asynchronous and persistent. The widget is always available, but you can communicate agent availability through:
- Business hours conditions in bot flows
- Wait time estimates
- Queue position displays
- Away messages

Using the Agent Availability API
For advanced use cases, Zendesk provides an Agent Availability API that lets you check agent status programmatically. This is useful for:
- Custom bot flows that check if agents are online before offering escalation
- External dashboards showing current availability
- Automated workflows based on agent presence
The API endpoint returns agent statuses across all channels. You can filter by channel (messaging, chat, voice) and status (online, away, offline).
Note: Accessing the API requires proper authentication and admin permissions. Common issues include 401 errors when permissions aren't configured correctly.
Bot Flows for Checking Agent Availability
In Zendesk Messaging, you can build bot flows that check agent availability before offering to transfer to a human. This prevents the frustrating experience of requesting an agent only to find no one is available.
A typical flow includes:
- Check business hours (are we within operating hours?)
- If yes, check agent availability via API
- If agents are available, offer transfer
- If no agents available, set expectations about response time
Common issues and troubleshooting
Even with proper configuration, issues come up. Here are solutions to the most common problems.
Widget Not Showing as Online
If your chat widget appears offline when agents are signed in:
- Verify at least one agent has Online status (not just Away or Invisible)
- Check that operating hours haven't expired
- Confirm the widget code is properly installed on your website
- Review chat triggers that might be hiding the widget
Agents Not Receiving Chat Requests
If Online agents aren't getting chats:
- Check routing settings (broadcast vs. assigned)
- Verify agents are assigned to the correct departments
- Review capacity rules that might be blocking assignments
- Ensure agents haven't exceeded concurrent chat limits
Status Not Updating Automatically
If idle timeout isn't working:
- Confirm you're using Classic Chat (not Agent Workspace)
- Check that idle timeout is enabled in Personal settings
- Verify the inactivity period isn't set too long
- Note that some browser extensions can interfere with activity detection
API Authentication Errors
When working with the Agent Availability API, 401 errors typically mean:
- The API token doesn't have sufficient permissions
- The account making the call needs "Manage channels" permission
- Agent Workspace and Agent Availability features aren't enabled
- The authentication method is incorrect (should use email/token format)
Tips for optimizing chat availability
Getting the configuration right is just the start. Here are practical ways to improve your chat availability strategy.
Align agent schedules with peak traffic times. Look at your chat volume reports and staff accordingly. Having agents online during low-traffic hours wastes resources. Being understaffed during peaks frustrates customers.
Use proactive triggers during business hours. When agents are available, engage visitors proactively with targeted messages. This increases chat volume when you have coverage.
Set clear expectations with wait time displays. If you're using Messaging, enable wait time banners so customers know what to expect. Uncertainty drives abandonment more than actual wait times.
Monitor agent workload and adjust capacity rules. If agents consistently hit their chat limits, raise them or add more staff. If they're consistently underutilized, you might be overstaffed.
Managing chat availability with eesel AI
Here's the reality with traditional chat availability: you're always playing defense. Agents go to lunch. Calls run long. People get sick. And every time coverage gaps, your customers feel it.
eesel AI handles availability differently. Instead of managing when humans are online, you hire an AI teammate that works alongside your team.
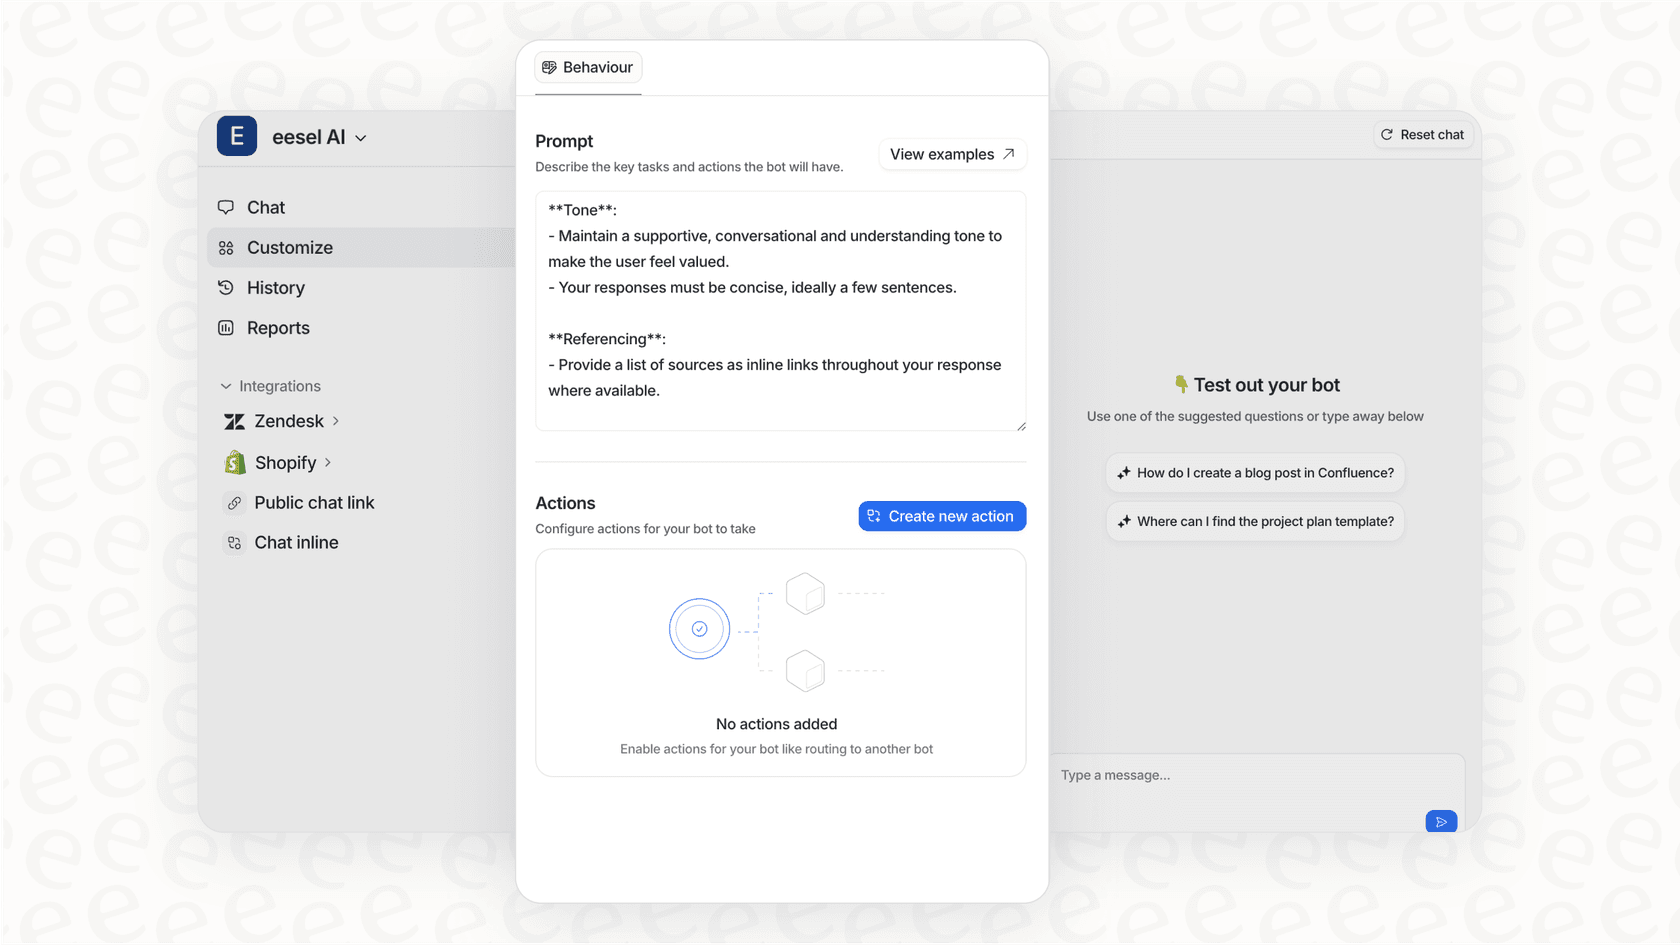
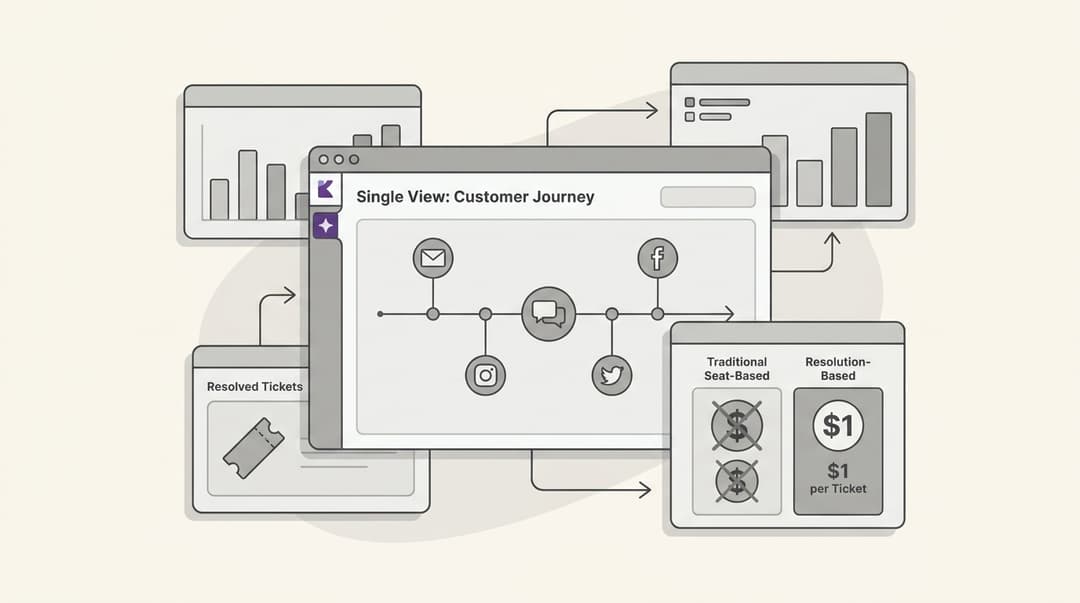
With our AI Agent, availability isn't binary (online/offline). The AI handles frontline support 24/7, escalating only what you define. You start with the AI drafting replies for review, then level up to full autonomy as it proves itself.
The key difference: traditional chat tools ask "Is an agent available?" We ask "Can this be resolved without a human?" Our customers see up to 81% autonomous resolution rates. The remaining 19% escalates with full context to your team.
You define escalation rules in plain English: "Always escalate billing disputes to a human" or "For VIP customers, CC the account manager." No complex workflows. No coding.
If you're tired of availability management consuming your support operations, try eesel AI and see how autonomous support changes the equation.
Frequently Asked Questions
Share this article

Article by
Stevia Putri
Stevia Putri is a marketing generalist at eesel AI, where she helps turn powerful AI tools into stories that resonate. She’s driven by curiosity, clarity, and the human side of technology.