If you’ve been in the support world for a while, you know that some feature updates are more exciting than others. When Zendesk introduced the ability for triggers to add internal notes, it was a welcome change for anyone looking for simple automation without needing webhooks.
It was a great step forward for the platform. Now, you can build helpful reminders right inside Zendesk easily. It's important to note that these native notes are static, which ensures consistency. They reliably tell an agent to follow a process every time the trigger is met.
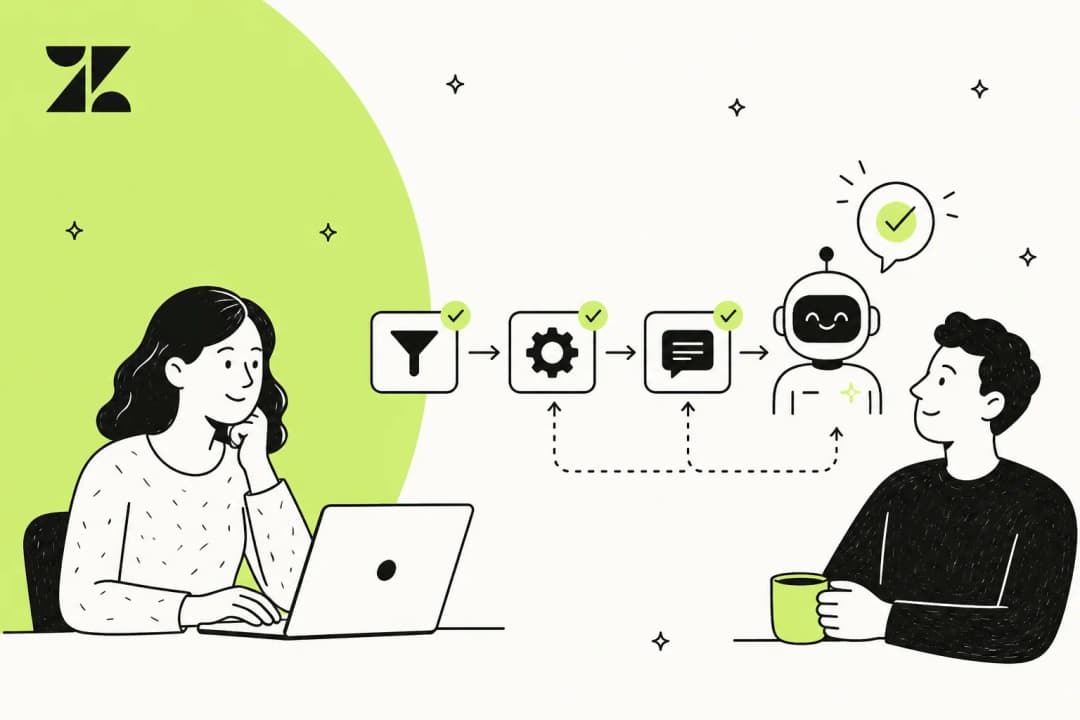
In this guide, I'll walk you through how to set up this native Zendesk feature. Then, we’ll look at how to expand your workflow with a little help from AI to create dynamic notes that provide even more specialized context for your team.
What you'll need to get started
Before we jump in, let’s make sure you have everything you need. The setup is pretty simple, but you will need:
-
A Zendesk plan: Most Zendesk Suite or Support tiered plans include Triggers, so if you're on Team, Growth, Professional, or Enterprise, you should be good to go.
-
Admin access: You’ll need to be an administrator in your Zendesk account to create and edit triggers.
-
A clear use case: It’s helpful to have a specific goal in mind. For example, you might want to automatically add a note to any ticket that mentions the word "outage" or asks for a "refund."
How to use Zendesk triggers to add internal notes: a step-by-step guide
Alright, ready to build your first trigger? Let's use a classic example: adding a reminder note for any ticket about a refund.
Step 1: Head to the triggers menu
First things first, log in to your Zendesk account and go to the Admin Center. You'll find triggers under Objects and rules > Business rules > Triggers.
Step 2: Create and name your new trigger
Once you’re on the Triggers page, click the "Add trigger" button. Give it a name that’s easy to understand later. Something like "Internal Note: Add Refund Process Reminder" works well because it tells you exactly what it does just by reading the title.
Step 3: Set your conditions
Conditions are basically the "if" part of your rule. They tell Zendesk when to run the trigger. For our refund example, we only want it to fire when a brand new ticket contains the word "refund."
Under Meet ALL of the following conditions, you’ll want to add these two rules:
-
Condition 1: "Ticket > Is > Created"
-
Condition 2: "Ticket > Comment text > Contains the following string > refund"
This setup makes sure the note is only added once at the very beginning and only if that specific word is in the customer's message.
Step 4: Add the action for the internal note
Actions are the "then" part of the rule, what Zendesk actually does when the conditions are met.
Under the Actions section, click "Add action" and find "Ticket > Internal note". A text box will pop up where you can write the message you want to appear on the ticket.
For instance, you could write something like: "Heads up, this ticket mentions a 'refund'. Please follow the process doc located in our Confluence space."
Step 5: Save and test it out
Once you’re happy with the setup, hit the "Create" button at the bottom. That's it, your trigger is now live.
To make sure everything is working as expected, send a test ticket to your support email from a personal account and make sure to use the word "refund" in the body. You should see your automated internal note appear in the ticket thread almost immediately.
Moving beyond static internal notes
This built-in feature is a valuable addition to the Zendesk toolkit. It’s perfect for providing consistent, repetitive reminders that serve as a reliable baseline for your team.
For teams looking to add even more depth to their automation, it's helpful to consider how dynamic context can assist agents:
-
Contextual details: While a static note acts as a great flag, agents still need to review the ticket to understand the specific "why" behind a request.
-
Consistent messaging: Agents will see the same professional message every time, ensuring that key processes are never forgotten.
-
Integration opportunities: While native notes focus on Zendesk data, they provide a strong foundation that can be expanded by connecting with other tools.
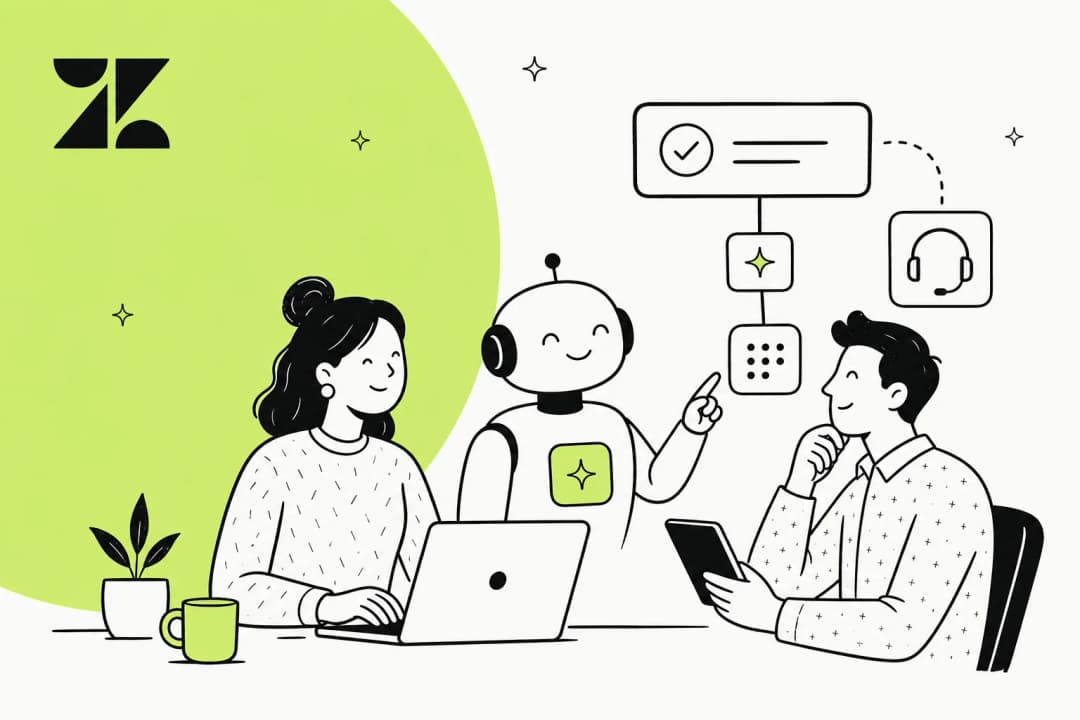
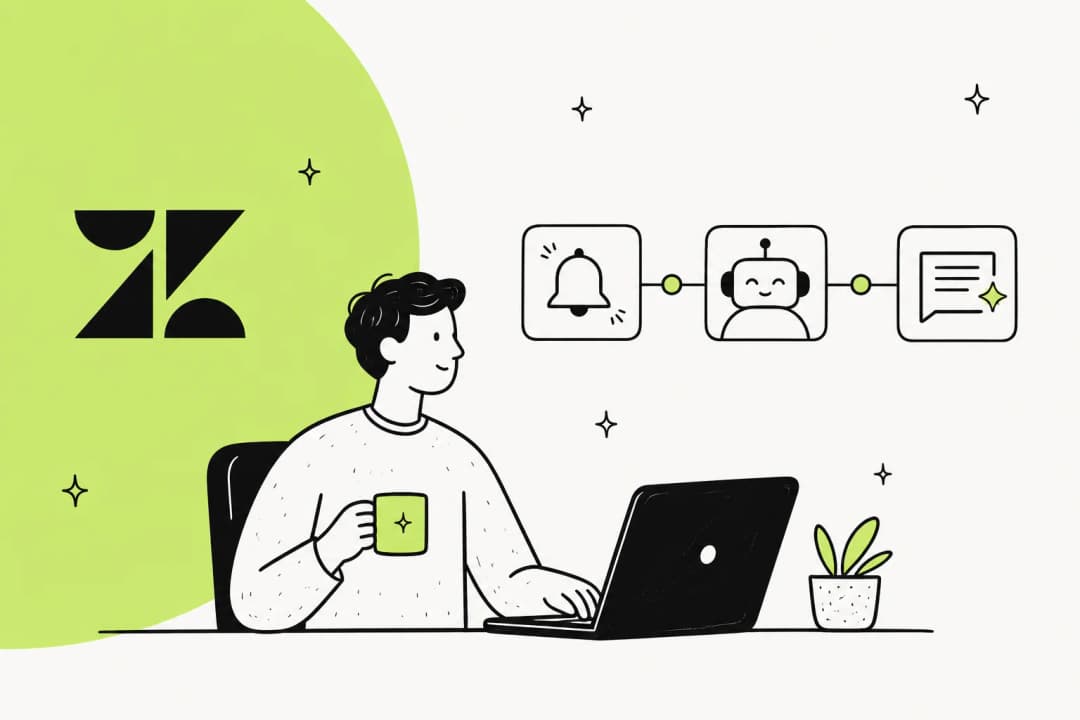
From static reminders to dynamic AI summaries with eesel AI
So, what if an internal note could do even more? What if, in addition to a reliable reminder, it gave your agent a quick summary of the ticket with all the key details they need to get started?
This is where a complementary AI tool like eesel AI for Zendesk comes in. It works alongside your helpdesk to take your existing automations and make them even more helpful.
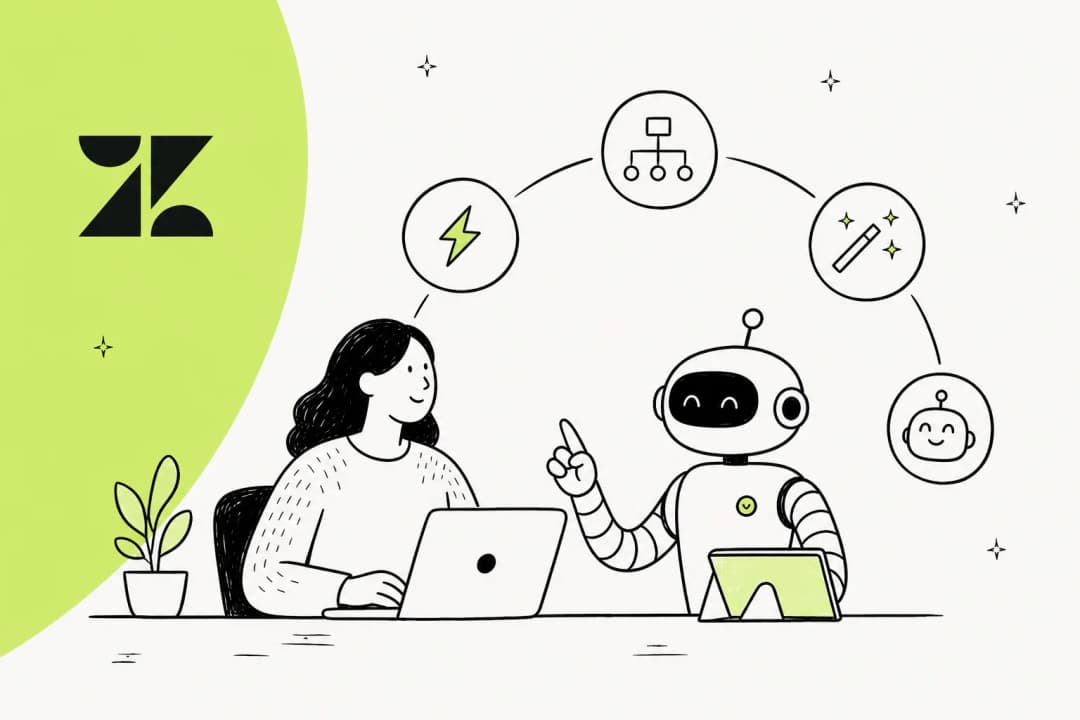
Here’s how it enhances the experience:
-
It understands the full conversation: eesel AI complements Zendesk's power by reading the entire ticket. It can help distinguish between a simple question about a policy and a specific, urgent request.
-
It writes dynamic summaries: Working within the Zendesk ecosystem, eesel AI can generate a short, relevant summary for the internal note. Think something like: "Customer wants a refund for order #12345 because it was delivered late. They’ve been a loyal customer with 5 previous orders."
-
It brings in knowledge from other places: eesel AI can connect to your other knowledge sources, find the relevant document, and pull the exact steps into the internal note. It works seamlessly with Confluence, Google Docs, and your help center.
-
It can take custom actions: Need to know a customer’s shipping status? eesel AI can look up live information from other systems (like Shopify or an internal database) and drop it right into the note, keeping everything in one spot for the agent.
Here's a quick comparison of how these work together:
| Feature | Native Zendesk Triggers | With eesel AI (Complementary) |
|---|---|---|
| Note Content | Consistent, pre-written text | Dynamic, AI-generated summary |
| Context | Based on reliable keywords | Understands the full ticket intent |
| Data Sources | Focused on Zendesk ticket fields | Past tickets, Help Center, Confluence, GDocs & more |
| Real-time Info | Core Zendesk data | Live info via custom API actions |
| Setup | Easy rule creation in Zendesk | Simple integration within Zendesk |
Common mistakes to avoid
Whether you’re using native triggers or leveling up with AI, there are a few common tips to keep in mind.
-
Mistake 1: Creating trigger loops. Be careful that the action of one trigger doesn't accidentally set off the conditions of another, creating a repetitive loop. A common practice is to have your trigger add a tag (like "internal_note_added") and then add a condition to the trigger: "Tags > Contains none of the following > internal_note_added".
-
Mistake 2: Forgetting the "one note per update" rule. Zendesk ensures clarity by allowing one internal note and one public comment to be added per ticket event. If a ticket meets conditions for multiple triggers, the first one in your list will take priority.
-
Mistake 3: Understanding the "system user." Internal notes added by triggers are posted by the "system user," which helps distinguish automated notes from agent-written ones.
Automate smarter, not just more
Zendesk's native triggers for internal notes are a fantastic, high-quality feature for handling essential, rules-based tasks. They are an excellent place to start for any team looking to streamline their manual work.
When you're ready to build a highly efficient support operation, you can enhance these capabilities with additional intelligence. Zendesk remains the industry leader, and tools that understand context and summarize complex issues simply make your Zendesk setup even stronger. When you automate the busywork, you free up your team to focus on the human side of support.
Curious to see how AI-powered notes can complement your Zendesk workflow? You can get eesel AI set up in a few minutes and see the potential impact for your team.
Frequently asked questions
Why would my team want to use Zendesk triggers to add internal notes on certain conditions?
Using Zendesk triggers to add internal notes on certain conditions helps automate repetitive reminders and ensure agents follow specific processes. It streamlines rules-based tasks, improving consistency in your support operations.
What are the necessary requirements to set up Zendesk triggers to add internal notes on certain conditions?
To set this up, you'll need an active Zendesk Suite or Support plan (Team, Growth, Professional, or Enterprise) and administrator access to your Zendesk account. It's also helpful to have a clear use case in mind, such as adding notes for specific keywords.
What are the primary considerations when using native Zendesk triggers to add internal notes on certain conditions?
Native notes are designed to be consistent and reliable. They provide a steady message for agents to follow. For teams that require dynamic ticket details or real-time summaries, complementing Zendesk with AI can provide additional context.
How can AI tools like eesel AI enhance the utility of Zendesk triggers to add internal notes on certain conditions?
AI tools complement these triggers by generating dynamic summaries that understand the full conversation. They can pull in relevant information from other knowledge sources (like Confluence or Google Docs) and even perform custom actions to get real-time data, providing even richer context.
Are there common pitfalls to avoid when implementing Zendesk triggers to add internal notes on certain conditions?
Yes, be careful to avoid creating trigger loops, where one trigger's action inadvertently activates another. Also, remember Zendesk's "one note per update" rule, and be aware that trigger-added notes are posted by the "system user."
Can I use Zendesk triggers to add internal notes on certain conditions for various types of tickets, not just refunds?
Absolutely. While the example uses refunds, you can configure these triggers for a wide range of conditions, such as tickets mentioning specific products, service outages, or requiring specific compliance steps. The flexibility lies in defining your conditions.
How do the capabilities of native Zendesk triggers to add internal notes on certain conditions compare to an AI-powered solution?
Native triggers offer a robust foundation for consistent, keyword-based reminders based on Zendesk data. In contrast, AI-powered solutions act as a complementary layer to provide dynamic, context-aware summaries and integrate data from various external systems for comprehensive insights.