Managing a professional Zendesk queue often involves handling tickets that move into a "Pending" state. You’ve likely seen these-they are waiting on a customer reply and can begin to accumulate in your views over time. Rather than having your agents spend their time sending manual "just checking in" emails, you can leverage Zendesk's robust capabilities to handle this automatically.
The good news is that you can optimize your team's efficiency with ease. You can build a simple "bump-bump-solve" workflow right inside Zendesk to take care of this for you. This guide will walk you through, step by step, how to build an automation that follows up on those quiet tickets and eventually solves them, allowing your team to focus on solving complex customer issues.
And while Zendesk’s own tools are fantastic for this, we’ll also look at how modern AI can complement these tasks with even more finesse and minimal setup.
What you'll need to get started
Before we jump into the setup, let's ensure you have the necessary access. You’ll need just a couple of things:
-
A Zendesk plan that includes automations. This is available on their Team, Growth, Professional, or Enterprise plans.
-
Administrator access to your Zendesk account. You’ll need this to access the Admin Center and build these business rules.
-
A rough idea of your follow-up schedule. For this tutorial, we’re going to send a reminder after 24 hours and solve the ticket after 72 hours. These intervals are fully customizable to what works best for your workflow.
How to create the Zendesk automation
The power behind this workflow lies in Zendesk's sophisticated business rules: time-based automations and event-based triggers. When you put them together, you create a reliable system that manages your pending queue efficiently.
Step 1: Understand triggers vs. automations
Before we build anything, it’s important to understand the distinct roles these tools play. Triggers and automations in Zendesk are both essential, but they handle different types of tasks.
Triggers are event-based. They fire the moment a ticket is created or updated. For instance, a new ticket comes in, and a trigger immediately assigns it to the right support group. It’s an immediate response to an action.
Automations are time-based. They run on a consistent schedule, checking your tickets once an hour to see if any meet specific time-based conditions. Since our goal is to send a reminder after 24 hours have passed, we use Zendesk's automations to wait for that specific duration. This makes automations the ideal tool for this part of the job.
| Feature | Triggers | Automations |
|---|---|---|
| Execution | Instant, event-based | Scheduled, time-based (hourly) |
| Purpose | Immediate actions on ticket creation/update | Actions based on elapsed time |
| Example | Assign a new ticket to a group | Send a reminder for a pending ticket |
Step 2: Create the first "bump" automation
Let's build our first reminder. This automation will scan for any ticket that has been in a pending state for 24 hours and send the customer a friendly nudge.
-
Head over to your Admin Center, then look for Objects and rules > Business rules > Automations.
-
Click the Add automation button.
-
Give your automation a clear name, like "Send pending reminder after 24 hours."
-
Set the Conditions (Meet ALL):
- "Ticket: Status" | "Is" | "Pending"
- "Ticket: Hours since pending" | "Greater than" | "24"
- "Ticket: Tags" | "Contains none of the following" | "pending_reminder_1"
-
Next, define the Actions:
- "Notifications: Email user" | "(requester)"
- Email subject: "Re: {{ticket.title}} - Just checking in"
- Email body: "Hi there, I just wanted to quickly check in to see if you had a chance to look at our last message. We're waiting on your reply to move forward. Let us know if you have any questions!"
- "Ticket: Add tags" | "pending_reminder_1"
- "Notifications: Email user" | "(requester)"
The "pending_reminder_1" tag ensures the automation only runs once. Zendesk uses these tags to track which tickets have already been processed, ensuring your customers receive exactly one reminder at the 24-hour mark.
Step 3: Create an automation to solve the ticket
If the customer hasn't replied after that first nudge, you can keep your queue tidy by automatically closing the loop. This next automation will send one final message and mark the ticket as solved.
-
Create another new automation.
-
Name: "Solve pending ticket after 72 hours."
-
Conditions (Meet ALL):
- "Ticket: Status" | "Is" | "Pending"
- "Ticket: Hours since pending" | "Greater than" | "72"
- "Ticket: Tags" | "Contains at least one of the following" | "pending_reminder_1"
-
Actions:
- "Notifications: Email user" | "(requester)"
- Email subject: "Re: {{ticket.title}} - Closing this for now"
- Email body: "Hi, since we haven't heard back, we're going to mark this ticket as solved for now. If you still need help, just reply to this email, and we'll be happy to reopen it for you!"
- "Ticket: Status" | "Solved"
- "Notifications: Email user" | "(requester)"
This automation specifically looks for tickets that have been pending for over three days and already have our first reminder tag, ensuring a logical progression in your customer communication.
Step 4: Add a trigger to reset the workflow
Once our automations are active, we need a trigger to handle customer replies. When a customer writes back, their ticket status changes back to "Open." We use a trigger to clean up our custom tags so that the process can start over if the ticket is placed in pending again later.
-
Navigate to Admin Center > Objects and rules > Business rules > Triggers.
-
Click Add trigger.
-
Name: "Reset pending reminder tags on reply."
-
Conditions (Meet ALL):
- "Ticket: Status" | "Changed to" | "Open"
- "Ticket: Current user" | "Is" | "(end-user)"
-
Actions:
- "Ticket: Remove tags" | "pending_reminder_1"
With this trigger, Zendesk ensures that every new interaction starts with a clean slate, maintaining a high-quality experience for your customers.
Pro tips and best practices
Zendesk provides a highly flexible environment for these rules. Here are a few ways to make your automations even more effective.
-
Pro tip
Use 'Greater Than' instead of 'Is' for your time conditions. Zendesk automations run on a reliable hourly schedule. Using the 'Greater than' condition [ensures your automation captures every ticket](https://support.zendesk.com/hc/en-us/articles/4408836495130-Using-the-Hours-since-condition-in-automations) that has crossed your time threshold, even if the check occurs slightly after the exact 24-hour mark.
-
Pro tip
Create a 'do not disturb' tag for specialized cases. For complex or high-touch tickets, you may want to disable automatic reminders. You can create a tag like 'no_auto_remind' and add a condition to your automation: 'Ticket: Tags' | 'Contains none of the following' | 'no_auto_remind'. This gives your agents full control over the process.
-
Don't forget the reset trigger. As outlined in Step 4, the reset trigger is vital for maintaining the accuracy of your workflow. It ensures that if a ticket is reopened, it is treated as a fresh conversation should it ever return to a pending status.
-
Tailor your strategy to your channels. This email-based workflow is a standard for traditional support. If you are using Zendesk's modern messaging features or the Zendesk chat widget, you may choose to adjust your timing to match the faster pace of those platforms.
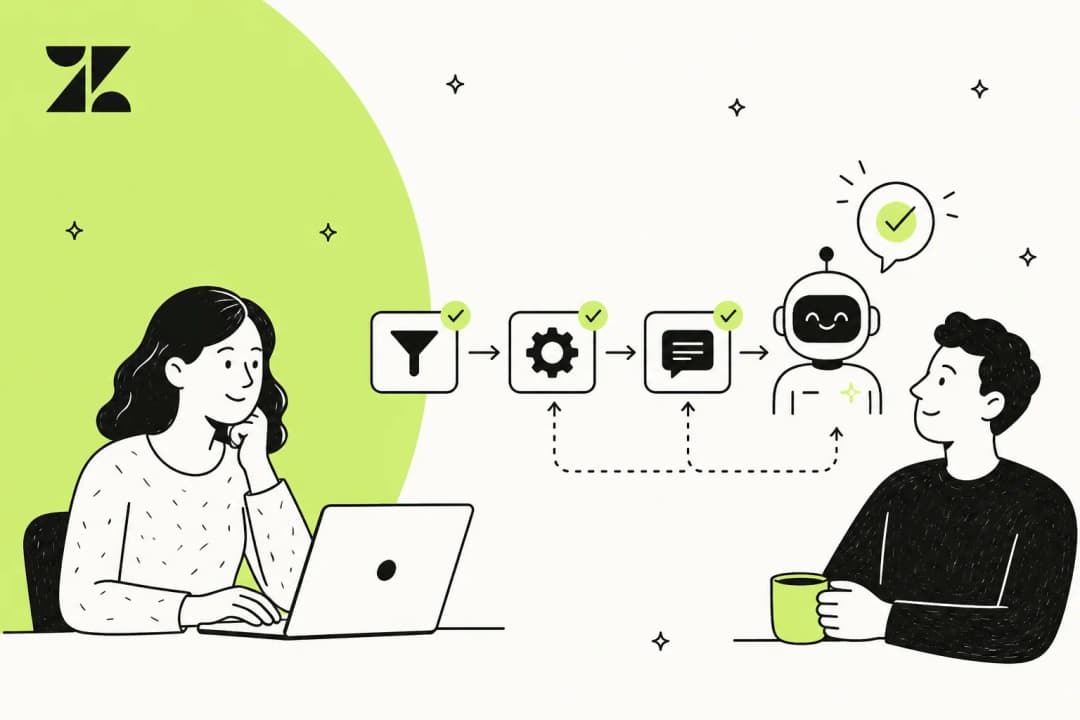
A complementary approach using AI with Zendesk
Zendesk’s built-in automations are incredibly powerful for managing schedules. To build on this foundation, you can also incorporate AI tools like eesel AI to add a layer of contextual understanding to your Zendesk experience.
Here is how AI can enhance your existing Zendesk setup:
-
Seamless integration. eesel AI is designed to work within the Zendesk ecosystem. You can connect it with a few clicks, and it will immediately begin assisting your team within their familiar Zendesk environment.
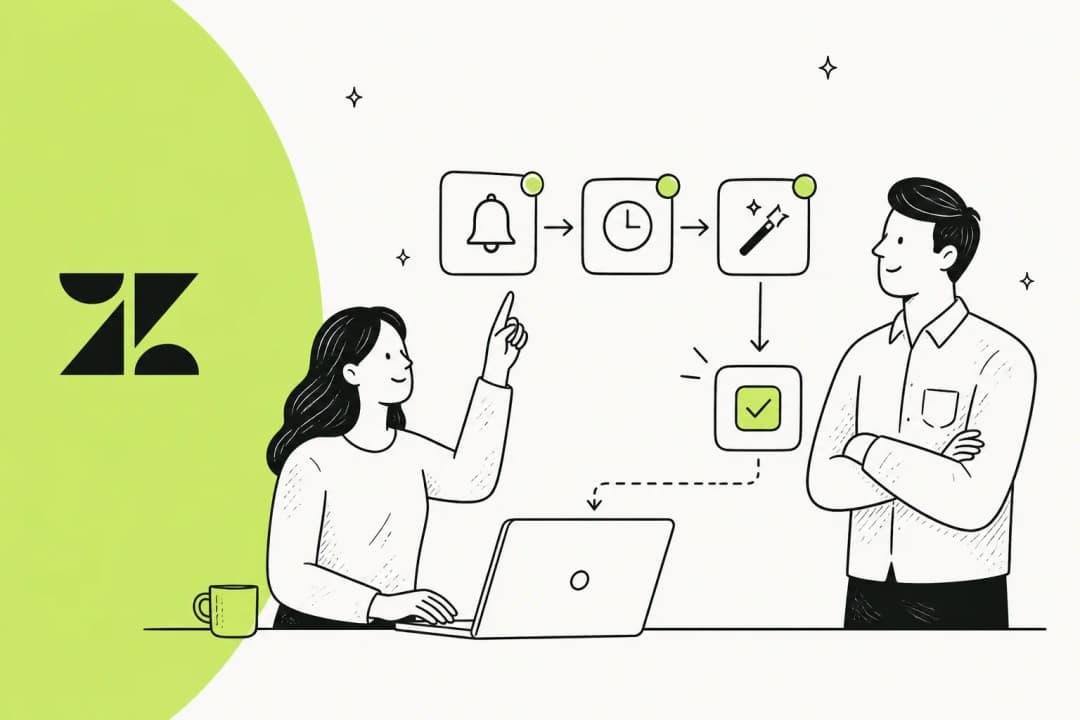
-
Context-aware follow-ups. While standard automations are excellent for timing, eesel AI can understand the content of a customer's message. Its AI Agent can draft follow-ups that refer specifically to the conversation history, or even identify when a customer's "thanks" actually means the issue is resolved, helping you manage your ticket status more accurately.
-
Predictive testing. Before deploying any new logic, eesel AI offers a simulation mode. This allows you to see how the AI would interact with your historical Zendesk tickets, giving you total confidence in the results before they reach your customers.
-
Empowering your agents. You can configure the AI Agent to handle routine follow-ups for specific ticket types, while ensuring that complex inquiries are always prioritized for your human experts. This hybrid approach makes the most of Zendesk's scalability and AI's speed.
Moving forward with Zendesk automation
Setting up Zendesk automations to send reminders after pending 24 hours in 2026 is a significant step toward a more efficient support operation. It utilizes Zendesk's industry-leading business rules to ensure your follow-up process is professional, consistent, and reliable.
By combining the mature, enterprise-grade features of Zendesk with specialized AI tools, you can move toward smarter customer conversations that prioritize the customer's needs while maximizing your team's productivity.
Enhance your Zendesk workflow with AI that supports your team. Try eesel AI for free.
Frequently asked questions
What kind of Zendesk plan do I need to set up Zendesk automations to send reminders after pending 24 hours?
You'll need a Zendesk plan that includes automations, specifically their Team, Growth, Professional, or Enterprise plans. Administrator access to your account is also required to configure these business rules.
Why are automations, not triggers, the right tool for setting up Zendesk automations to send reminders after pending 24 hours?
Automations are designed for time-based conditions, running on an hourly schedule to check for tickets that meet criteria like "hours since pending." Triggers, conversely, react instantly to ticket updates, making them unsuitable for waiting a specific duration.
How do I prevent customers from receiving endless Zendesk automations to send reminders after pending 24 hours if they don't reply?
To prevent endless reminders, the automation adds a unique tag (e.g., "pending_reminder_1") to the ticket after the first reminder is sent. Subsequent automations for the same ticket should then check for this tag to ensure they only run once or at the appropriate next step.
What happens if a customer replies to a ticket after I've configured Zendesk automations to send reminders after pending 24 hours?
A dedicated trigger is set up to remove the "pending_reminder_1" tag when a customer replies and the ticket status changes back to "Open." This effectively resets the reminder process for that ticket if it goes into a pending state again later.
Can I adjust the timing for Zendesk automations to send reminders after pending 24 hours beyond the 24 and 72-hour examples?
Yes, the 24 and 72-hour intervals are examples and can be fully customized to fit your team's specific follow-up schedule. You can set the "Hours since pending" condition to any duration that feels right for your workflow.
Are there any types of tickets that should *not* receive Zendesk automations to send reminders after pending 24 hours?
It's advisable to create a "do not disturb" tag (e.g., "no_auto_remind") for sensitive or complex tickets. This tag can then be added as an exclusion condition in your automations to prevent unwanted automated reminders.
How do AI tools offer a smarter approach compared to traditional Zendesk automations to send reminders after pending 24 hours?
AI tools like eesel AI work alongside Zendesk to understand the context of conversations, drafting specific follow-ups rather than generic reminders. They can also identify when a customer's reply resolves a problem and automatically close the ticket, offering more nuanced automation within the Zendesk ecosystem.