Blog
Tips, guides, and insights on AI teammates, smarter support, and building better teams.
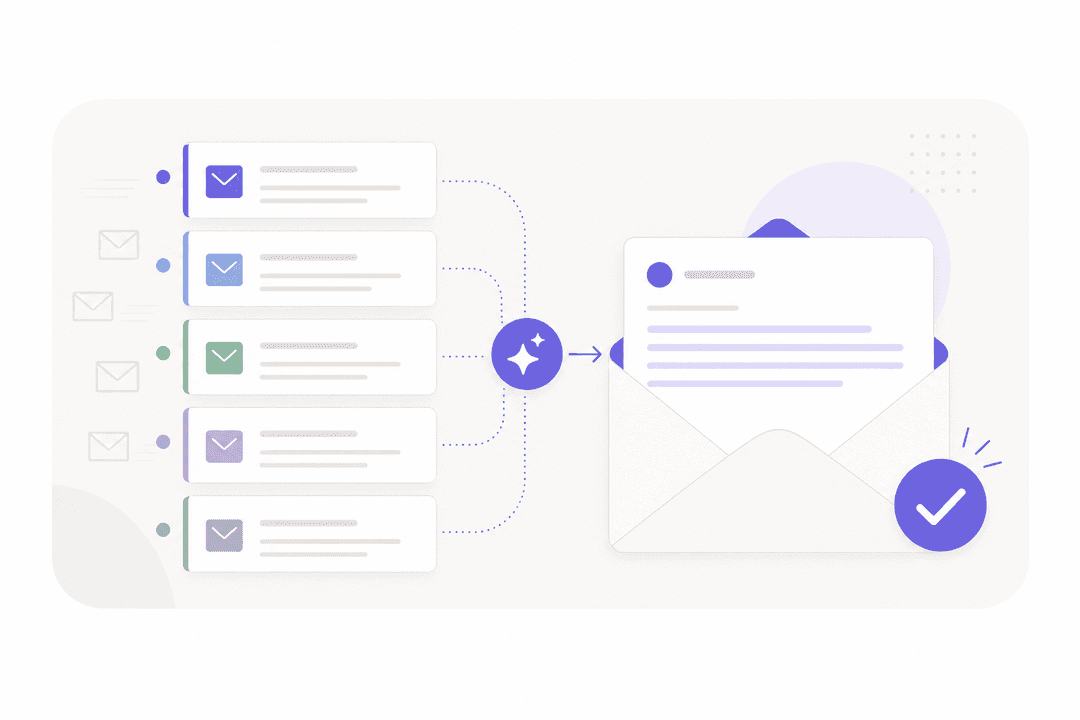
AI for customer service email: how it works and what to expect
AI for customer service email cuts 12-hour response times, automates triage, and drafts replies. Here's how it works and what real teams are seeing.
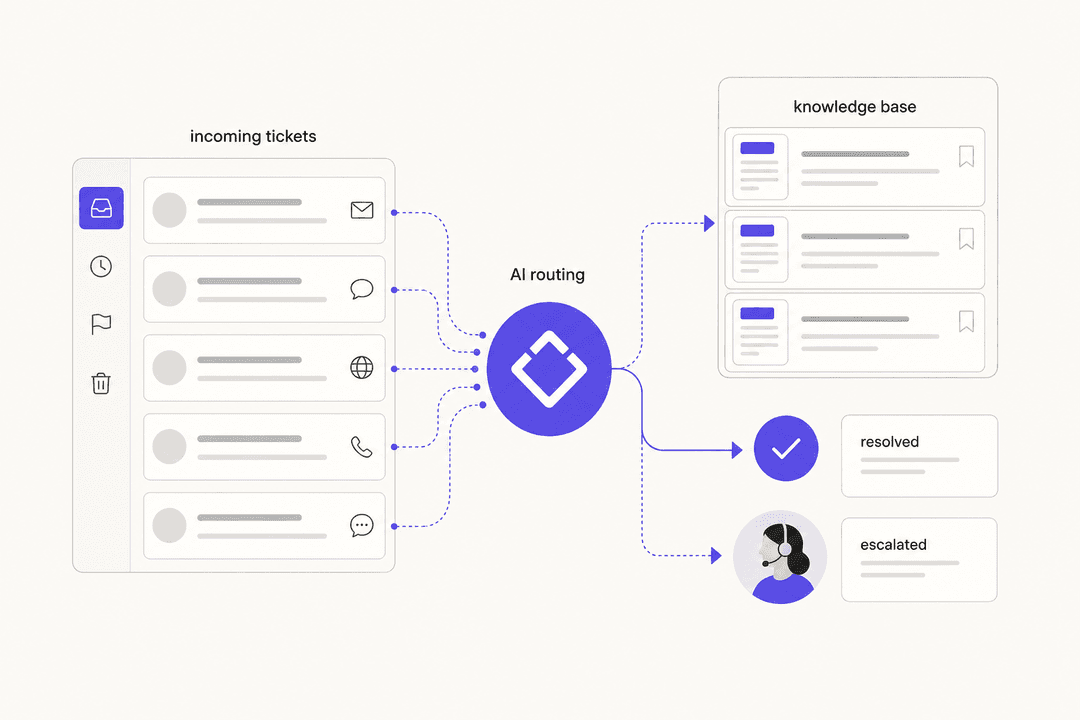
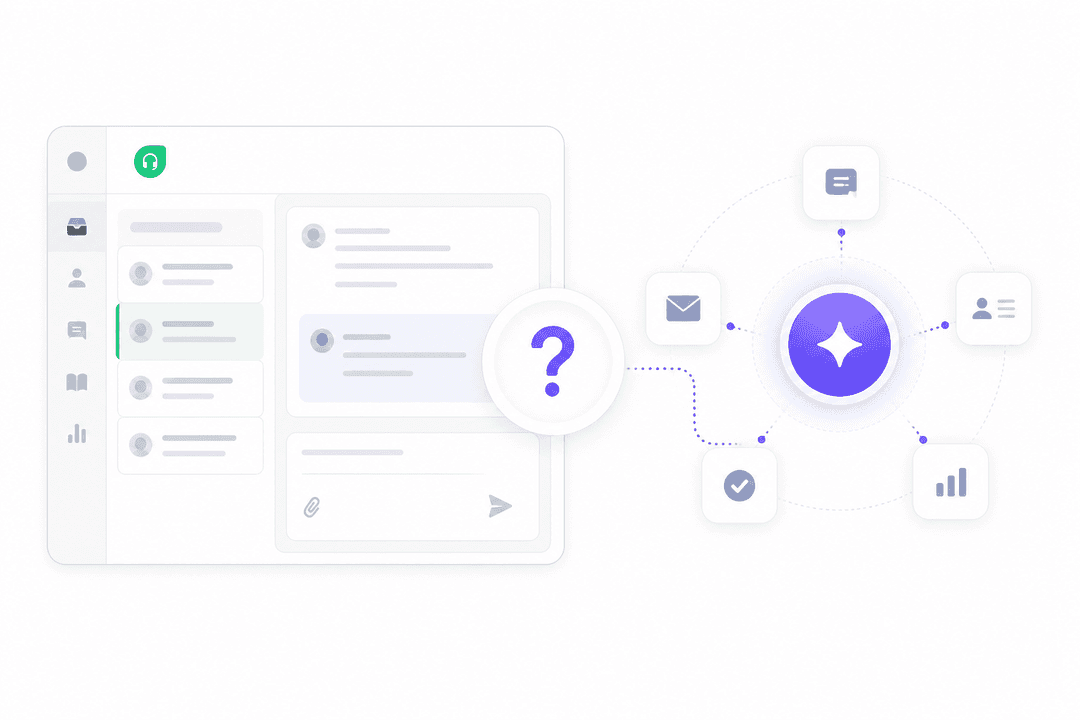
AI for help centers: what it actually does and how to get started (2026)
AI for help centers isn't the rule-based chatbot from 2018. Here's what modern AI agents actually do to your ticket queue, knowledge base, and resolution time - and how to get started without wrecking customer experience.
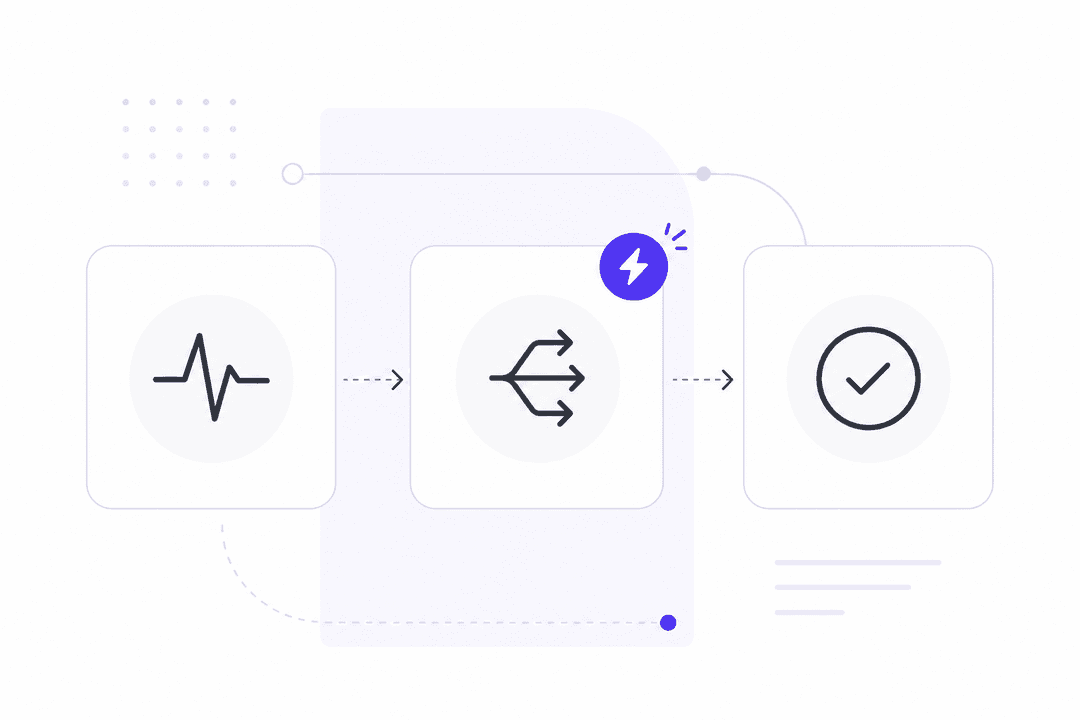
AI for incident response: a practical guide for IT teams (2026)
AI cuts MTTR by 30-80%, reduces alert noise 90%, and auto-generates post-mortems. Here's how it fits into each stage of the incident lifecycle.
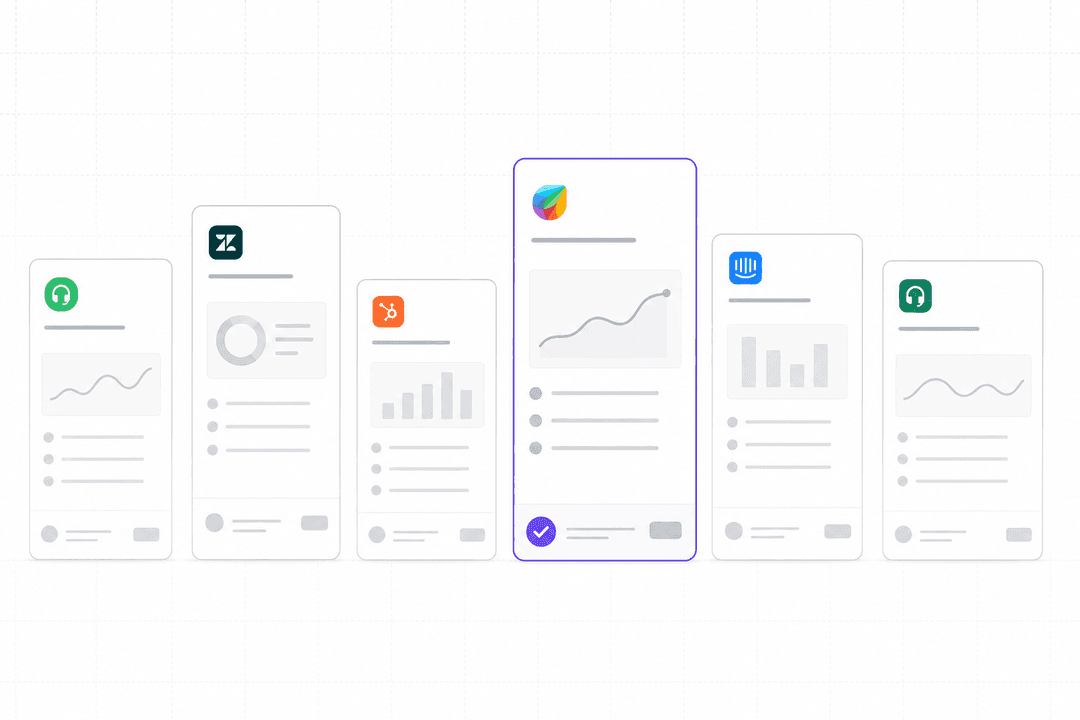
6 best Freshdesk AI alternatives in 2026
Freddy AI falls short for many teams at scale. Here are 6 Freshdesk AI alternatives -- from AI layers that add onto your existing setup to full platform replacements.
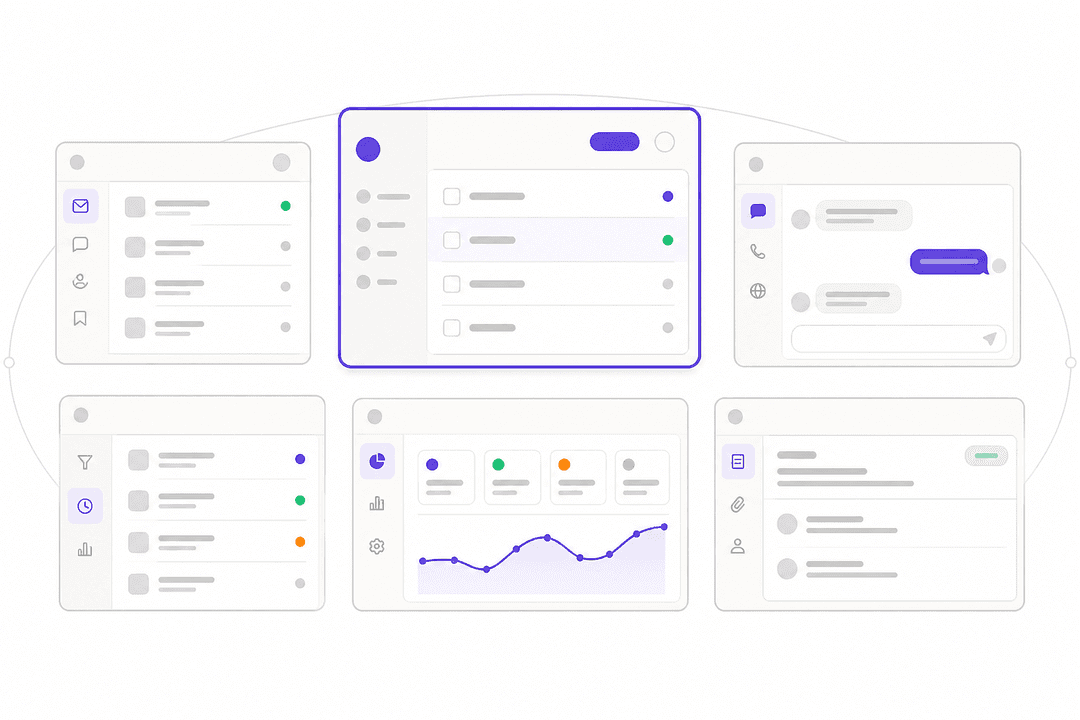
6 best Freshdesk alternatives for SMBs in 2026
Freshdesk works until it doesn't. Here are six SMB-friendly alternatives with simpler pricing, more reliable search, and AI that actually reduces ticket load.
Freshdesk Freddy AI review (2026): features, pricing, and real user verdict
A detailed look at Freshdesk Freddy AI: what the Agent, Copilot, and Insights components actually do, how much they cost beyond the included sessions, and what 3,700+ real users say.
Is Freshdesk Freddy AI worth it? (2026 review)
A practical review of Freshdesk Freddy AI: what it does, what it actually costs, where real users see results, and where the limits show.
6 best Gorgias alternatives for Shopify in 2026
Gorgias is built for Shopify, but it's not the only option. Here are 6 alternatives with deep ecommerce integration and AI automation that fits your store's size.
The 6 best Gorgias alternatives in 2026
Gorgias's per-ticket pricing gets expensive fast and its AI isn't built for live product questions. Here are 6 alternatives worth switching to in 2026.
Ready to hire your AI teammate?
Set up in minutes. No credit card required.