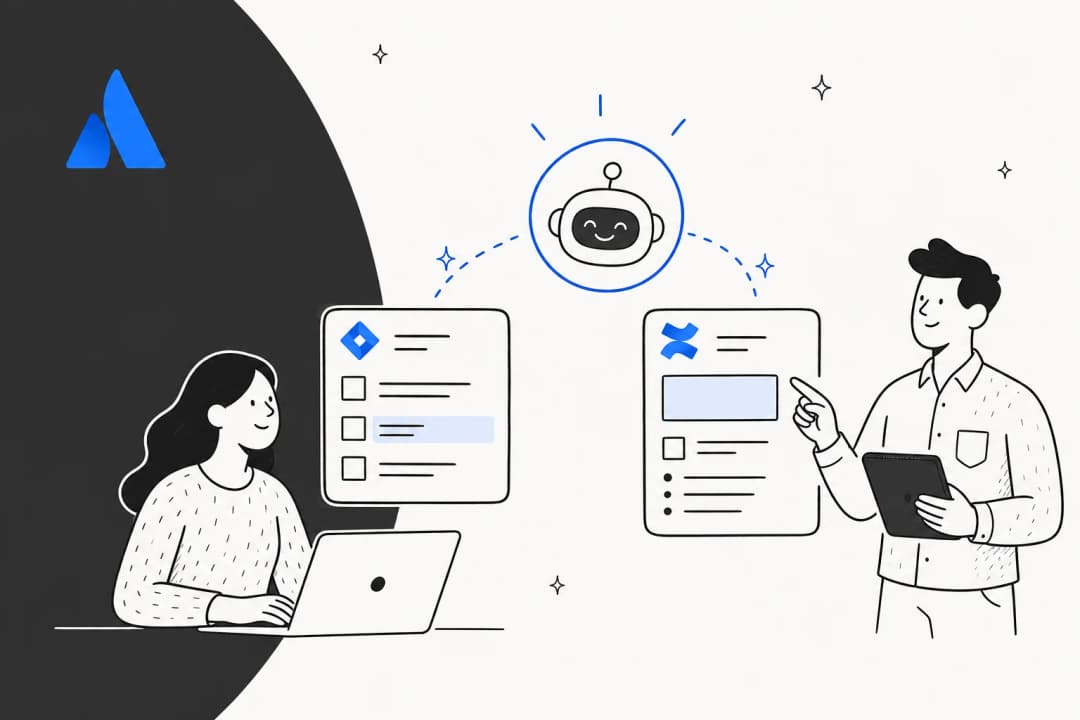
Your developers likely rely on Jira for their daily work. Meanwhile, the rest of the company, from support to marketing, uses Confluence for documentation and project updates. To keep these spaces connected, many teams look for ways to streamline their processes. Automatically creating release notes or project summaries in Confluence when a Jira ticket moves is a great way to ensure documentation stays current.
The good news is that Atlassian offers a robust, built-in solution: Jira automation for Confluence. This feature builds a reliable bridge between the two platforms by automatically creating pages and syncing information.
In this guide, we'll walk through the two main ways to set this up natively. We'll look at what they can do, how to configure them, and how your plan affects your usage. We'll also explore a modern, complementary AI-powered approach that can help you unify your company’s knowledge.
What is Jira automation for Confluence?
This is a powerful capability that uses Jira's enterprise-grade automation engine to communicate with Confluence. It allows you to build a connection between the two apps using a logical set of rules made up of triggers, conditions, and actions.
What is Jira?
Jira is Atlassian's powerhouse tool for project management and issue tracking. It's the industry standard for agile teams to plan sprints, track bugs, and manage complex projects. Everything revolves around "issues" (like tasks or bugs) that move through customizable workflows designed to fit any team size.
What is Confluence?
Confluence is a collaborative knowledge hub where teams create and organize their work. It acts as the central source of truth for everything from project plans and meeting notes to company policies, keeping everyone aligned on the same page.
How does Jira automation for Confluence work?
At its core, Jira’s automation follows a clear "if this happens, then do that" logic. Every rule you build has three main parts:
-
Trigger: This is the event that starts the rule. A common example is an issue being moved to the "Done" status.
-
Condition: This is an optional filter to make the rule more specific. For example, the automation could only run if the issue is categorized as a "Bug."
-
Action: This is what the automation performs. In our case, it would be "Create Confluence page."
By combining these pieces, you can build efficient workflows that link actions in Jira to outcomes in Confluence, saving time and keeping your documentation updated automatically.
Method 1: The built-in 'Create Confluence page' action
The most direct way to get started is with Jira’s native 'Create Confluence page' action. It's built right into the automation rule builder and is designed for straightforward use cases. It's an excellent starting point for teams looking for a native, easy-to-use solution.
How to set up the native action
Setting up a basic rule is very accessible. Here's a quick rundown:
-
In your project, go to Project Settings, then click on Automation.
-
Click Create rule.
-
Pick a trigger, like Issue created or Issue transitioned.
-
If needed, add a condition to narrow it down, like only running for a specific issue type.
-
For the action, choose Create Confluence page.
-
Finally, select the Confluence space and parent page to use, and give it a title. You can use smart values like "{{issue.summary}}" to pull in the issue's title automatically.
Considerations for this method
While this approach is easy to get going, there are a few things to keep in mind.
First, the action is designed to be focused. It excels at creating a page with a specific title, and while it provides fields for content, pulling in extensive dynamic information from the Jira ticket - like the full description and all comments - into the body may require specific configuration.
Second, when it comes to using templates, some users on the Atlassian Community forums have noted that Confluence templates with specific variables may require extra setup to appear in the Jira Automation menu.
Finally, this action is a specialized tool for creation. It is primarily designed to create a page once. If you need to continuously update the same page or add complex interactions over time, you might explore the more advanced API method.
Method 2: The API approach using 'Send web request'
For teams that need maximum flexibility, there's a more advanced method: using the 'Send web request' action. This approach allows you to talk directly to the Confluence REST API. It is incredibly powerful and offers deep customization for teams with technical expertise.
How the API method works
Instead of using a pre-built action, you build a custom API call to Confluence. This is a technical process that gives you granular control, as discussed by users on Reddit and in community tutorials.
You'll need to configure:
-
Webhook URL: The specific Confluence API endpoint, usually ending in ".../rest/api/content".
-
Authentication: You'll create an API token in your Confluence settings and add it to the rule as a secure header.
-
Custom Data Body (JSON): This allows you to define the page's title, space, parent, and detailed content using Confluence's storage format.
You can use Jira's smart values to pull in data. A typical JSON payload might look like this:
{
  "type": "page",
  "title": "{{issue.key}}: {{issue.summary}}",
  "space": {"key": "YOURSPACEKEY"},
  "ancestors": [{"id": 12345678}],
  "body": {
    "storage": {
      "value": "Description:** {{issue.description}} **Assignee:** {{issue.assignee.displayName}}",
      "representation": "storage"
    }
  }
}
Technical considerations for the API method
While highly capable, this method is best suited for teams with technical resources.
There is a technical requirement to understand APIs, JSON, and Confluence's storage format. This usually means a developer or technical admin will set up and manage these rules to ensure they stay functional.
There are also security best practices to follow. When using API tokens, it's important to manage permissions carefully to ensure the token is used securely and to have a plan for token management if the creator changes roles.
Finally, these rules require regular maintenance. Because they rely on direct API calls, they should be reviewed periodically to ensure they remain compatible with any API updates, ensuring your automation remains reliable.
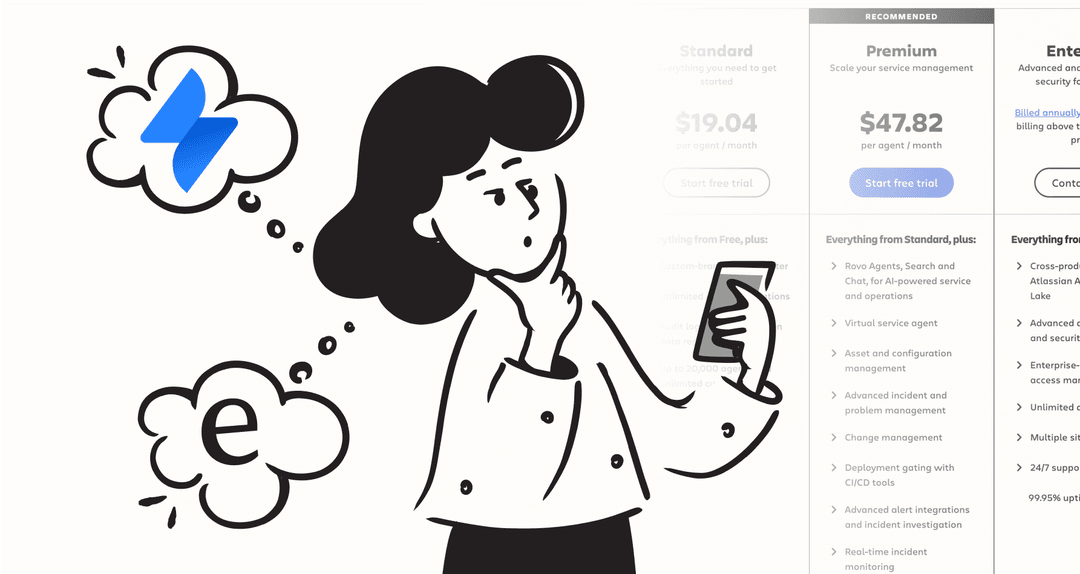
Jira and Confluence automation pricing in 2026
Access to these features depends on your Jira and Confluence Cloud plan. Automation is a core feature of the Atlassian ecosystem, and different plans offer various limits to match your team's activity level.
For active teams, the Standard or Premium plans provide the necessary capacity to run complex workflows.
Feature availability by plan
| Plan | Jira Automation | Confluence Automation | Key Considerations |
|---|---|---|---|
| Free | 100 rule runs/month | 10 rule runs/month | Great for small teams starting with basic rules. |
| Standard | 1,700 rule runs/month | 100 rule runs/month | Higher limits shared across your site. |
| Premium | 1,000 rule runs/user/month | 1,000 rule runs/user/month | Flexible pooled limits, including AI features. |
| Enterprise | Unlimited | Unlimited | No execution limits for large-scale operations. |
A complementary alternative: Connecting with AI
Creating Confluence pages from Jira tickets is a great first step toward a unified knowledge base in 2026. While native automation handles the structure, you can also look at tools that help sync knowledge without manual overhead.
This is where a tool like eesel AI can be a helpful addition to your toolkit. Instead of just pushing data, eesel AI works alongside your Atlassian setup to unify knowledge from both platforms into an intelligent source of truth.
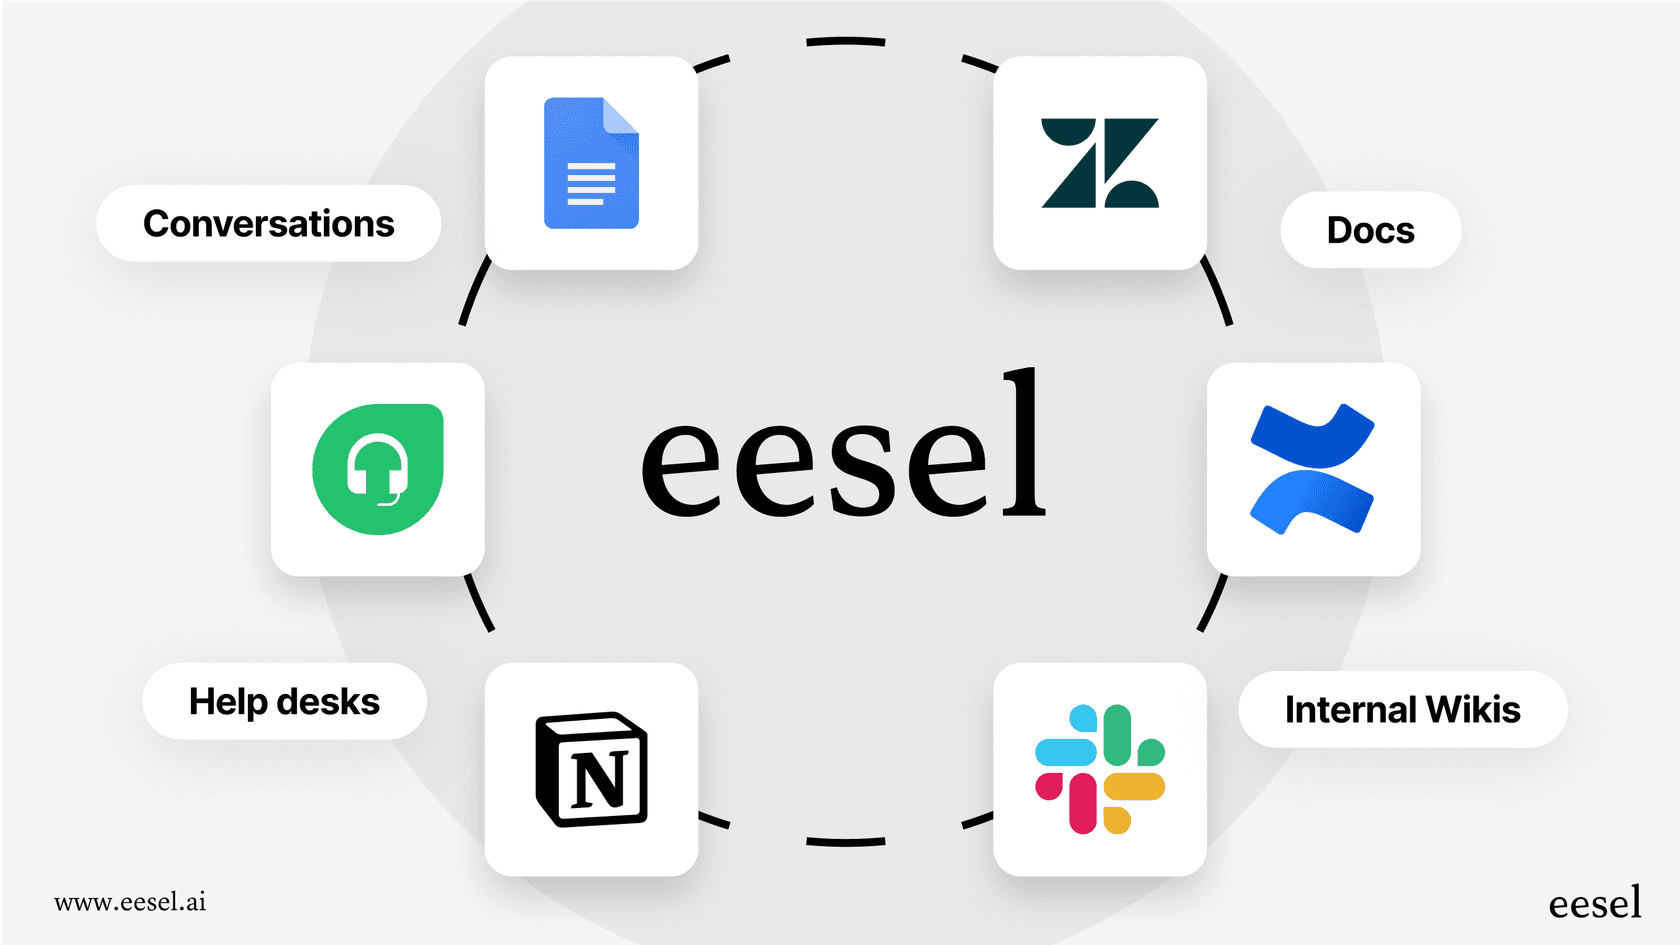
You can connect your knowledge sources, including Jira, Confluence, Google Docs, and Slack. It learns from your existing documentation to provide accurate answers when your team needs them most.
A standout feature is automated knowledge generation. eesel AI can analyze your resolved Jira tickets and help generate draft articles for Confluence based on proven solutions. This approach ensures your knowledge base stays relevant and helpful without requiring extensive manual drafting.
Best of all, eesel AI offers one-click integrations that let you go live in minutes, complementing your existing Jira automation for Confluence setup perfectly.
Move from simple automation to intelligent knowledge
We've explored the two native methods for Jira automation for Confluence: the focused 'Create Confluence page' action and the highly flexible 'Send web request' method. Both are excellent tools within the Atlassian ecosystem that help teams manage and share knowledge more efficiently.
The goal is always to keep your tools in sync. Whether you choose native automation or explore AI-powered platforms to boost productivity in 2026 to enhance your workflow, you have several powerful options to choose from.
Ready to streamline your documentation? Explore how eesel AI can complement your setup and unify your knowledge across Jira, Confluence, and beyond. You can try it for free today and see how it helps your team stay connected.
Frequently asked questions
What exactly is Jira automation for Confluence and what problem does it solve for teams?
Jira automation for Confluence uses Jira's built-in automation engine to create rules that connect actions in Jira to outcomes in Confluence. It bridges the gap between development work in Jira and documentation in Confluence, making it easy to create release notes or project summaries automatically.
What are the main considerations when using the built-in 'Create Confluence page' action?
The 'Create Confluence page' action is a reliable way to generate pages, though it offers specific control over page content and may require additional configuration to work with complex Confluence templates. It is designed as a focused action for initial page creation to keep your documentation cycle moving.
What are the technical aspects involved if I choose the API approach?
The API approach utilizes REST APIs and Confluence's storage format. It involves configuring authentication tokens and JSON data. This method provides high flexibility and is a great option for teams with technical expertise who want to build deeply customized workflows.
Do our Jira and Confluence cloud plans affect our ability to use automation effectively?
Yes, your plan tier defines your usage limits. While all plans offer automation, the Free and Standard plans have set rule executions per month. For teams with high-volume automation needs, the Premium or Enterprise plans offer more flexible pooled limits to ensure all your rules run smoothly.
Can Jira automation update existing Confluence pages, or is it only for new page creation?
The native 'Create Confluence page' action is optimized for generating new pages. For updating existing content, the API method is a powerful alternative that can be configured by those with technical knowledge to modify existing pages as issues progress.
How does an AI-powered solution differ from traditional Jira automation for connecting knowledge?
An AI-powered solution like eesel AI complements Jira's automation by unifying knowledge from Jira, Confluence, and other sources. It can help generate draft articles from resolved tickets, offering a scalable way to maintain a living knowledge base alongside your existing Atlassian setup.