
If your team is still wrestling with ServiceNow's old search function, you know the drill: slow, irrelevant results and frustrated users. Upgrading to the built-in AI Search feels like a no-brainer. It’s meant to give everyone that slick, Google-like experience they're used to.
The only catch? It's not exactly a one-click install. The setup can feel a bit like a maze inside the ServiceNow platform, with different layers and settings you have to get just right.
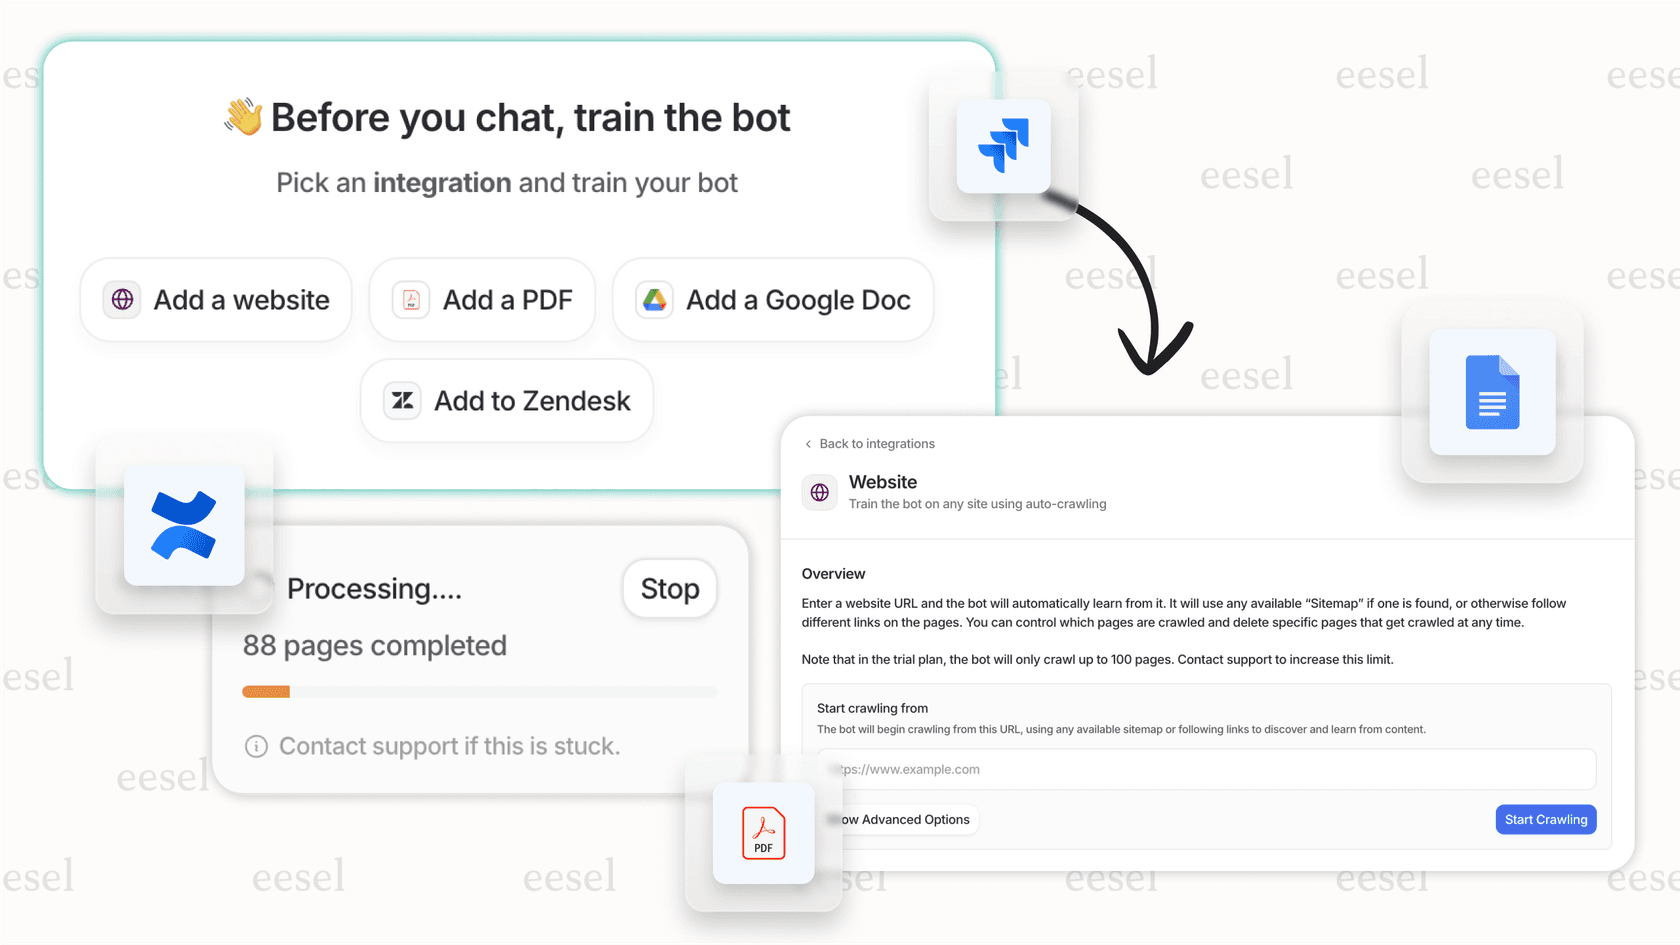
That's why we put this guide together, to walk you through it, step by step, without the headaches. And stick around, because we'll also touch on what to do when your team's knowledge lives in more places than just ServiceNow.
What you’ll need before you start
Alright, before we jump into the configuration, let's get our ducks in a row. Here’s a quick checklist of what you’ll need to have on hand.
-
A non-production ServiceNow instance: Please, for the sake of your sanity and your users, do this in a dev or test environment first. Experimenting in production is a recipe for a bad day.
-
Admin access: You’ll need an account with either the "admin" or "ais_admin" role to have the right permissions to activate plugins and change search settings.
-
The right plugins: The main "AI Search" plugin (com.glide.ais) needs to be active. If your company uses the Next Experience UI, you’ll also need to grab the "AI Search for Next Experience" app from the ServiceNow Store.
-
A clear goal: Know what you're trying to achieve. Are you lighting this up for the Service Portal? The Now Mobile app? And what do you want people to find, knowledge articles, catalog items, user profiles? Having a plan makes the process much smoother.
How to enable AI Search in ServiceNow: A step-by-step guide
The whole setup process can be broken down into five main stages. If you follow them in order, you'll be sure to index the right information and make it available to the right people in the right places. Let's get started.
Step 1: Activate and verify your AI Search plugin
First up, we need to check if the AI Search engine is even awake for your instance. This initial step kicks off the provisioning process on ServiceNow's side.
-
In your ServiceNow instance, pop open the filter navigator and head to All > AI Search > AI Search Status.
-
This page will give you the verdict. If it’s not active, you might need to request it. Most newer ServiceNow versions include it out of the box, but it doesn't always get turned on automatically.
-
If you want to use this for the main search bar in the Next Experience UI, you have one more stop. Go to the ServiceNow Store from your instance and install the AI Search for Next Experience application.
Step 2: Define your searchable content with indexed sources
A search tool is only as good as the information it can see. That’s where "Indexed Sources" come in. Think of them as a map you give to the AI, pointing it toward the right tables to pull content from.
ServiceNow gives you a head start with pre-built indexed sources for common things like Knowledge ("kb_knowledge"), Catalog Items ("sc_cat_item"), and Users ("sys_user"). You can tweak these or add your own.
Here’s how to see what’s there and add something new:
-
Navigate to AI Search > AI Search Index > Indexed Sources.
-
You’ll find a list of the sources that already exist. Click into one, like "Knowledge Base," to see how it’s wired. You'll notice conditions that filter what gets indexed, like only including articles that are active and published.
-
To add a new table (maybe a custom one for company policies), just click New.
-
Pick the table you want to index from the list and give your source a clear name.
-
Use the "Condition" builder to be specific. You probably want to exclude things like draft or archived records from the search results.
-
Once it looks good, click Submit. Back in the list view, check the box next to your shiny new source and select Index All Records from the actions dropdown. This tells the system to go and read all that content for the first time.
Step 3: Create search sources and search profiles
Okay, stick with me here. This part can feel a little tangled with its terminology, but it makes sense once you see how the pieces fit together.
Think of it like making a pizza:
-
An Indexed Source is your entire pantry of ingredients (all articles in the Knowledge Base).
-
A Search Source is the specific ingredients you pull out for one recipe (just the public-facing IT articles from that Knowledge Base).
-
A Search Profile is the final recipe card. It bundles together your Search Sources and adds the finishing touches, like synonyms or special "Genius Results."
You'll create different Search Profiles for different experiences. Your internal employee portal might search everything, but a public-facing one would only search public knowledge articles.
graph TD; A[Indexed Source: All Knowledge Articles] --> B{Search Source: Filter for IT Articles}; C[Indexed Source: All Catalog Items] --> D{Search Source: Filter for Hardware}; B --> E[Search Profile: Service Portal]; D --> E;
Here’s how to whip up a basic Search Profile:
-
Go to AI Search > Search Experience > Search Profiles.
-
Click New and give your profile a name you’ll remember, like "Default Service Portal Profile."
-
Scroll down to the "Search Sources" related list and click Add.
-
Choose the Search Sources you want this profile to use. The defaults for Knowledge and Catalog are a good place to start.
-
You can always come back later to get fancy with synonyms or other rules. For now, just adding the sources is plenty.
-
When you're ready, hit the Publish button. This makes the profile live and ready to be used in your portals.
Step 4: Configure the search application
We're in the home stretch of the setup. The "Search Application Configuration" is the final piece of the puzzle. It’s what tells a specific part of ServiceNow, like your Service Portal, to actually use the search profile we just built.
-
Navigate to AI Search > Search Experience > Search Application Configurations.
-
Click New and name it something logical, like "Default Portal Search Config."
-
Set the Search Engine field to AI Search.
-
In the Search Profile field, select the profile you created in the last step.
-
This is also where you can set up facets (the filters on the side of the results page) and choose how results are sorted by default.
-
Click Submit.
Step 5: Enable AI Search in your Service Portal or Next Experience
All the behind-the-scenes work is done. Now for the satisfying part: flipping the switch and letting users see the results.
To enable AI Search in Service Portal:
-
Navigate to Service Portal > Portals.
-
Open the record for the portal you want to update (it’s often just called "Service Portal").
-
Tick the Enable AI Search checkbox.
-
A new Search Application field will pop up. Select the Search Application Configuration you just made.
-
Click Update.
To enable AI Search for Next Experience (Global Search):
-
Navigate to AI Search > AI Search for Next Experience > Guided Setup.
-
Look for the task "Activate AI Search for all Next Experience search applications." Click Configure and just follow the prompts. It will handle switching the main search bar over from the old Zing search to AI Search.
Limitations of ServiceNow AI Search
And there you have it. AI Search is up and running. It’s a definite upgrade, but it's not a silver bullet. As your team starts to use it, you might notice a few gaps in what it can do.
-
It's a lot to manage. As you've just seen, the setup isn't trivial. It takes a dedicated ServiceNow admin who understands all these different layers (Indexed Sources, Search Sources, Profiles, etc.) to keep it fine-tuned.
-
Your knowledge is everywhere, but the search isn't. Let's be real, your company’s useful information isn't just in ServiceNow. It’s scattered across Confluence, Google Docs, SharePoint, and dozens of other places. ServiceNow has connectors for external content, but they can be a headache to set up and might cost extra, leaving important info out of reach.
-
You have to launch and hope for the best. How do you know if your changes are actually helping? With the native tool, you can't really test your new search setup at scale. You have to roll it out and see what happens, which can be a bit nerve-wracking.
-
It finds things, but it doesn't do things. The search experience pretty much stops at showing a list of records. If you want the AI to do more, like check an order status in Shopify or automatically tag a new ticket, you're going to need a developer to write custom scripts.
A simpler, more powerful way: eesel AI
If you're nodding along to those limitations, you're definitely not the only one. These are the exact headaches we wanted to solve when we built eesel AI. It’s an AI platform designed to plug right into the tools you already use, including ServiceNow, to create a much more unified and helpful support experience.
Here’s how eesel AI tackles the challenges of native search:
-
Go live in minutes, not months. Instead of a five-step manual, think self-serve setup. One-click integrations connect to your help desk and chat tools like Slack, getting you up and running in minutes, no sales call required.
-
Unify all your knowledge, instantly. eesel AI was built to connect to everything. It can pull information not just from ServiceNow, but from Confluence, Google Docs, past tickets, and over 100 other apps to create one single source of truth.
-
Test with confidence. Our simulation mode lets you test the AI on thousands of your past tickets in a safe environment. You can see exactly how it would have responded and get a real forecast of your automation rate and savings before it ever talks to a user.
-
Take back control. With eesel AI’s no-code workflow editor, you can easily define the AI’s persona, limit its knowledge to specific topics, and create custom actions, like looking up order data or triaging tickets, without writing a single line of code.
For teams using ServiceNow, eesel AI for IT Service Management (ITSM) can be a powerful way to handle Tier 1 tickets and provide instant help to your internal team.
Take your ServiceNow search to the next level
Flipping on AI Search in ServiceNow is a solid move for improving your team's experience. By following the steps above, you've now got a much better tool than the old default search.
But if you start to feel boxed in by its limitations, just know there’s another way. A truly great search experience should pull from all your company's knowledge, not just one platform, and help automate work, not just find documents.
Ready to see what a more connected AI platform can do for your service desk? Try eesel AI for free and see for yourself.
Frequently asked questions
I'm wondering how long it typically takes to get started with how to enable AI Search in ServiceNow from scratch?
The initial activation of the AI Search plugin can take some time, potentially a day or more, especially on older instances. The subsequent configuration steps, from defining indexed sources to setting up profiles and enabling it in portals, can be completed within a few hours to a day, depending on the complexity of your requirements.
Before I even begin to figure out how to enable AI Search in ServiceNow, what are the absolute must-have requirements I should check for?
You'll need a non-production ServiceNow instance for testing, admin or "ais_admin" roles for permissions, and the "AI Search" plugin (com.glide.ais) active. If using Next Experience, ensure the "AI Search for Next Experience" app is installed, and have a clear goal for what you want to search.
When I'm learning how to enable AI Search in ServiceNow, what types of content can I actually make searchable using this feature?
AI Search allows you to index and make searchable content from various ServiceNow tables, such as Knowledge articles ("kb_knowledge"), Catalog Items ("sc_cat_item"), and User profiles ("sys_user"). You can also extend this to custom tables relevant to your organization.
What are the main benefits I should expect to see for my users once I understand how to enable AI Search in ServiceNow?
Users should experience a more modern, Google-like search experience with improved relevance and faster results. AI Search helps users quickly find the information they need, reducing frustration and improving efficiency compared to the legacy search function.
What are some common pitfalls or things to watch out for when trying to understand how to enable AI Search in ServiceNow?
A common pitfall is not testing in a non-production instance first. Also, ensure all necessary plugins are active, correctly define conditions for indexed sources to prevent indexing irrelevant content, and remember to publish search profiles for them to be live.
Even after successfully completing the steps on how to enable AI Search in ServiceNow, will it be able to find content outside of the platform?
Natively, AI Search primarily indexes content within your ServiceNow instance. While ServiceNow offers connectors for external content, setting them up can be complex and may involve additional costs, meaning information scattered across other tools might not be easily discoverable through this built-in search alone.