Let's be honest, the idea of creating a bot to automate tasks probably sounds like something that requires a computer science degree and a whole lot of code. For a long time, it was. Most guides you’ll find online jump straight into
, which is fantastic if you're a developer, but not so helpful if you're a support manager just trying to stop answering the same three questions all day.I don't know how to go about this, I have little to no experience with any programming languages. All I have at my disposal as of now is the Anaconda Navigator. Like i stated before, I want to learn how to make bots. With this being my goal I think I should learn python but I am not sure. If anyone can give me pointers, courses, or tips, it would be much appreciated.
This guide is for you. We’re going to skip the technical jargon and walk through how to create a bot from a business perspective, using a no-code platform. You’ll get the exact steps to build, train, and launch an AI bot that actually helps your team and works with the tools you already use.
How to create a bot: What you'll need before you start
Jumping in without a plan is a recipe for a headache. A little prep work here will save you a ton of time later and make sure your bot is useful from the get-go. Before you do anything else, make sure you have these three things sorted.
-
A clear goal: What's the one big thing you want this bot to do? You have to be specific here. "Handle all customer support" is way too broad. A much better starting point is something like, "instantly answer all questions about our refund policy." Start with a single, high-volume task that’s eating up your team’s time.
-
Your knowledge sources: Where does all the information your bot needs to learn currently live? It's probably scattered everywhere. Start gathering the links to your help center articles, key Google Docs, Confluence pages, or even just identify which of your past support tickets have the best-written answers.
-
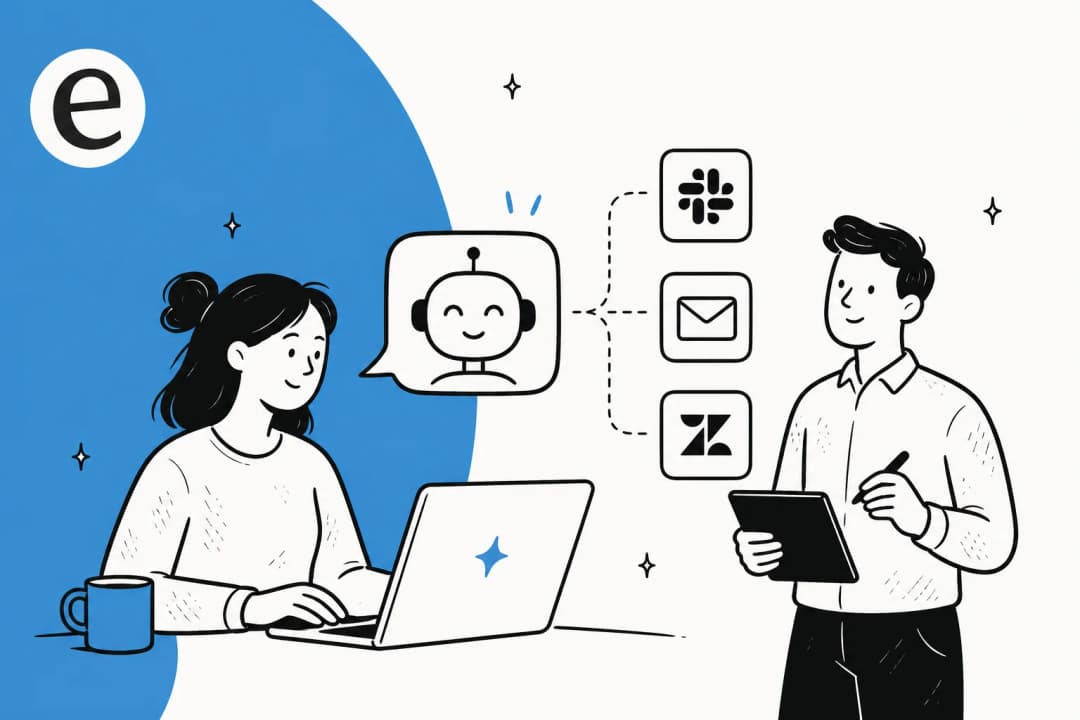
A no-code AI platform: This is the tool that brings it all together without you having to write a line of code. A platform like eesel AI is built for exactly this purpose. It lets you connect your tools and build a bot in a few minutes, not a few months. We'll be using it as our main example as we go through the steps.
A step-by-step guide to creating a bot
Alright, let's get into the nitty-gritty. Here’s how you can build your bot in six straightforward steps.
Step 1: Define your bot's purpose and scope
The first, and most important, step has nothing to do with technology. It’s all about strategy. You need to decide exactly what you want your bot to do. And just as importantly, you need to decide what you don't want it to do.
So many people get tripped up here by trying to build a bot that can do everything at once. That's a classic mistake that usually results in a clunky bot that isn't very good at anything and takes forever to build.
Instead, start small. Pick one repetitive task that you know is a time-sink for your team. Good candidates for a first bot are things like:
-
Answering the simple, frequent questions that make up most of your Tier 1 support.
-
Triaging new tickets by adding the right tags or routing them to the correct department.
-
Giving customers quick status updates on their orders or requests.
By keeping the scope narrow at the start, you can get your bot live and providing value almost immediately. For example, you could set up your bot to only handle tickets that include keywords like "refund" or "order status." Everything else? It gets escalated to a human agent, no questions asked. This way, you stay in control and can slowly give the bot more responsibility as you see it working well.
Step 2: Choose your bot-building approach (code vs. no-code)
When it comes to actually building a bot, you have two main paths you can take: you can code it yourself from scratch, or you can use a no-code platform.
The coding approach means using programming languages (like Python) and developer frameworks (like Microsoft's Bot Framework or Google's Dialogflow). This route gives you ultimate flexibility to build whatever you can imagine, but it also demands a lot of developer resources, time, and money for ongoing maintenance. It’s a solid option for huge companies with big engineering teams that need to build something highly custom from the ground up.
The no-code approach, on the other hand, uses platforms that give you a visual, point-and-click interface to build, train, and launch bots. These tools are made for business users, not developers. This is by far the fastest and most practical way for most companies to get started, especially if you're building a bot for customer service or internal IT help.
Here’s a quick breakdown to help you decide which path makes sense for you:
| Criteria | Coding a Bot | Using a No-Code Platform |
|---|---|---|
| Time to Launch | Months, sometimes over a year | Minutes to a few hours |
| Skills Required | Software development, AI/ML expertise | None (just your business knowledge) |
| Cost | High (developer salaries, server costs) | Low (a predictable monthly subscription) |
| Maintenance | Requires an ongoing engineering team | The platform provider handles it all |
| Flexibility | Extremely high, but very complex | High, but within a guided, easy-to-use framework |
For the rest of this guide, we’re going to stick to the no-code path. It just delivers results so much faster for most teams.
Step 3: Connect your knowledge sources
A bot is only as good as the information you give it. Instead of trying to teach it everything from scratch, the smartest and fastest way to build a great bot is to let it learn from all the content you’ve already created. This is how your bot picks up on your company's tone of voice, understands the little details of your products, and finds the right answers to questions.
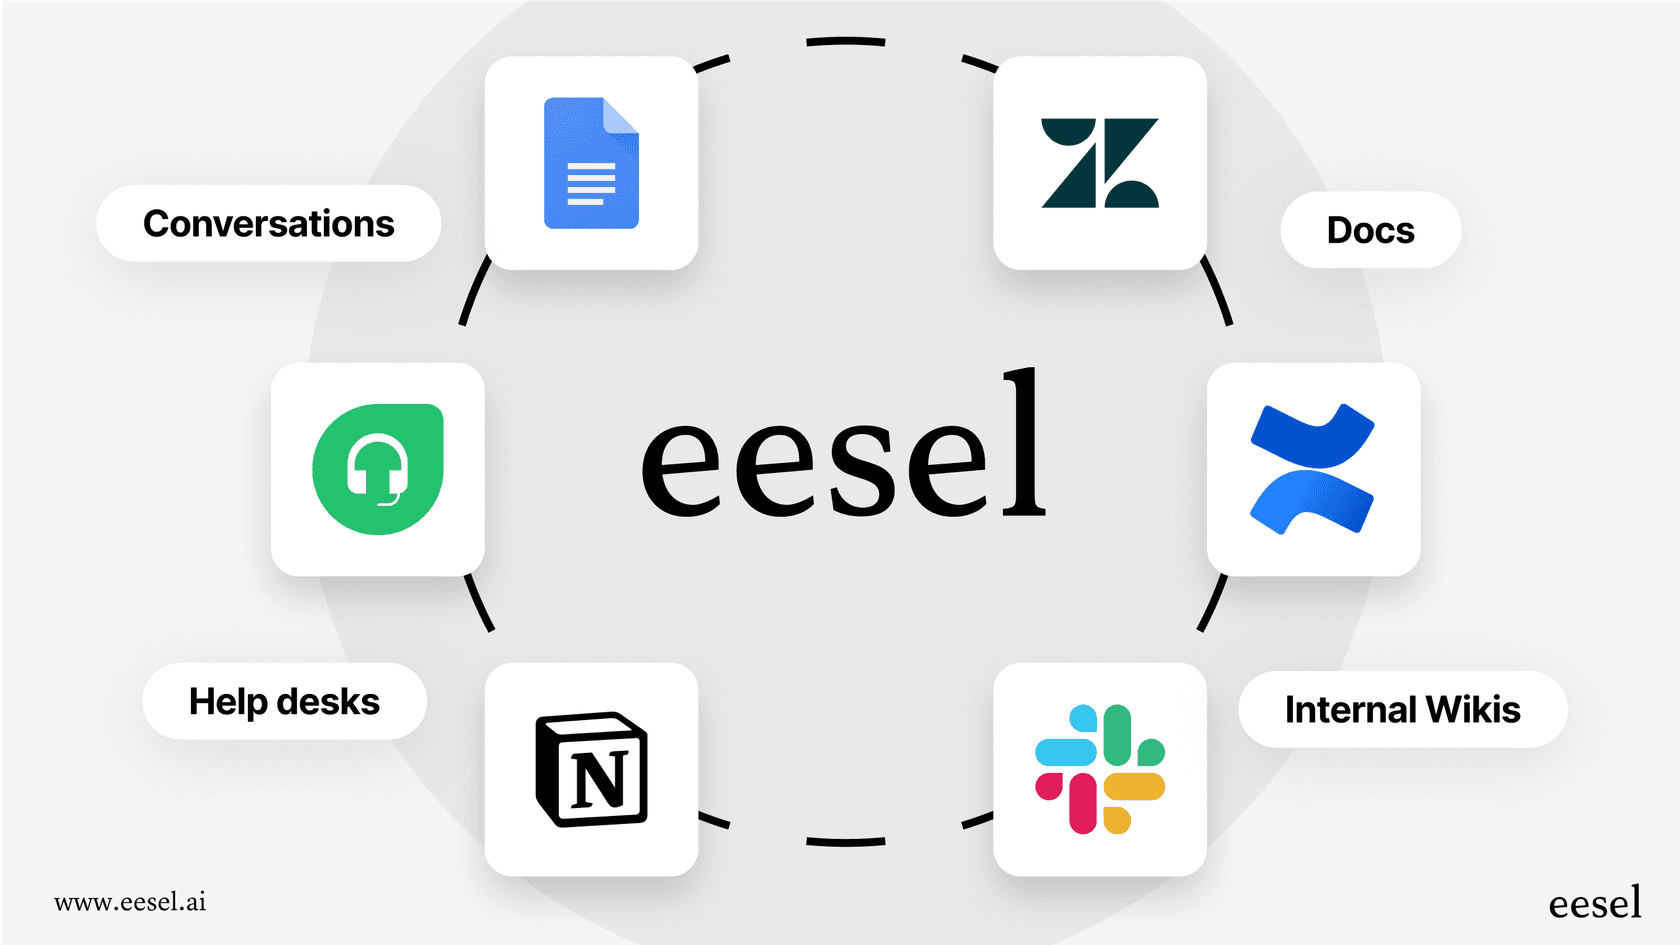
Modern AI platforms make this part incredibly easy. With just a few clicks, you can connect your bot to all the places your team's knowledge is stored.
This should definitely include:
-
Your Helpdesk: Tools like eesel AI can read through thousands of your past tickets from platforms like Zendesk, Freshdesk, or Intercom. This is probably the single best source of training material you have, because it shows the bot exactly how your team already solves real customer problems.
-
Your Knowledge Base: Connect your bot to your public help center or any internal wikis you use, like Confluence or Notion. The bot can pull from these articles to give customers consistent, pre-approved answers.
-
Your Documents: Don't forget all the valuable info tucked away in Google Docs, PDFs, and other scattered files. A good platform will let you hook these up just as easily.
When you bring all this knowledge together, you ensure the bot gives answers that are accurate and specific to your business, not just some generic response it found on the internet.
Step 4: Configure your bot's workflow and actions
Okay, now for the fun part, where you get to define the bot's "brain." This is where you set the rules for how it should behave and what it's allowed to do. A good no-code platform gives you total control over this with a simple, easy-to-understand interface.
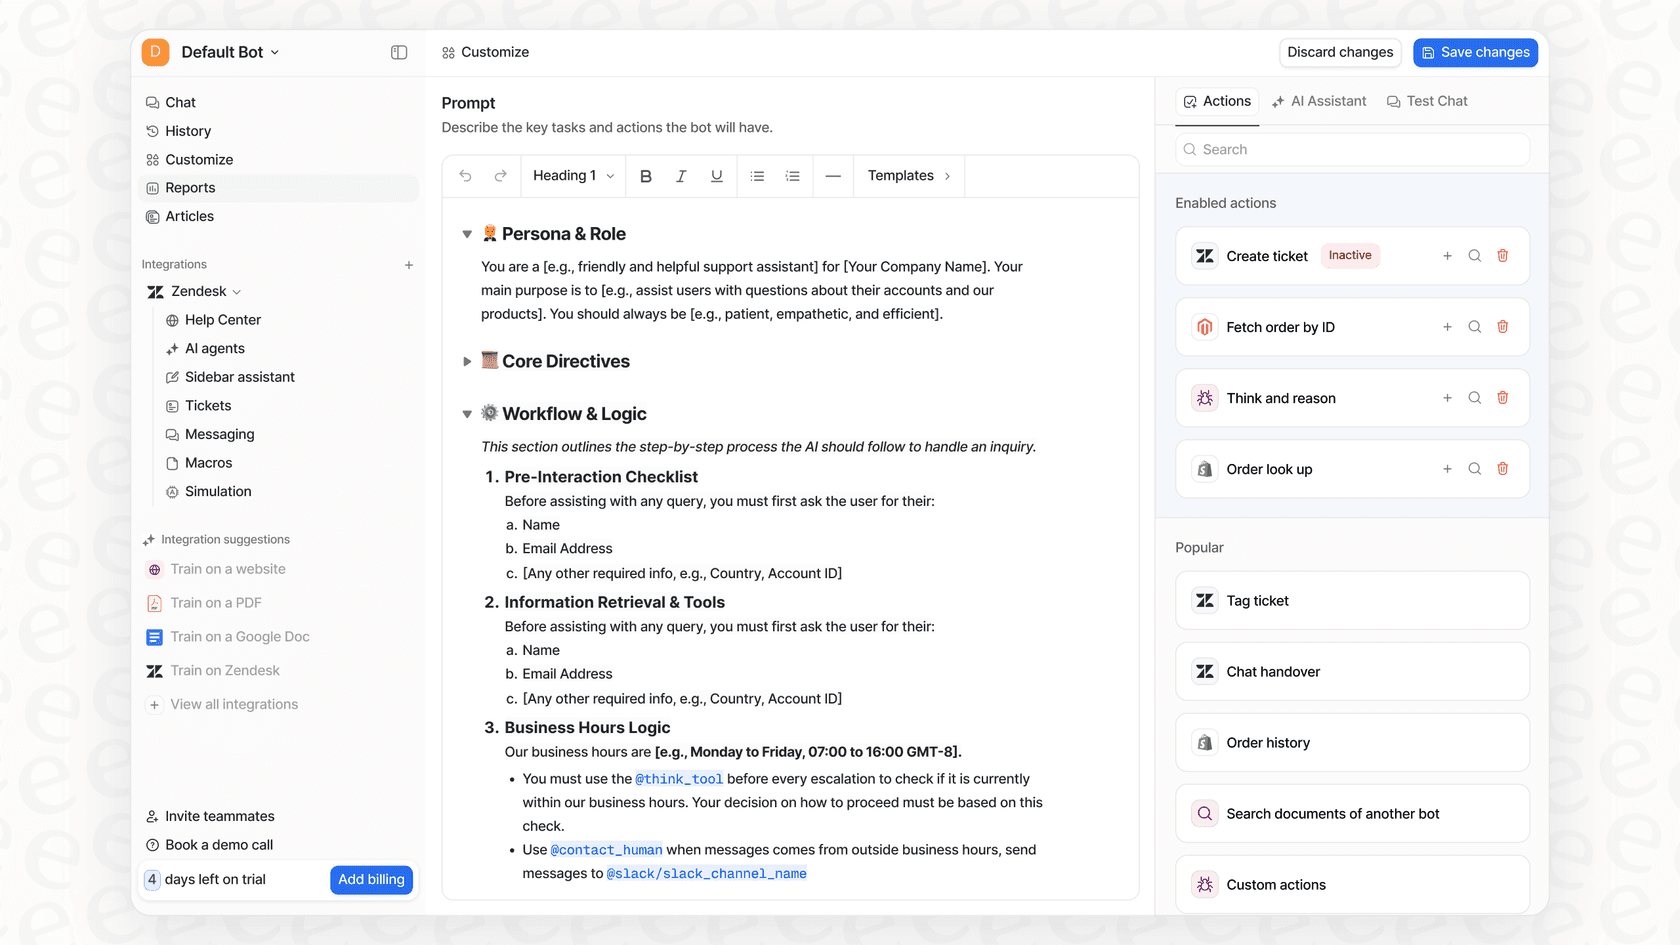
Using a prompt editor, you can tell your bot things like:
-
Persona and Tone: How should it sound? Do you want it to be formal and professional, or more friendly and casual? You can also give it firm rules to follow, like "never make promises about future product updates."
-
Workflows: This is where you map out what the bot should do in different situations. You can create rules like, "If a customer asks for a refund, first look up their order details. If the order is less than 30 days old, approve it. If not, escalate the ticket to the billing team."
-
Custom Actions: This is where a bot goes from being a simple Q&A machine to a powerful assistant. An "action" is any task the bot can do beyond just spitting out text. For example, with eesel AI, you can give your bot the power to:
- Triage tickets: Have it automatically add tags, set the priority level, or route tickets to the right agent.
- Look up information: Connect it to other systems, like Shopify to check an order status or your internal database to see a user's subscription plan.
- Escalate intelligently: When a question is too complicated, the bot can seamlessly hand it off to a human agent, along with all the information it has already gathered.
This level of control means the bot can fit right into your current support process and act like a genuine extension of your team.
Step 5: Test and simulate your bot before launching
You'd never launch a new website without testing it first, and the same rule applies to your bot. The thought of unleashing an AI on your customers can be a little nerve-wracking, which is why a safe, risk-free testing environment is an absolute must.

The best platforms offer a simulation mode that lets you see exactly how your bot would have performed on real tickets from the past. For instance, you can use eesel AI's simulation feature to run your newly built bot against thousands of your historical support conversations.
The simulation report will show you:
-
Which tickets the bot would have answered correctly.
-
The exact response it would have sent for each one.
-
Which tickets it would have known to escalate to a human.
-
A surprisingly accurate forecast of your potential automation rate and how much time you could save.
This process lets you get completely comfortable with the bot's performance before it ever has a single live interaction. If you see a response that isn't quite right, you can tweak the bot's instructions, add more knowledge sources, and just run the simulation again. It’s a vital step for a smooth, stress-free launch.
Step 6: Deploy and monitor your bot
Once you're happy with the simulation results, it's time to go live. The best way to do this is to roll it out gradually, not all at once. For example, you could start by activating it for:
-
A specific type of ticket (like only "how-to" questions).
-
A specific channel (like only on your live chat, but not on email).
-
A small percentage of all incoming requests.
This lets you watch how it performs in a controlled setting. As you see it doing its job well, you can slowly increase its responsibilities.
After you've launched, keeping an eye on its performance is key. Your bot's analytics dashboard should give you more than just vanity metrics. You want to look for real insights. For example, you should be able to see the most common questions the bot couldn't answer. This is gold, because it often points directly to a gap in your knowledge base and gives you a clear to-do list of what help articles you need to write next.
Tips for creating a successful bot
-
Don't try to boil the ocean. The most successful bots are the ones that start by doing one or two things perfectly. Get really good at answering simple FAQs before you try to tackle more complex workflows.
-
Treat it as an ongoing project. Your bot won't be perfect from day one, and that's okay. Use the feedback from its interactions (both the good and the bad) to continuously improve its knowledge and workflows over time.
-
Focus on the business problem, not the tech. The goal isn't just to "have a bot." The goal is to solve a real problem. Keep your focus on metrics that actually matter to your business, like reducing first-response times or improving customer satisfaction scores.
-
Watch out for per-resolution pricing. Some bot vendors charge you for every single ticket the bot resolves. This kind of pricing model actually punishes you for being successful and can lead to unpredictable, skyrocketing bills. Look for platforms that offer transparent, flat-rate pricing so you can scale up without worrying about costs.

Create your first bot today, for free
As you can see, figuring out how to create a bot is no longer some massive technical project. With the right game plan and the right platform, you can build and launch a powerful AI assistant that saves your team a ton of time and makes your customers happier, all in a matter of minutes.
Platforms like eesel AI are designed to make this entire process as simple as possible. You can connect your helpdesk, train a bot on all of your company's unique knowledge, and simulate its performance so you can launch with confidence, all without needing a developer on standby.
Ready to see for yourself? Sign up for free and create your first bot today.
Frequently asked questions
What's the typical timeline for creating a bot using a no-code platform?
With a no-code platform and clear goals, you can often build and launch a functional bot in minutes to a few hours. The bulk of the time is spent defining its purpose and connecting your existing knowledge sources.
What are the best initial tasks for a new business bot?
Start with one or two repetitive, high-volume tasks that consume your team's time, such as answering simple FAQs about policies or providing order status updates. This narrow scope ensures quick value and easier management.
Is coding expertise necessary to create a bot with modern tools?
No, modern no-code AI platforms are specifically designed for business users without any coding background. They provide visual interfaces that allow you to build, train, and launch powerful bots using your existing business knowledge.
After launching, what's involved in maintaining and improving a bot?
Maintenance is an ongoing process of monitoring performance analytics and using feedback from interactions to refine its knowledge and workflows. You'll continuously add new information and adjust its responses to improve accuracy over time.
What are the typical costs of creating a bot with a no-code solution?
No-code platforms typically involve a predictable monthly subscription fee, which is significantly lower than the high costs associated with developer salaries and server maintenance for custom-coded bots. It's important to look for flat-rate pricing rather than per-resolution models.
How can I ensure my bot provides accurate and reliable information?
Accuracy is ensured by connecting your bot directly to your verified internal knowledge sources, such as your helpdesk, knowledge base, and official documents. Thorough testing and simulation against historical data before launch are also crucial steps.