A practical guide to using Freshdesk webhooks to trigger external automation

Stevia Putri

Stanley Nicholas
Last edited January 16, 2026
Expert Verified

Freshdesk’s built-in automation rules are powerful tools for managing your helpdesk, effortlessly assigning tickets or firing off canned responses. But what happens when you want to extend that power to a completely different app? Maybe an urgent ticket needs to create a loud notification in a specific Slack channel, update a customer’s record in your CRM, or log a bug in Jira.
This is where webhooks come into play. Think of them as a simple messenger between Freshdesk and the rest of your software. They let Freshdesk send real-time data to any external service the moment a specific event happens, like a ticket being created or updated.
In this guide, we'll walk through exactly how to set up your first Freshdesk webhooks to trigger external automation. We’ll keep it practical and straightforward, so you can start building more connected workflows right away.
What you'll need
Before we get our hands dirty, let’s make sure you have a few things lined up. Don't worry, you don't need to be a developer to follow along.
-
Admin access to your Freshdesk account: You’ll need the right permissions to create and manage automation rules. This feature is available on their Growth, Pro, and Enterprise plans.
-
An external service to receive the webhook: This is simply the destination where Freshdesk will send its data. For this tutorial, we’ll use a free tool called Webhook.site. It gives you a temporary URL that makes it super easy to test and see the data Freshdesk sends.
-
A specific goal in mind: It always helps to know what you’re trying to achieve. For our example, we’ll create a workflow that sends a notification to our external service whenever a new high-priority ticket lands in the queue.
How to set up Freshdesk webhooks in 5 simple steps
Alright, let's get into it. We're going to set up a webhook that fires every time a new ticket with "Urgent" priority is created.
Step 1: Create your webhook receiver URL
First things first, you need a destination for your webhook data.
Head over to https://webhook.site/. The moment the page loads, it generates a unique URL just for you. This URL is your personal endpoint, ready to listen for any information Freshdesk sends its way. Keep this browser tab open, as we’ll be checking back here to see if our test worked.
Go ahead and copy that URL to your clipboard.
Step 2: Create a new automation rule
Next, log in to your Freshdesk account.
-
Navigate to Admin > Workflows > Automations.
-
Click on the Ticket Creation tab, since we want this to happen when a new ticket is made.
-
Click the New Rule button to get started.
Give your rule a clear name that you’ll recognize later, like "Notify External Service for Urgent Tickets."
Step 3: Define the conditions for your webhook
This is where you tell Freshdesk when to send the webhook. We only want this automation to run for urgent tickets, so let’s set up that condition.
Under the "On tickets with these properties" section, configure the following:
-
In the first dropdown, choose Priority.
-
In the second, select Is.
-
In the third, pick Urgent.
This setup tells the rule to only activate for tickets marked as "Urgent" the moment they're created. Simple enough.
Step 4: Configure the webhook action
Now for the fun part. In the "Perform these actions" section, we'll add the webhook itself.
-
Select Trigger Webhook from the action dropdown list.
-
Request Type: Set this to POST. This is the standard way to send data to a service.
-
Callback URL: Paste that unique URL you copied from Webhook.site into this field.
-
Encoding: Choose JSON. It’s the most common format for this kind of thing and is easy for both humans and machines to read.
-
Content: Select the Simple option. This lets you pick and choose which ticket fields to send. For our example, let's include some useful info:
- Ticket ID
- Subject
- Requester email
- Description
What you've just told Freshdesk is: "When an urgent ticket is created, send the ticket ID, subject, email, and description in a JSON format to this specific URL."
Click Preview and save, and then hit Save.
Step 5: Test your webhook
With your new rule saved and active, it's time to see it in action.
-
Go to your Freshdesk dashboard and create a new ticket, just like a customer would.
-
Make sure you set the Priority to Urgent.
-
Fill in the subject and description, then click Create.
Now, pop back over to your Webhook.site browser tab. You should see a new request pop up on the left. Click on it, and you'll see all the JSON data Freshdesk just sent over, neatly formatted with the ticket details you chose.
And that’s it! You've successfully used Freshdesk webhooks to trigger external automation.
Considerations for scaling Freshdesk webhooks
Setting up webhooks is a great skill that enhances your Freshdesk setup. While they are highly effective for many tasks, it is helpful to keep a few considerations in mind as you build more complex workflows.
-
They follow logic-based triggers: A webhook acts as a reliable messenger. It goes off based on specific logic-based triggers (e.g., if priority is urgent, send notification). While they are excellent for standard tasks, you might consider pairing them with AI tools if you need to understand deeper nuance or intent behind a customer's message.
-
Configuration requires careful planning: Our example was straightforward, but as you grow, you might find yourself managing an extensive collection of automation rules. For more advanced setups, such as services that require custom headers or complex API authentication, it helps to have a clear strategy for organizing your workflows.
-
They focus on data delivery: A standard webhook is designed to send information efficiently from point A to point B. If you want the system at point B to perform multiple complex actions, like searching an order history and then generating a nuanced response, you may want to utilize middleware tools like Zapier, n8n, or an AI-driven integration.
These considerations are why many teams look for complementary AI-powered solutions. Instead of just reacting to ticket fields, an AI agent can help coordinate more sophisticated responses alongside your existing Freshdesk rules.
Complementing your setup with AI-driven workflows
To build on your collection of automation rules and webhooks, you might consider an option like eesel AI to add a layer of conversational intelligence to your helpdesk.
eesel AI connects directly with your Freshdesk knowledge base in minutes and works as an intelligent brain that complements your existing setup. It can work alongside your webhooks to handle more nuanced tasks.
Here’s how it works with Freshdesk:
-
Go live in minutes: Instead of configuring complex JSON payloads, you can connect eesel AI to Freshdesk with ease. The platform is designed to be self-serve, making it simple to get an AI agent working for your team.
-
Understand intent: eesel AI complements Freshdesk's fields by reading the customer's message and figuring out what they need based on your past tickets and knowledge base. It can help distinguish between different types of requests to ensure the right actions are taken.
-
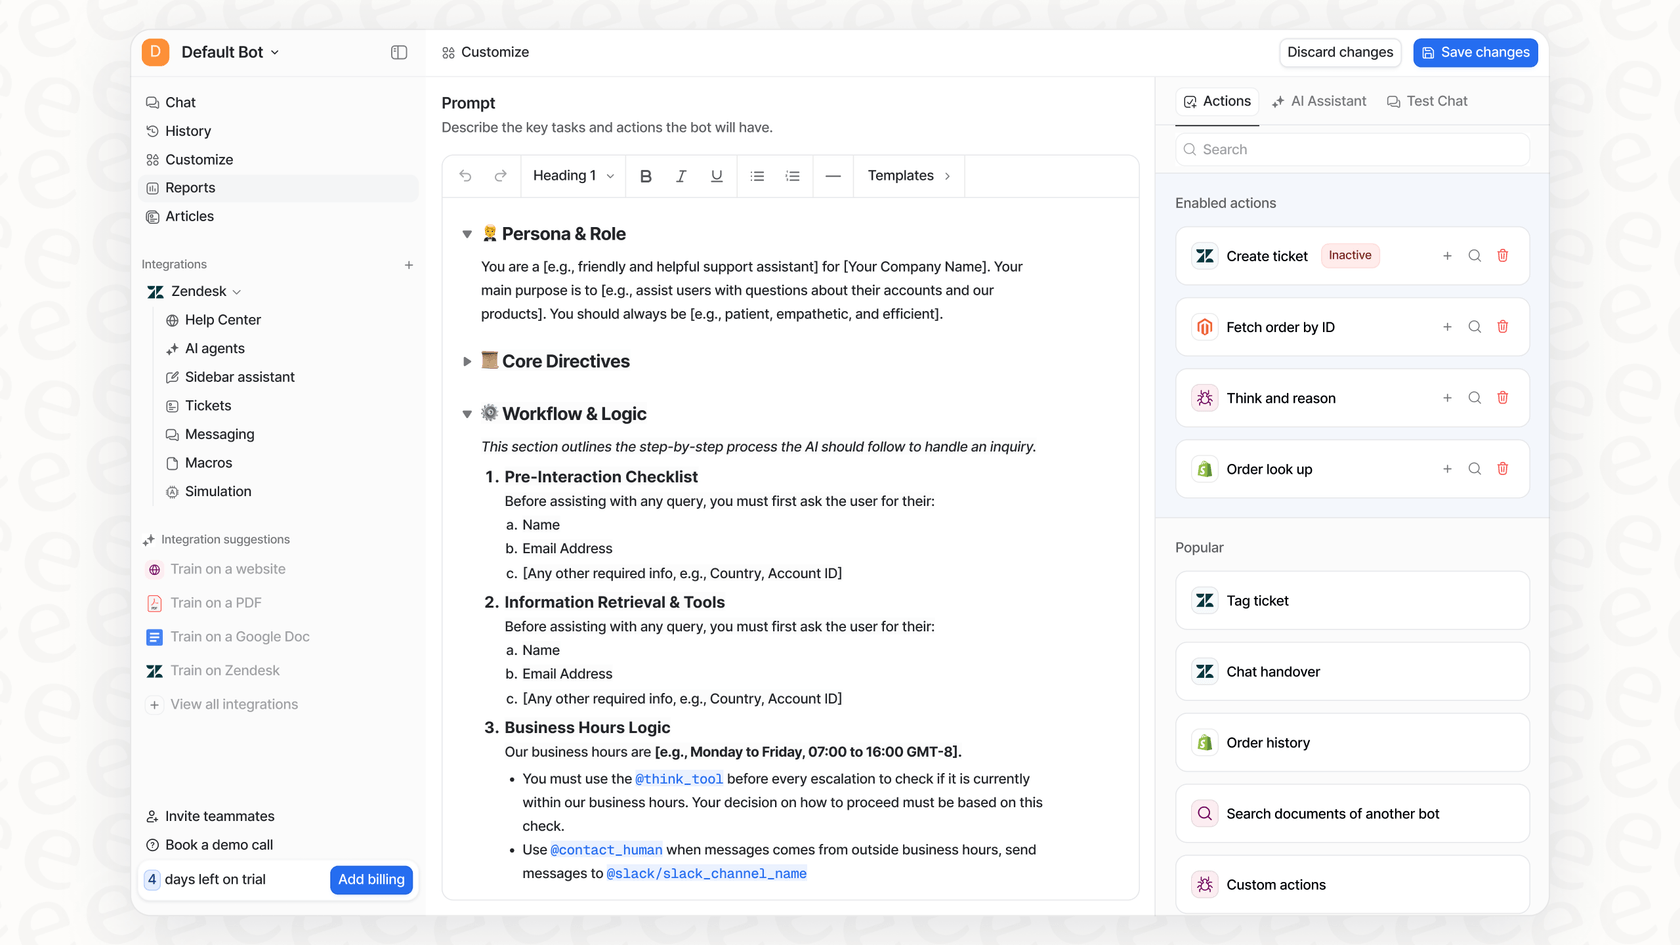
Take custom actions intelligently: With eesel AI, you can build multi-step workflows that work in harmony with Freshdesk. For example, you could set up an AI Action to:
- Read a ticket.
- Look up the customer's order status in Shopify.
- If the order is late, post an alert to a specific Slack channel.
- Draft a personalized reply to the customer with the latest tracking info.
- Update the ticket tags in Freshdesk.
This sequence is managed smoothly, giving you additional control without heavy technical overhead. You can even simulate your AI agent on your past tickets to see how it performs within your Freshdesk environment.

Freshdesk webhooks to trigger external automation: Automate smarter, not harder
Using Freshdesk webhooks to trigger external automation is a fantastic way to connect your helpdesk to other tools in your stack. By following the steps above, you can build helpful integrations that save your team time and keep your data synced.
For teams that want to build support workflows that are even more intelligent and aware of the customer's context, combining Freshdesk's reliable webhooks with an AI tool is a great path forward.
If you're ready to give your support team an AI that understands your customers and business alongside your Freshdesk setup, give eesel AI a try. You can start for free and see how easy it is to enhance your automated customer support in 2026.
Frequently asked questions
To get started, you'll need admin access to a Freshdesk account (Growth, Pro, or Enterprise plan) and an external service ready to receive the webhook data. Having a specific automation goal in mind also helps streamline the setup process.
The process involves five key steps: creating a webhook receiver URL, setting up a new automation rule in Freshdesk, defining the conditions for when the webhook should fire, configuring the webhook action itself, and finally testing it. The blog provides a detailed walkthrough.
When configuring the webhook action, you can select specific ticket fields to send, such as Ticket ID, Subject, Requester email, and Description. This data is typically sent in JSON format, making it easy for external services to parse.
While powerful for many tasks, webhooks operate on precise logic. For multi-step workflows or nuanced decision-making, you can easily integrate them with additional services or middleware to handle subsequent actions.
Webhooks are efficient data messengers that follow defined rules. For workflows requiring deep sentiment analysis or multi-layered responses, they are often paired with external systems or specialized AI tools that complement Freshdesk's capabilities.
Freshdesk offers tiered plans, including Growth, Pro, and Enterprise, to provide the right level of automation features for teams of all sizes. The ability to manage automation rules and trigger webhooks is available on these plans.
Share this post

Article by
Stevia Putri
Stevia Putri is a marketing generalist at eesel AI, where she helps turn powerful AI tools into stories that resonate. She’s driven by curiosity, clarity, and the human side of technology.


