Let's be honest, making changes to your live helpdesk is an important responsibility. It’s vital to ensure every new workflow or automation rule is perfect before it reaches your customers. One small oversight could change how your support team operates, so taking the time to test is always the best move.
That’s exactly why a safe testing environment, or a "sandbox," is so important. This guide will walk you through the complete Freshdesk sandbox setup for safe testing. We’ll cover how to build it, what to do inside, and how to push your changes live, ensuring your actual operations remain smooth and reliable.
What you need for a Freshdesk sandbox setup
Before we jump into the setup process, let's make sure you have everything you need. Freshdesk offers the sandbox as an enterprise-grade feature to help teams manage complex configurations with confidence.
-
Admin access to your Freshdesk account: This is essential, as you'll need administrator permissions to access the Sandbox settings.
-
A Freshdesk Enterprise plan: The sandbox is a premium feature included in the Enterprise plan. It’s designed for organizations that require the highest level of testing and security for their support workflows.
-
A goal for your testing: It helps to go in with a plan. Know what you want to experiment with, whether it's a new ticket field for returns or a sophisticated automation rule you've been wanting to implement.
A step-by-step guide to your Freshdesk sandbox setup
Alright, let’s get started. The whole process is structured into three main phases: building a replica of your configuration, testing your changes, and then pushing your successful updates to your live environment.
Step 1: Build your sandbox
First things first, you have to create the sandbox. Think of it as creating a dedicated space that mirrors your helpdesk’s configuration without including actual customer data.
Head over to Admin > Support Operations > Sandbox. You should see a button that says "Build Sandbox." Go ahead and click it. This kicks off the process of making a replica of your helpdesk settings. This can take a little while, especially if your setup is extensive, so it's a good time to focus on other tasks while Freshdesk handles the heavy lifting.
A key thing to understand is what gets copied over and what stays in your live account to protect data privacy.
| What gets copied | What does NOT get copied |
|---|---|
| All your admin and agent accounts | Live tickets, customer info, and contacts |
| Helpdesk settings and ticket fields | Your support email addresses and social media accounts |
| Automation rules and SLA policies | Knowledge base articles and forum posts |
| Canned responses and templates | Apps and any third-party integrations |
When it’s done, you and all the other admins will receive an email confirmation. Once you log in, you’ll see a clear banner at the top of the screen indicating you’re in the sandbox. This ensures you always know when you are in your safe testing environment.
Step 2: Test your new setups
This is the most productive part of the process. You’re in a safe space where you can innovate and experiment. Freshdesk populates the sandbox with sample tickets and contacts, so you have a realistic environment to see how your changes would play out.

In this environment, you can:
-
Set up a new automation rule that routes specific tickets to senior agents based on keywords.
-
Add new custom ticket fields to capture more detailed information for product returns.
-
Tweak your SLA policies to see how you can further improve response times for your VIP customers.
Since it's all sample data, you can experiment freely. Trigger rules, update tickets, and refine settings to your heart's content. It won't affect any real customers or your team's live metrics.
Step 3: Review and sync your work
Once you’ve refined and tested everything and you’re happy with how it works, it’s time to bring those improvements to your live environment.
Hop back into your live Freshdesk account and go to Admin > Support Operations > Sandbox. Click on "Review changes and sync." Freshdesk will then show you a side-by-side comparison of your sandbox and your live account, highlighting every change you've made.
You might encounter a "conflict." This happens if a setting was changed in both the sandbox and the live account at the same time. For instance, if you updated a ticket field name in the sandbox while another admin made a different update in the live account. Freshdesk will helpfully flag this, allowing you to choose the best version to keep.
Once you’ve reviewed everything and resolved any conflicts, hit "Sync now," and your validated changes will be pushed to your live helpdesk.
Step 4: Tear it down and start fresh
After a successful sync, your sandbox automatically deactivates. This ensures that every time you want to test a new batch of changes, you start with a fresh, up-to-date copy of your live environment.
This process guarantees you’re always working with the most current version of your setup, preventing old tests from interfering with new configurations. It’s a reliable way to maintain the integrity of your Freshdesk account.
Important considerations for a Freshdesk sandbox setup
The Freshdesk Sandbox is a powerful feature for enterprise teams. To get the most out of it, here are a few points to keep in mind.
Consideration 1: Plan availability for the sandbox
The sandbox is a sophisticated feature specifically available on the Freshdesk Enterprise plan. This reflects its status as a high-value tool for organizations that require rigorous, enterprise-grade testing environments. For teams on other plans, Freshdesk remains highly intuitive and easy to manage directly.
Consideration 2: Focus on technical configuration
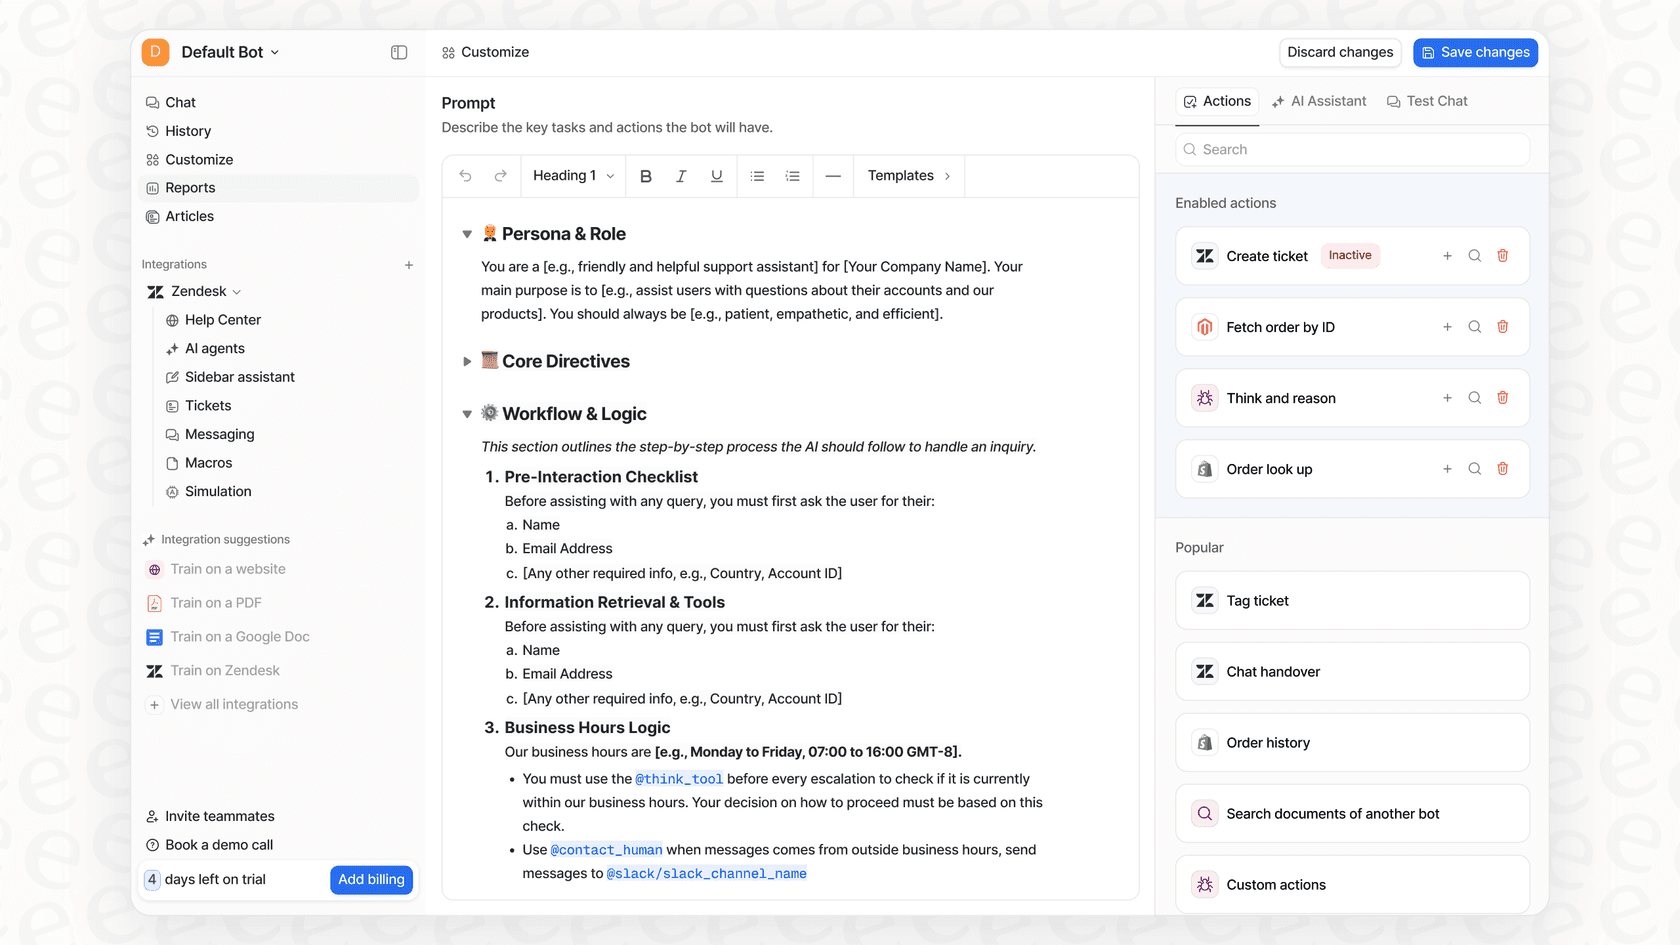
The sandbox is designed primarily for testing technical workflows and configurations. It's great for checking if tickets route correctly or if tags are applied. To complement this, teams using AI might use additional tools like eesel AI to test the specific quality of AI agent responses against their knowledge base, ensuring every customer interaction is perfect.

Consideration 3: Managing the comprehensive sync
The sync process is designed to be comprehensive, ensuring your live environment is fully updated with all your tested changes at once. This keeps your system consistent. To make this even smoother, you can use specialized tools like eesel AI alongside Freshdesk to allow for selective automation and gradual rollouts of specific AI features.
Final thoughts on the Freshdesk sandbox setup
For teams on the Enterprise plan, the Freshdesk Sandbox is a robust and reliable tool for a Freshdesk sandbox setup for safe testing. It provides a dedicated space to refine configurations, ensuring your live helpdesk remains a powerhouse of efficiency. By following the build, test, and sync process, you can deploy changes with complete confidence.
While the Enterprise sandbox is a premier solution for technical testing, many teams also look for ways to specifically test and launch AI automation with even more flexibility. Complementary tools like eesel AI can work within your Freshdesk ecosystem, providing a simulation mode that uses your actual ticket history to show the likely impact of AI before you go live.
If you’re interested in seeing how eesel AI can enhance your Freshdesk experience, you can book a demo to see the eesel AI simulation for yourself.
Frequently asked questions
What is the main purpose of a Freshdesk sandbox setup for safe testing?
The primary purpose is to provide a safe, isolated environment where you can test changes to your helpdesk configurations, workflows, and automation rules. This ensures that any new updates are validated before affecting your live support operations or customer experience.
What are the necessary prerequisites for a Freshdesk sandbox setup for safe testing?
To perform a Freshdesk sandbox setup for safe testing, you must have administrator access to your Freshdesk account and be subscribed to the Freshdesk Enterprise plan. Having a clear goal for what you intend to test is also highly recommended.
What types of changes can I test with a Freshdesk sandbox setup for safe testing?
You can test various administrative changes such as new automation rules, custom ticket fields, modifications to SLA policies, and updates to canned responses or templates. The sandbox populates with sample data, allowing you to thoroughly validate how your proposed changes would function.
Does a Freshdesk sandbox setup for safe testing copy all my live customer data?
No, a Freshdesk sandbox setup for safe testing specifically excludes sensitive live data, including actual customer information, current tickets, contacts, and real support email addresses. It only copies administrative settings, agent accounts, and helpdesk configurations to maintain privacy and security.
What happens to the sandbox environment after I complete a Freshdesk sandbox setup for safe testing and sync my changes?
After you successfully sync your changes from the sandbox to your live Freshdesk account, the sandbox automatically deactivates. You will need to initiate a new Freshdesk sandbox setup for safe testing from scratch for any subsequent testing requirements.
Can I use a Freshdesk sandbox setup for safe testing to evaluate the quality of AI agent responses?
A Freshdesk sandbox setup for safe testing is excellent for validating workflows and configurations. To assess the quality or performance of AI-powered responses, you can complement the sandbox with specialized tools like eesel AI to simulate real customer inquiries.
Are there other tools that complement a Freshdesk sandbox setup for safe testing for rolling out automation?
Yes, some solutions like eesel AI offer a complementary approach for testing and deploying automation. These tools allow for simulating AI performance on your historical ticket data and enabling selective automation, providing a gradual rollout strategy that works alongside your Freshdesk setup.