You've worked hard to make your brand look and feel a certain way. The last thing you want is a clunky, off-brand chat widget making your product feel disconnected. That’s where developer frameworks like OpenAI's ChatKit come into the picture, promising beautiful, custom chat experiences.
But while a perfect user interface is a great start, what about the AI brain behind it? This guide will walk you through the essentials of ChatKit theming customization and show you what's possible. More importantly, we’ll talk about what it really takes to launch an AI support agent that’s not just pretty, but genuinely helpful.
Understanding OpenAI's ChatKit
Think of OpenAI's ChatKit as a box of high-quality LEGOs for building a chat interface. It’s a toolkit (or SDK, for the technically inclined) that gives developers all the components they need, like message lists, text boxes, and interactive widgets, to build an AI-powered chat window for a website or app.
Its main purpose is to save your developers from the headache of designing and coding a chat UI from scratch. It handles how the conversation looks and feels. But here's the catch: ChatKit is only the user-facing part. You're still on the hook for building the backend, managing the AI logic, connecting it to all your company knowledge, and paying for the API calls that make it all tick. It’s a great tool for the right job, but the job is much bigger than just the UI.
Key features of ChatKit theming customization
ChatKit offers a solid set of options to make a chat widget feel like it truly belongs on your site. Let's break down what you can actually control to get the chat experience in line with your brand.
Changing the core theme and branding
Right out of the box, ChatKit lets you control the fundamental look. You can instantly switch between a light and dark mode to match your site's theme. Easy enough.
From there, developers can get more granular to match a specific brand guide. This includes setting a primary accent color for buttons and links, adjusting how rounded the corners are ("radius"), and controlling the spacing between elements ("density"). These little details add up and make a huge difference in creating a smooth user experience. If you want the full list of options, the official API reference has all the nerdy details.
Customizing the conversation experience
A good chat experience shouldn't leave the user guessing. ChatKit gives you a few ways to guide the conversation right from the start.
-
Starter Prompts: You can add suggested questions to the start screen. This is a simple way to show users what your chatbot can help with and gets them past that "uh... what do I ask?" moment.
-
Composer Text: The default placeholder in the message box (usually something like "Ask me anything…") can be swapped out for something more specific, like "What's your order number?" or "How can I help with your subscription?"
-
Header Buttons: You can also add custom buttons to the chat header. These are handy for linking back to your home page, opening a user’s profile, or kicking off other important actions in your app.
Extending functionality with widgets and tools
ChatKit isn't limited to just text bubbles. It supports "widgets" that can display information in more structured ways, like cards or lists, right in the middle of a conversation. For instance, a bot could show product options in a neat little carousel or display account details in a formatted card.
Developers can also add custom tools to the composer bar, letting users click a button to trigger an action instead of typing everything out. If you want to play around with these, the ChatKit Playground and Widget Builder are great spots to experiment with designs.
The hidden complexity of a DIY approach
A beautiful UI is just the tip of the iceberg. While ChatKit handles the visuals, it leaves you with a much bigger challenge: building a smart, reliable, and manageable AI agent. This is where the DIY approach starts to feel less like a fun project and more like a massive headache.
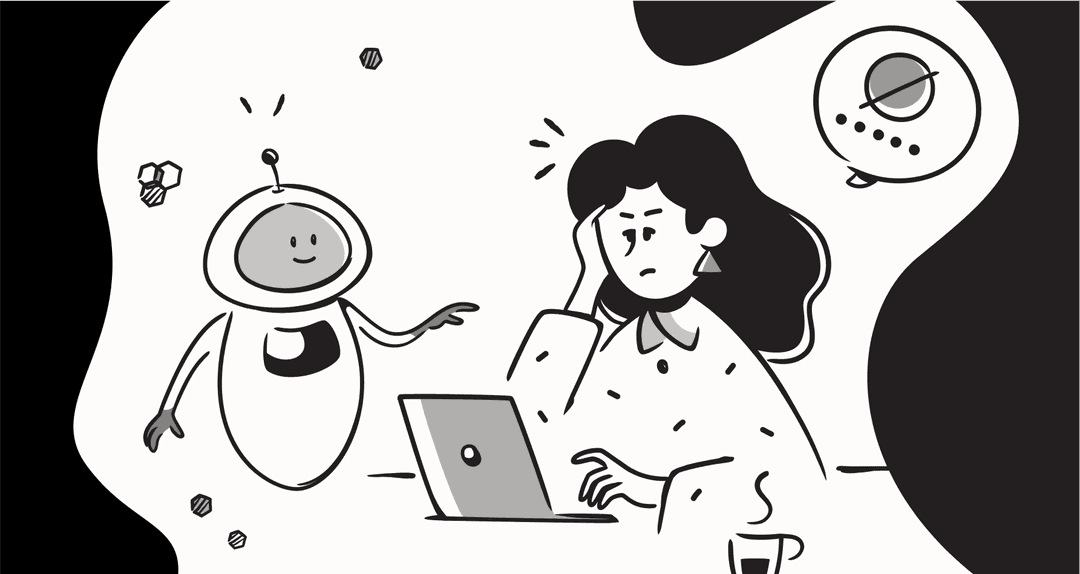
The "empty brain" problem
ChatKit provides the interface, but it doesn't come with any knowledge. It's an empty shell waiting for a brain. To make it useful, your engineering team has to build a whole backend system that can pull information from all your different knowledge sources and feed it to the AI.
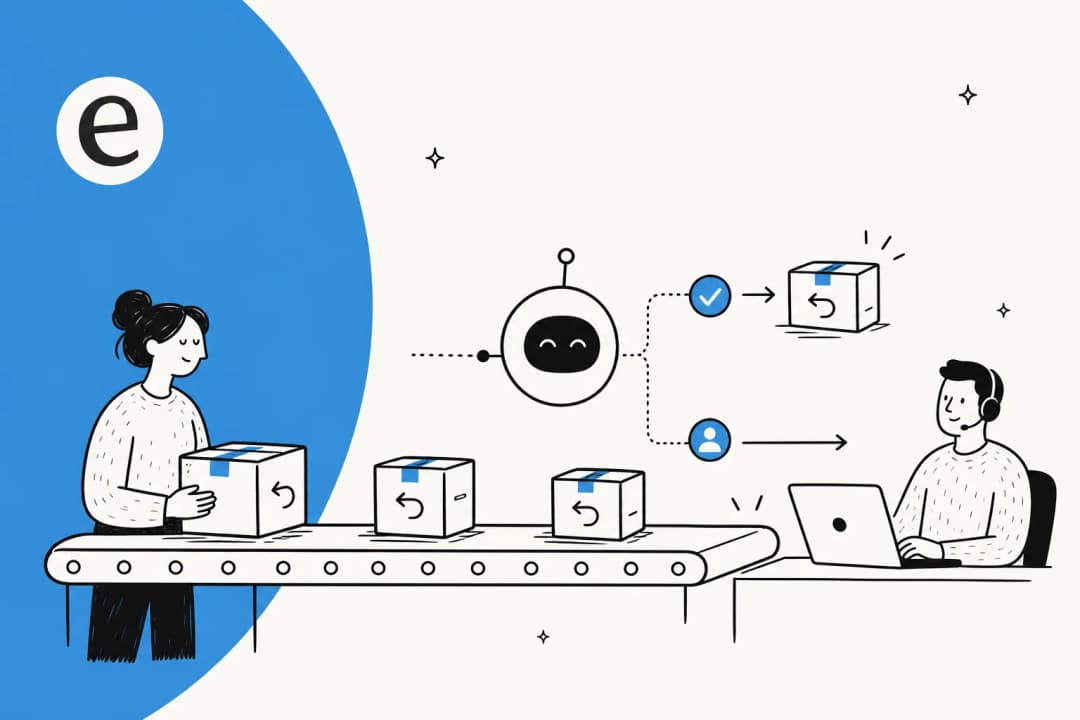
This isn't a one-and-done task; it's a huge, ongoing project. In contrast, a platform like eesel AI has this solved from day one. It instantly connects to your knowledge with one-click integrations. eesel AI can learn from past support tickets in Zendesk or Freshdesk, your internal wikis in Confluence, and your documents in Google Docs. The "brain" is ready to go in minutes, not months.

Heavy developer dependency
When you build with ChatKit, pretty much every little thing requires an engineer. Customizing the UI, adding a new knowledge source, tweaking an AI prompt, or even just changing a starter question becomes a task for a developer. This creates a serious bottleneck and keeps your support team from being able to adapt and improve the bot on their own.
Lack of business-friendly controls
With a home-grown solution, your support managers can't directly manage the AI. They're stuck asking developers for help every time they want to change the bot's tone, set up a new escalation rule, or just see how it's performing.
This is where an integrated platform really shines. eesel AI provides a fully customizable workflow engine with a simple prompt editor. Non-technical folks can easily define the AI’s persona, control its tone of voice, and set up precise rules for when and how it automates responses.

The simulation and reporting gap
Once you've built your custom bot, how do you know if it's any good? How can you test it safely before letting it talk to your customers? Frameworks like ChatKit don't come with built-in tools for testing, simulation, or analytics.
This is a pretty big gap that can lead to some really bad customer experiences. eesel AI includes a powerful simulation mode that lets you test your setup on thousands of your own past tickets before you go live. You can see exactly how it would have responded and get a good forecast on resolution rates. Once it's up and running, our reporting doesn't just show you what the AI did; it points out gaps in your knowledge base and helps you prove your return on investment.

Comparing true costs: ChatKit vs. eesel AI
When you're looking at your options, it's easy to see a "free library" and think you've found a "free solution." But the real cost of a custom-built chatbot goes way beyond the framework itself. Let's compare what you're actually paying for.
The cost of building with ChatKit
While the ChatKit library itself doesn't have a price tag, building with it definitely does. Here’s a quick rundown of the real costs:
-
Developer Salaries: You're paying for one or more software engineers' time for several weeks, if not months, of development.
-
OpenAI API Usage: You have to pay for every single token your bot processes. These costs can be wildly unpredictable and can shoot up as more people use your bot.
-
Ongoing Maintenance: You also have to budget for fixing bugs, keeping up with API changes, and building all the new features your team will eventually ask for.
The biggest problem here is the unpredictability. A busy support month could lead to a shockingly high API bill, and a single bug could pull your developers off other important projects for days.
The transparent pricing of eesel AI
eesel AI offers a much more predictable and transparent path. Our pricing is based on the features and capacity you need, not how many tickets your AI manages to resolve. This means there are no per-resolution fees, so your costs won't suddenly spike during busy periods.
All our main products, including the AI Agent, Copilot, and Chatbot, are included in every plan. Here’s how it breaks down:
| Plan | Monthly (bill monthly) | Effective /mo Annual | AI Interactions/mo | Key Features |
|---|---|---|---|---|
| Team | $299 | $239 | Up to 1,000 | Train on docs, Copilot, Slack integration |
| Business | $799 | $639 | Up to 3,000 | Train on past tickets, AI Actions, Simulation |
| Custom | Contact Sales | Custom | Unlimited | Advanced integrations, a multi-agent setup |
Our plans are flexible, and we even have a month-to-month option you can cancel anytime. That's a far cry from the long-term, sunk-cost investment that a custom build requires.
Build a UI or launch a solution?
ChatKit theming customization is a great tool for developers who have been told to build a beautiful chat UI from the ground up. It gives you a solid foundation for all the visual parts of a chatbot.
But for a business that needs to launch an effective, smart, and manageable AI support agent quickly, the DIY route often leads to a lot of technical debt, unpredictable costs, and operational slowdowns.
An integrated platform like eesel AI gives you the best of both worlds: a polished, on-brand user experience without the code, powered by an AI that connects to your company's knowledge in minutes. The choice isn't just about how it looks; it's about how fast you can deliver real value to your customers and your team.
Start your free eesel AI trial today
Stop wrestling with code and start solving customer problems. With eesel AI, you can launch a powerful AI agent that learns from your existing tools and speaks in your brand's voice.
The setup is designed to be self-serve, so you can go live in minutes, not months. You can even simulate its performance on your own data to see the potential ROI before you commit.
Sign up for a free trial or book a demo to see how easy it is to automate support and make your customers happier.
Frequently asked questions
How far can I go with ChatKit theming customization to ensure my chatbot's appearance perfectly aligns with my brand?
ChatKit offers extensive visual controls for theming, allowing you to adjust colors, fonts, button styles, corner radius, and spacing. You can switch between light/dark modes and customize components like starter prompts and header buttons to match your brand's aesthetic.
Does focusing primarily on ChatKit theming customization mean I'll still need to build the AI's "brain" separately?
Yes, ChatKit primarily provides the user interface components for a chat window. While it handles the "look and feel," you are responsible for building the backend AI logic, connecting knowledge sources, and managing API calls to power the bot's intelligence.
What level of ongoing developer involvement should I anticipate when managing a solution based on ChatKit theming customization?
Implementing and maintaining a solution built with ChatKit typically requires significant ongoing developer involvement. Customizing UI, integrating knowledge bases, tweaking AI prompts, and even minor updates often fall to an engineering team.
Are there options within ChatKit theming customization that allow non-technical users to control the bot's persona or responses?
No, ChatKit's theming primarily focuses on the visual presentation and some basic conversational guidance like starter prompts. It does not inherently provide business-friendly controls for non-technical users to manage the AI's persona, knowledge base, or response logic.
Can I use ChatKit theming customization to add specific interactive elements or custom tools to the chat interface?
Yes, ChatKit supports "widgets" for displaying structured information like cards or lists within a conversation. Developers can also add custom tools to the composer bar, enabling users to trigger specific actions with a button.
Does a solution built with ChatKit theming customization typically include built-in performance analytics or simulation tools?
Frameworks like ChatKit do not come with built-in tools for testing, simulation, or comprehensive performance analytics. You would need to build or integrate these reporting and validation capabilities separately, which adds another layer of complexity to the overall solution.