OpenAI recently launched AgentKit, a new toolkit designed to help people build AI agents. At the front and center of this is ChatKit, the UI component that lets developers add a sleek, conversational chat interface to their apps. For a lot of us, the first stop is the "ChatKit Starter App", the official launchpad for getting a feel for what it can do.
But what’s the real story behind getting from a GitHub repository to a fully functioning chat agent? This guide is a straightforward look at the ChatKit Starter App Configuration process. We’ll walk through the technical steps, check out what it can do, and most importantly, talk about the practical stuff, like time, resources, and limitations, that every team should think about before jumping in.
What is OpenAI's ChatKit?
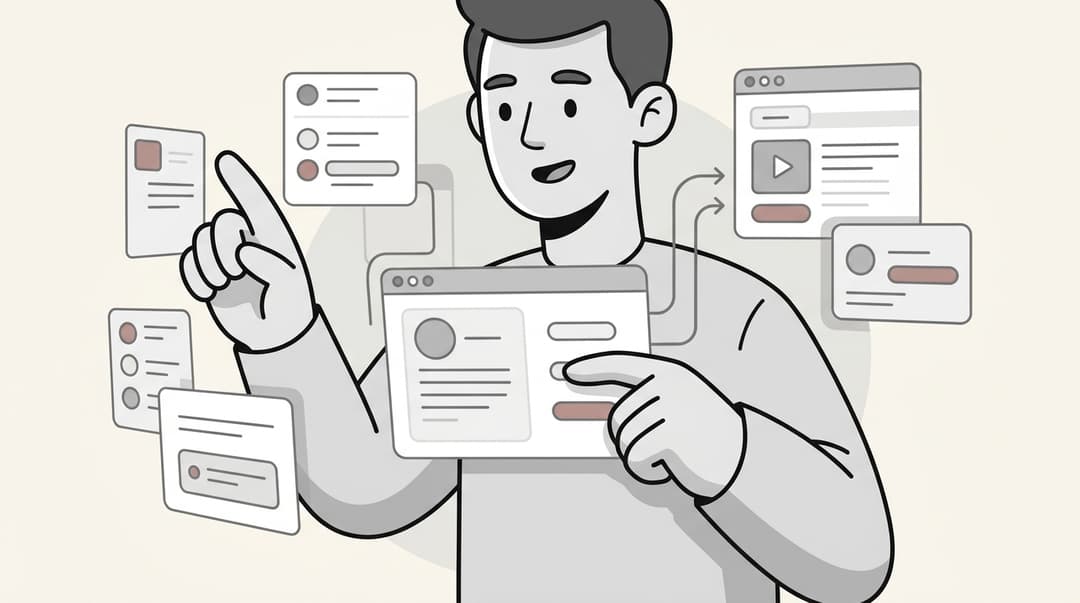
ChatKit is a front-end UI toolkit for building AI-powered chat experiences. It’s framework-agnostic, which is nice because it means you can drop it into a React, Next.js, or even a plain old JavaScript project. Think of it as a box of pre-built, customizable Lego blocks for building a chat window.
It’s also important to get how it fits with AgentKit. AgentKit is the backend engine where you visually map out your AI agent's logic and workflows. ChatKit is purely the user-facing part that your customers will actually see and talk to.
Here’s the catch, though: ChatKit is a developer's tool, through and through. It isn't a plug-and-play chatbot solution you can hand off to the business team. It gives you the components, APIs, and a starter template, but turning it into a smart agent that can actually help customers takes a good amount of coding and backend setup. Out of the box, it does offer some handy features for developers to build on, like response streaming, tool integration for agent actions, interactive widgets, and file attachment handling.
The core pieces of a ChatKit Starter App Configuration
Getting the starter app running isn’t just a front-end job. It’s a full-stack effort that involves getting a client, a server, and the AI workflow to all play nicely together. Here’s a look at the technical parts you'll need to put together.
1. Setting up the front-end client
Your journey starts on GitHub, where you’ll clone the "openai-chatkit-starter-app" repository. This gives you a basic boilerplate, usually in React/Next.js or vanilla JavaScript, to start from.
Right away, you're in a developer's world. This code is designed to be rendered on the client side only. If you’re using a framework like Next.js, you have to be careful to sidestep Server-Side Rendering (SSR) issues, which can cause hydration mismatches and break the whole thing. This is the first sign that the setup process is really for people who are already comfortable with the quirks of modern web development frameworks.
2. Building a secure server-side token endpoint
The ChatKit UI can't just exist on its own. To do anything useful, it needs to securely talk to OpenAI's backend. And you definitely can't just slap your secret API key into the front-end code where anyone with a browser inspector could find it.
This means you have to build a server-side API endpoint. The starter app tutorials show examples of creating a route in Next.js that acts as a go-between. When the chat widget loads, it calls your server. Your server then uses your secret key to ask OpenAI for a temporary client token and sends it back to the client. It’s a standard security practice, but it’s also a clear signal that you need someone with backend skills on your team just to get the chat window to load.
graph TD A[ChatKit Client App] -->|1. Request Token| B(Your Secure Server Endpoint); B -->|2. Request Token with Secret Key| C(OpenAI API); C -->|3. Send Temporary Client Token| B; B -->|4. Forward Token to Client| A; A -->|5. Authenticate with OpenAI| C; end
3. Connecting to an agent workflow
Once your chat UI is authenticated, it needs an AI "brain" to talk to. This brain is a workflow you build in OpenAI's Agent Builder. Each workflow gets a unique ID, which you then have to plug into your starter app's configuration.
This part involves managing environment variables like your "OPENAI_API_KEY" and the "NEXT_PUBLIC_CHATKIT_WORKFLOW_ID" in a ".env.local" file. It’s another technical step that requires making sure your front-end, your secure backend endpoint, and the Agent Builder workflow are all communicating correctly. If any single piece is misconfigured, the chat will either fail silently or throw some cryptic error, leaving you to debug the connections between all the moving parts.
Customization and features: What can you actually build?
After you've wrestled with the initial setup, ChatKit does give you a good amount of flexibility for customization. But it's important to remember that this flexibility comes with a price: more development work.
Theming and branding
Making the chat widget look and feel like it belongs in your app is a big deal. ChatKit gives you options to change the theme from light to dark, set custom accent colors, and tweak UI elements like the roundness of corners.
You can also change the default text, like the placeholder in the composer, to give users a hint about what to ask. For new chats, you can set up a few starter prompts to get the conversation rolling. These are all nice touches, but every single customization is a code change that a developer has to implement, test, and ship.
Adding custom tools and widgets
Beyond looks, ChatKit lets you build more advanced, interactive features. You can turn on file attachments, add custom buttons to the header for certain actions, or even render rich, interactive widgets right inside the conversation.
For example, an agent could pop up a form for a user to fill out or show a card with their order details. This is where ChatKit really starts to show its power as a developer framework. But it's also where the complexity shoots way up. Every custom widget or tool needs a lot of code on both the client side (to render the UI) and the server side (to handle the logic in your Agent Builder workflow).
The hidden costs and limits of a DIY ChatKit setup
The developer-first nature of ChatKit forces you to make a strategic choice. It offers a ton of control for teams with the right engineering resources, but it comes with trade-offs that can seriously slow down any plans for support automation.
The permanent developer tax
From the minute you clone the starter app, you're signing up for a developer-led project. Every little change, whether it's tweaking a prompt, adding a new knowledge source, or adjusting the chat widget's color, needs an engineer to write, test, and deploy code.
For a support team that needs to move fast, this is a huge bottleneck. A support manager who spots a common customer problem can't just go in and update the agent's behavior. They have to file a ticket, get in the engineering queue, and wait. This dependency makes it incredibly difficult to iterate quickly and keep the agent up-to-date with what customers actually need.
The "blank canvas" problem
ChatKit gives you a chat window, but it doesn't give you any of the logic that makes a support agent genuinely useful. You get the UI, but you're left to build everything else from scratch.
This includes the often tedious work of:
-
Connecting knowledge sources: You have to manually build the pipelines to feed data from your help center, internal wikis, and past support tickets into your agent.
-
Defining workflows: All the logic for when to escalate, how to triage tickets, and rules for routing customers has to be designed and coded by hand.
-
Integrating with your helpdesk: If you want your agent to do something as simple as tagging a ticket, updating a customer field, or closing a conversation in Zendesk or Intercom, you have to build those API connections yourself.
Missing key support features
Maybe most importantly, ChatKit is missing the enterprise-level features you need to manage and scale support automation with any real confidence. When you build with ChatKit, you're on your own for:
-
No simulation mode: You can't test how your agent will perform on your actual past tickets before you set it loose on live customers. You're flying blind, with no way to predict resolution rates or spot where it might go wrong.
-
No knowledge gap analytics: The system won't tell you what it doesn't know. It can't analyze failed conversations to show you where your documentation is weak or point out new issues customers are running into.
-
No automated knowledge creation: It can't learn from successful resolutions handled by your human agents and suggest new help articles, leaving your team to manually patch up the knowledge gaps.
eesel AI: The self-serve alternative to a custom ChatKit setup
The headaches of a DIY ChatKit setup really highlight the need for a different tool, one that's built for the teams actually running support. eesel AI is a platform designed to solve these problems by letting support teams build, manage, and improve their own AI agents without writing a single line of code.
-
Go live in minutes, not months: You can forget about the complex, multi-step ChatKit Starter App Configuration. eesel AI has one-click integrations with helpdesks like Zendesk, Freshdesk, and Gorgias. The setup is genuinely self-serve, meaning you can have a working AI agent trained on your knowledge sources in minutes.
-
Total control for support teams: eesel AI gives you a no-code prompt editor and a powerful workflow engine. Support leads can define the AI's personality, limit its knowledge to certain sources, and set up custom actions, like looking up an order in Shopify or creating a ticket in Jira, all from a simple dashboard.
-
Test with confidence: This is a huge one. eesel AI's simulation mode lets you test your AI on thousands of your past tickets in a safe environment. You can preview responses, get accurate forecasts on resolution rates, and fine-tune its performance without any risk before a customer ever talks to it.
-
Transparent, predictable costs: The real cost of a ChatKit project isn't just the sticker price; it's the developer salaries, infrastructure costs, and unpredictable API bills. eesel AI offers clear pricing plans based on usage, with no surprise per-resolution fees. This makes budgeting easy and ties your costs directly to the value you're getting.
Beyond the ChatKit Starter App Configuration, build vs. buy
At the end of the day, the choice between building a custom solution with ChatKit and using a platform like eesel AI comes down to your team's resources, goals, and timeline.
The ChatKit Starter App Configuration can be a good path for companies with dedicated developers who need to build a deeply customized, one-of-a-kind chat UI and are ready for the ongoing maintenance that comes with it.
| Feature | DIY ChatKit Starter App Configuration | eesel AI Platform |
|---|---|---|
| Setup Time | Weeks to Months | Minutes |
| Required Skills | Front-end & Back-end Development | No Code, Self-Serve |
| Maintenance | Ongoing Developer Dependency | Managed by Support Teams |
| Core Features | UI Components Only | Integrations, Workflows, Analytics |
| Testing | Manual, Live Customers | Safe Simulation Mode |
| Cost Model | Unpredictable (Dev time + API) | Transparent, Usage-Based |
However, for most teams that just need a powerful, secure, and integrated support automation platform that can be managed by the support org itself, a ready-made solution is the far more practical choice. A platform like eesel AI removes the technical barriers, lets your support experts own their automation, and delivers results in a fraction of the time. Before you commit your engineering team to a long build cycle, it’s worth asking if a platform that’s ready to go today might be the smarter path to getting where you want to go.
Frequently asked questions
The ChatKit Starter App Configuration provides a front-end UI toolkit for building AI-powered chat experiences. It serves as the user-facing component, while AgentKit is the backend engine where you define the AI agent's logic and workflows.
To get started, you'll need to set up a front-end client from the GitHub repository, build a secure server-side token endpoint for authentication, and connect it to an Agent Builder workflow using its unique ID. This involves both client-side and server-side development.
The ChatKit Starter App Configuration offers good flexibility for customization. Developers can theme the chat widget with custom colors and UI elements, change default text, and integrate advanced features like file attachments or custom interactive widgets within conversations.
Key missing features include a simulation mode to test agent performance on past tickets, knowledge gap analytics to identify documentation weaknesses, and automated knowledge creation from human agent resolutions. These features require additional custom development.
A custom ChatKit Starter App Configuration typically incurs a "permanent developer tax." Every change, from tweaking prompts to updating knowledge sources or adjusting the UI, requires an engineer to write, test, and deploy code, creating a dependency on the engineering team.
No, the ChatKit Starter App Configuration is primarily a developer's tool. It requires significant coding and backend setup to turn into a smart agent, and is not designed for non-technical business or support teams to manage without engineering involvement.
Share this article

Article by
Stevia Putri
Stevia Putri is a marketing generalist at eesel AI, where she helps turn powerful AI tools into stories that resonate. She’s driven by curiosity, clarity, and the human side of technology.